

This post may contain affiliate links meaning if you buy from them, I will make a few pennies, at no cost to you. See disclosure here.
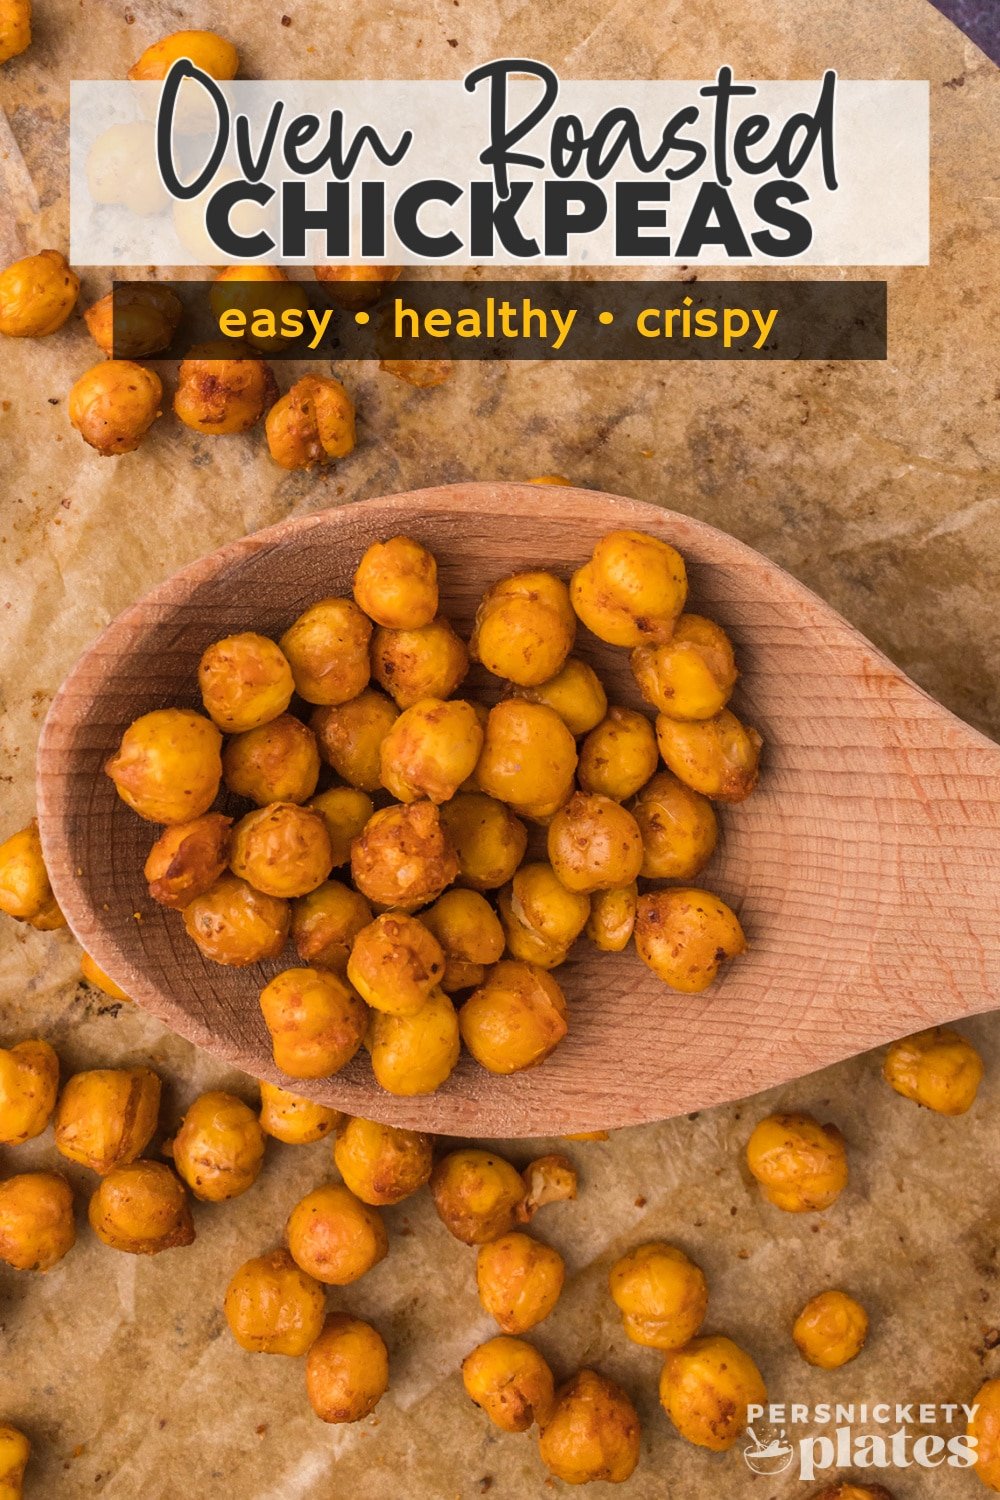

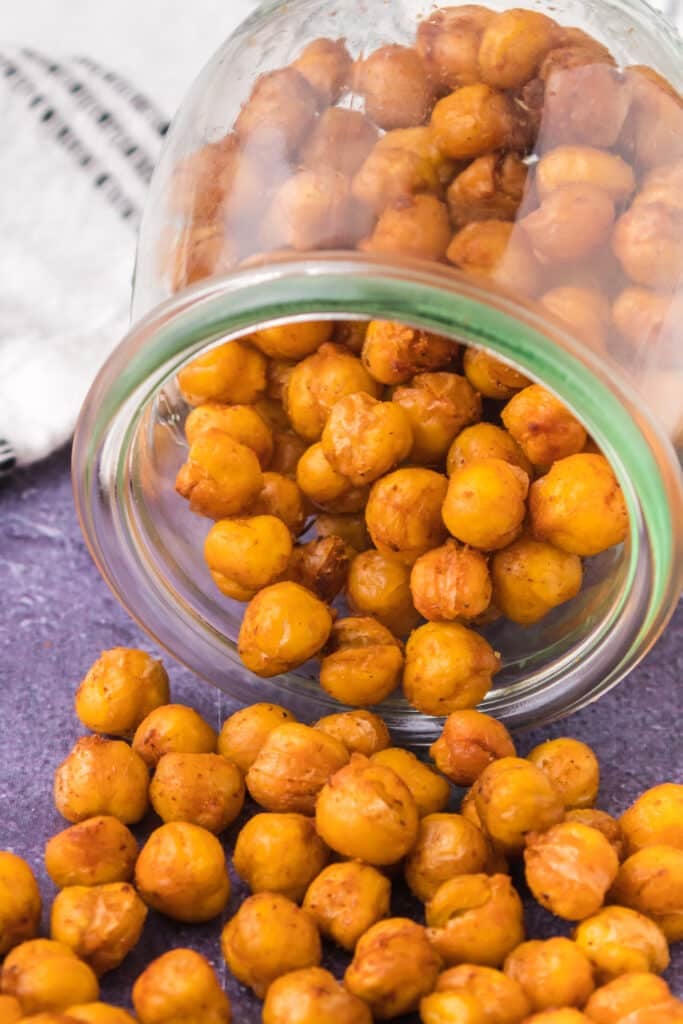
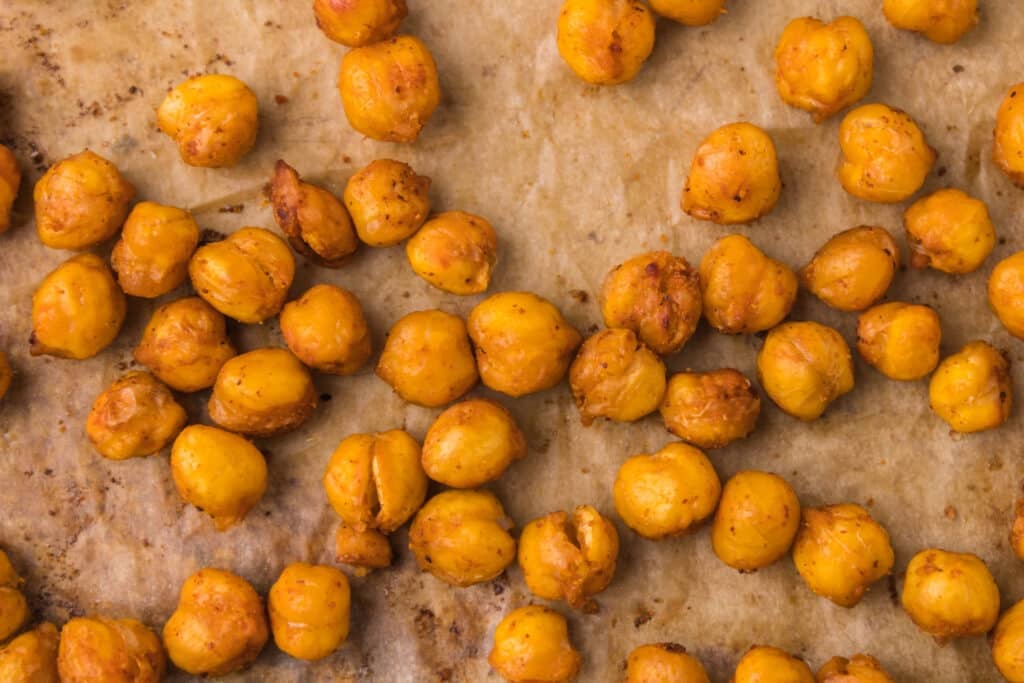
Crispy oven-roasted chickpeas are about to become your favorite go-to snack when you’ve got a hankering for something spicy, smoky, and deliciously crunchy! Great for topping salads, movie nights, and snacking on the go!
Roasted Chickpeas With a Kick
It wasn’t until I started roasting them that I thought chickpeas’ main lot in life was to make hummus. Boy, was I wrong!
I have always LOVED chickpeas (the rest of my family hates them), but I had only ever eaten them raw. Then, I heard about roasting them, and thought, since I love roasting everything anyway, like potatoes, zucchini, cauliflower, green beans, etc., why not try roasting chickpeas?
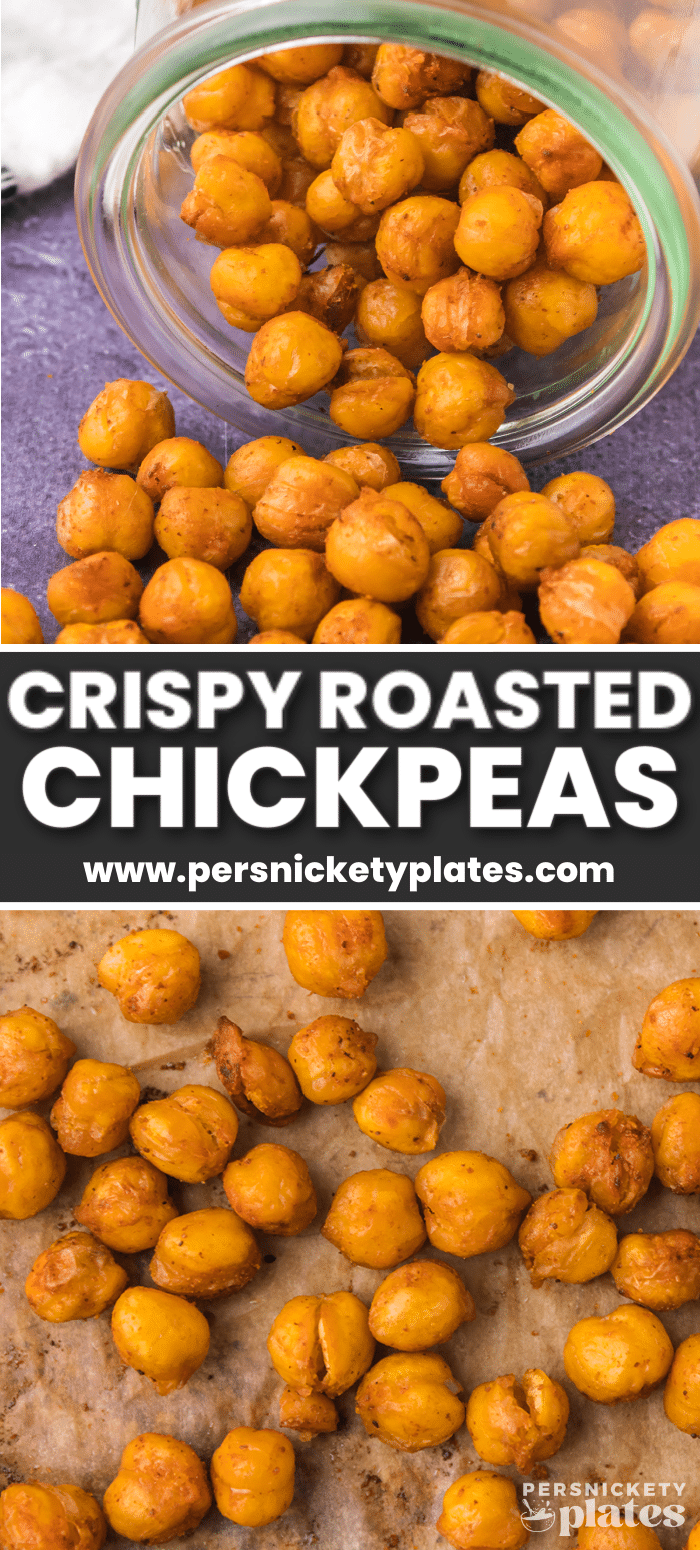
I haven’t looked back. They’re crispy, crunchy, and perfectly seasoned. The trick to getting them ultra-crunchy is to make sure they’re completely dry before going into the oven.
I make them when I want something salty or spicy to munch on and because they’re packed with protein and fiber I never feel bad about eating more than I should!
Why you’ll love Oven Roasted Chickpeas
- Simple and healthy snack – They’re as addictive as chips, in that you’ll be hard-pressed to be able to stop eating them, but they’re healthy, so it’s a win-win!
- Versatile – While they do satisfy a salty snack craving, they’re also great for movie nights, packing in lunches, and adding on top of salads for flavor and crunch.
- Use a variety of seasonings – What’s great about roasted chickpeas is that you can make a batch with one flavor of seasoning and then the next time switch up the flavors. Go from salty, savory, and zesty to sweet and spicy or a combination of some sort.
Tools you’ll need
- Rimmed baking sheet – so the chickpeas don’t roll off
- Colander
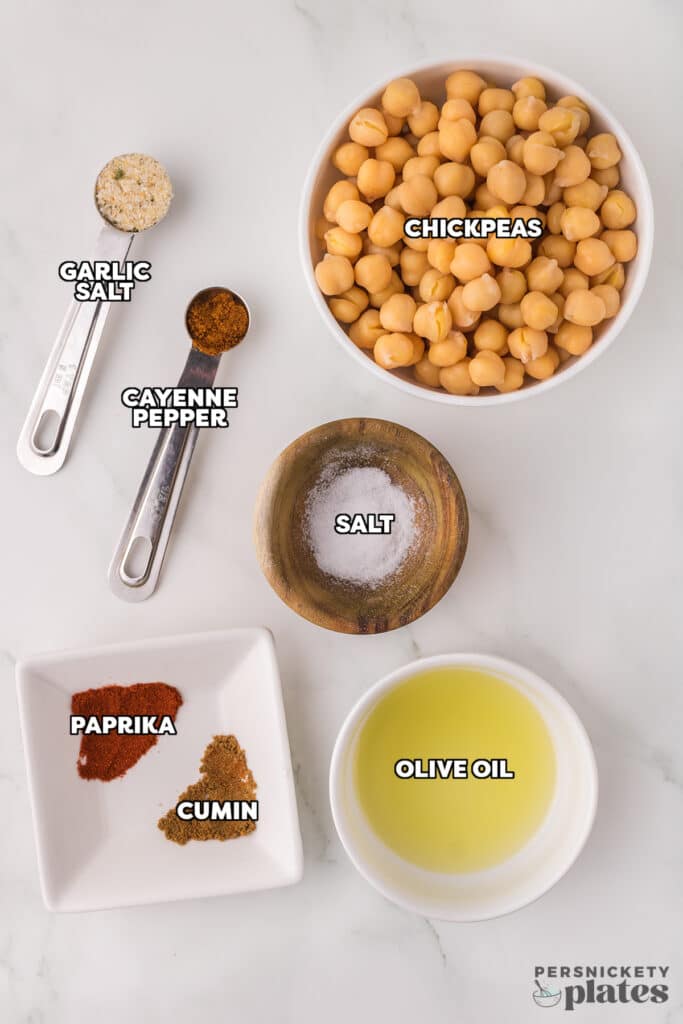
Ingredients
Below is a list of the ingredients you’ll need to gather to make this recipe, why you need them, and possible substitutions. Scroll all the way down for the full recipe card with measurements.
Jump- Chickpeas: You’ll need a 14 oz can. Drain, rinse, and spread them out on a paper towel to dry completely. Peel away any hanging skin.
- Olive oil: Helps the seasoning to stick to the chickpeas and helps the outside to become golden and crispy.
- Seasonings: I used sea salt, garlic salt, paprika, cayenne pepper, and cumin in this batch.
How to make Roasted Chickpeas
This section shows you how to make this recipe, with process photos showing the steps to help you visualize it. For full instructions, including amounts and temperatures, see the recipe card below.
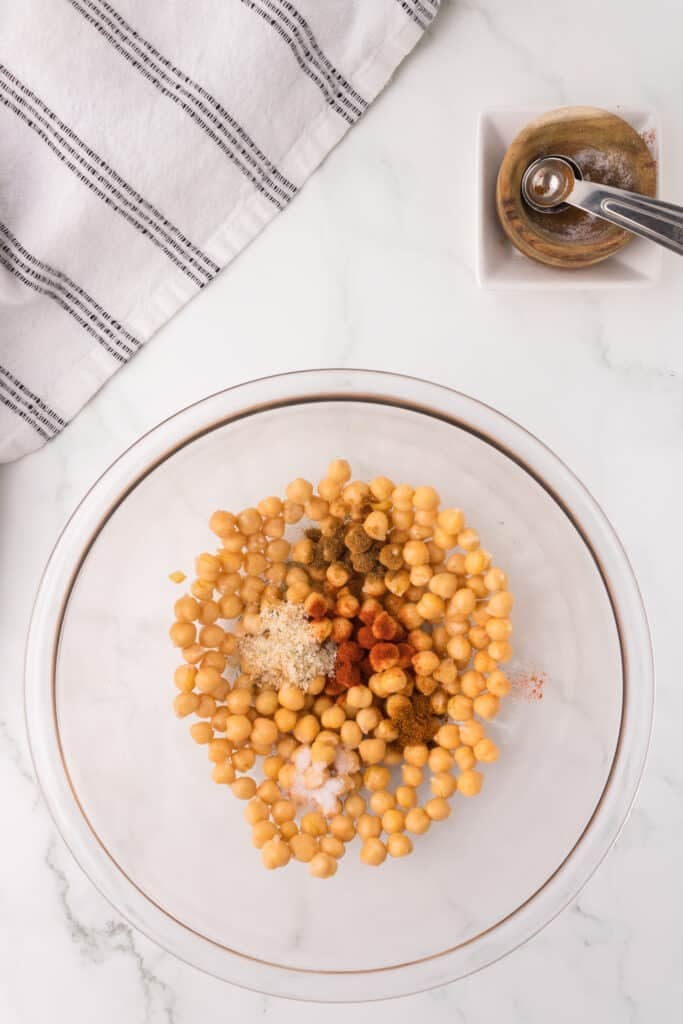
Jump- Step One: Add chickpeas to a bowl and lightly drizzle with olive oil. Toss so they’re evenly coated.
- Step Two: Sprinkle the seasoning and stir or shake to make sure all the chickpeas are seasoned.
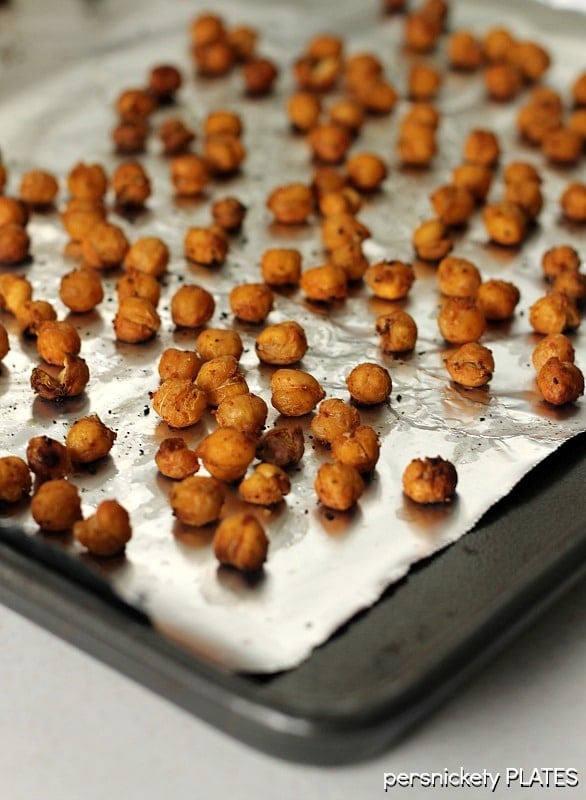
- Step Three: Transfer the seasoned chickpeas to your prepared baking sheet, and arrange them in a single layer. Spread them out so they’re not too close together.
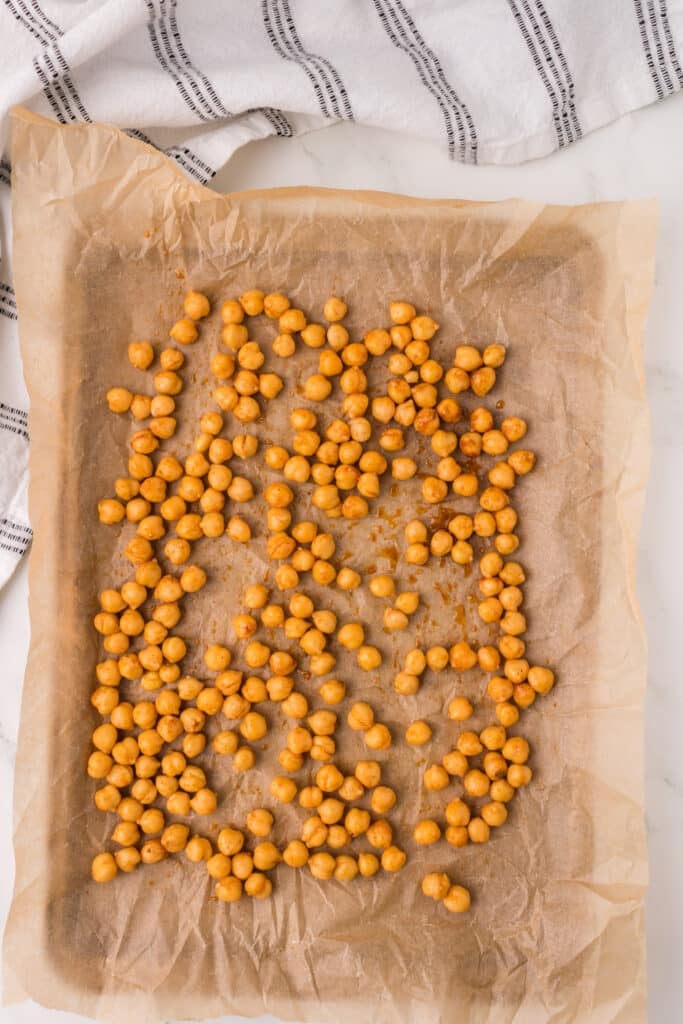
- Step Four: Bake in a preheated 425℉ oven for 25-30 minutes, stirring every 10 minutes. I like mine crispy so I keep them in the full 30 minutes.
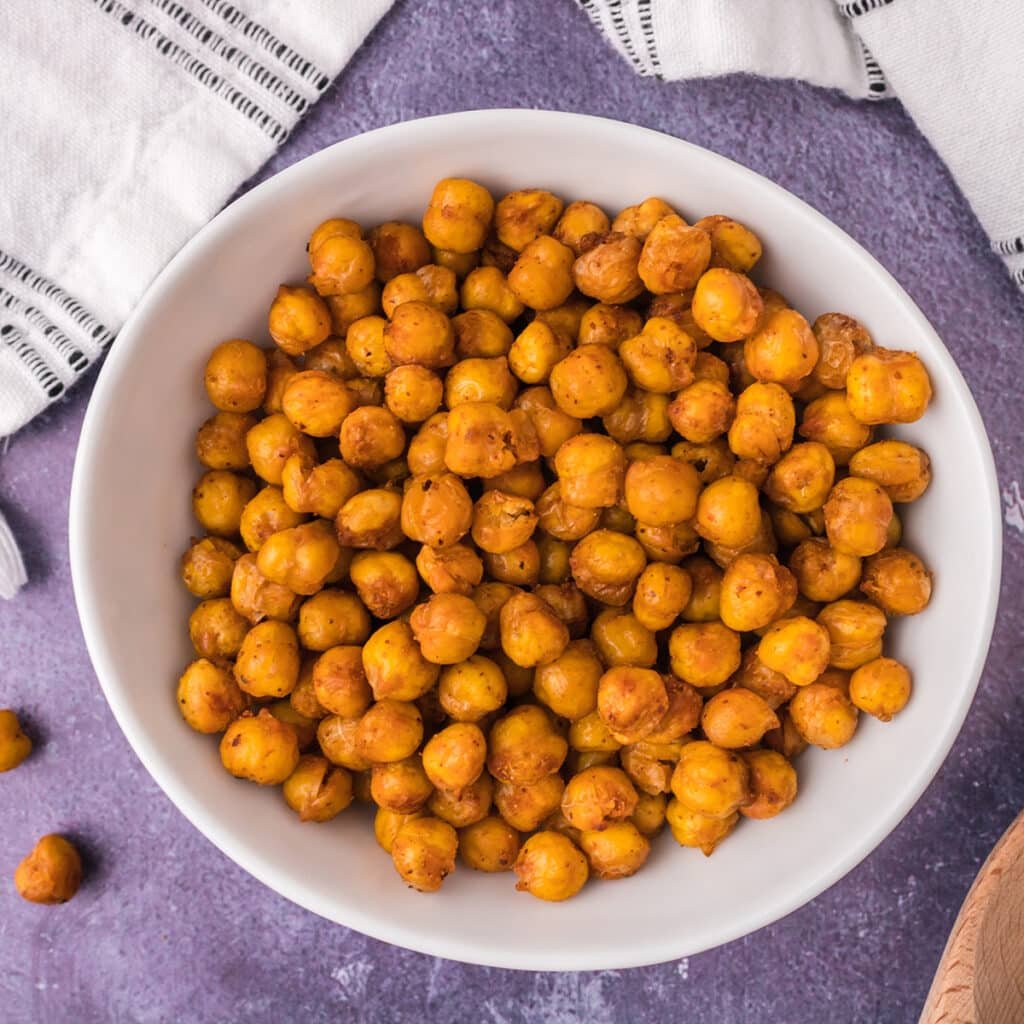
- Step Five: Remove them from the oven and allow them to cool slightly before snacking. Enjoy!
- When the chickpeas are just out of the oven, you may hear a whistling sound. That’s normal!
- They are best enjoyed on the first day, that’s when they have the most crunch. Don’t get me wrong, they’re still super tasty the next day too.
- Swap the seasoning! Try lemon pepper or Cajun next time. You could even make them sweet with a little cinnamon sugar.
- I can’t say this enough. Make sure the chickpeas are nice and dry before you season them.
- Check on the chickpeas at the 25-minute mark. I like them overly crisp, but if you don’t, then 25 minutes is your best bet.
Reheating and Storage
How to store leftovers
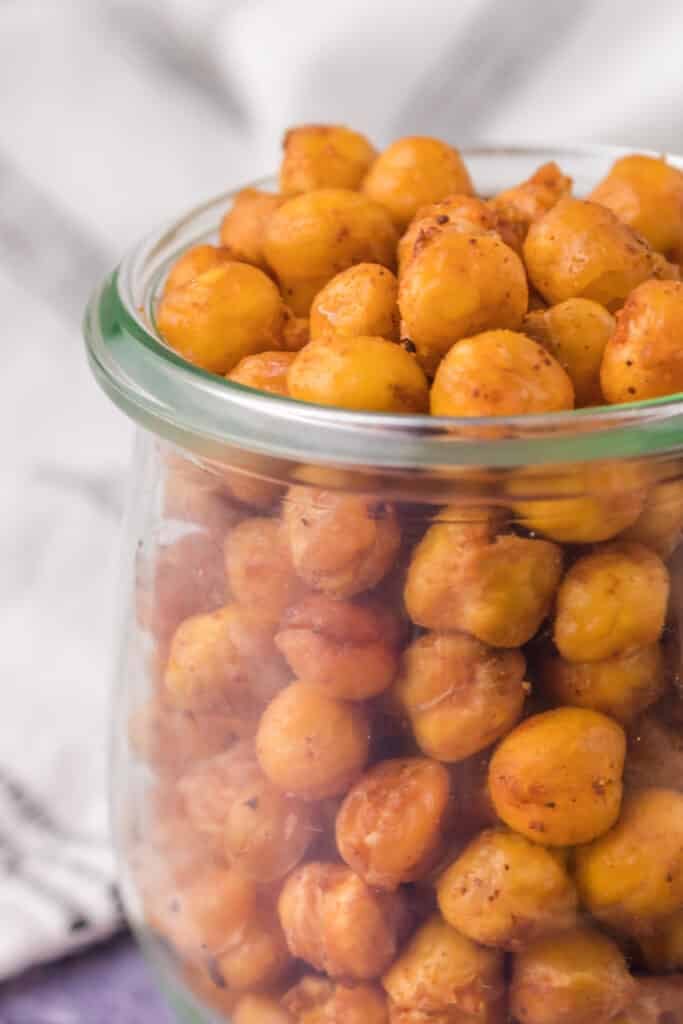
Once they’ve cooled, store leftovers in a glass container, or with a paper towel on top of a bowl. They tend to lose their crispness after a few hours.
How long will roasted chickpeas last?
Unfortunately, roasted chickpeas do not store well because they lose their crispness. They best enjoyed the first day made, but will last 4-5 days.
FAQs
Why are my roasted chickpeas not crunchy?
This is usually because they haven’t been dried properly. When there is excess moisture on the surface, it creates steam. Steam is not what you want when trying to crisp anything up!
Can I make this recipe using dry chickpeas?
Absolutely! I prefer to soak them first overnight, or for up to 24 hours because I find they’re easier to digest that way. However, it’s not a must. If you don’t soak them first, they will take longer to roast. Probably about twice as long.
How healthy are roasted chickpeas?
Very! They provide a ton of the good stuff like protein, fiber, and heart-healthy fat, but they’re also a great alternative to the not-so-healthy snacks we tend to grab. Making it at home gives you control over what you’re seasoning it with and how much salt you’re using.
Need more quick and healthy snacks? Try these:
Click here for my entire collection of snack recipes.

Crispy Oven-Roasted Chickpeas
Ingredients
- 14 ounce chickpeas
- 1 tablespoon olive oil
- 1 teaspoon sea salt
- 1 teaspoon garlic salt
- ¼ teaspoon paprika
- ¼ teaspoon cayenne pepper
- ¼ teaspoon cumin
Instructions
- Preheat oven to 425℉ and line a rimmed baking sheet with parchment paper. Set aside.
- Drain the can of chickpeas in a colander and rinse really well.14 ounce chickpeas
- Lay out a couple layers of paper towel and spread the rinsed chickpeas out on top. Pat them dry with another piece of paper towel. You want them to be really dry. As you dry them, the skins should start to fall off. Peel off any skins that are hanging.
- Once dry, add the chickpeas to a bowl and very lightly drizzle with olive oil. Toss them so they're evenly coated and then sprinkle on the seasonings, shaking or stirring to evenly distribute.1 tablespoon olive oil, 1 teaspoon sea salt, 1 teaspoon garlic salt, ¼ teaspoon paprika, ¼ teaspoon cayenne pepper, ¼ teaspoon cumin
- Pour the seasoned chickpeas onto the prepared baking sheet into a single layer.
- Bake for 25-30 minutes, stirring every ten minutes, until your desired level of done. I like mine crispy.
- Remove and allow the chickpeas to cool slightly before enjoying!
Notes
- When done, you may hear the chickpeas make a whistling noise.
- Roasted chickpeas are best the first day, after that they will lose their crunch.
- Try different seasonings. I really like lemon pepper or cajun.
- Store in an airtight container but they’re best enjoyed within a day. They’ll lose their crispness.
Nutrition
Nutritional information is an estimate and provided to you as a courtesy. You should calculate the nutritional information with the actual ingredients used in your recipe using your preferred nutrition calculator.
Did you make this recipe?
Tag me on Instagram @melissa_pplates so I can see!Originally published August 25, 2013


Love this recipe! I mixed hot sauce in with the olive oil and sprinkled Lawry’s seasoning salt on them. I cooked my own chickpeas instead of using canned. I might have overcooked them because they turned out soggy after baking for an hour on 350. I had better luck putting them on the bottom rack at 250 for half an hour after that. Mine turned out fantastic! Great snack for when you’re craving potato chips. 🙂
These sound really good, May have to give them a try soon!
I love love LOVE roasted chick peas!! And these seasonings look great! Pinning this one!
I love roasted chickpeas! Well, actually, I love FRIED chickpeas (especially at Grange in Ann Arbor – theirs are GREAT!), but I hate frying stuff at home, so I roast them. The perfect afternoon snack! And all for like 75 cents 🙂
I’ve never been to Grange but fried chickpeas sound great. & I agree, I don’t fry at home. Much to my husband’s dismay 😉
I have a VERY picky eater, and she LOVES chickpeas 🙂 these look So good!! thanks for linking up to wake up wednesdays
Chick peas are one of my favorites and this recipe is so simple. Can’t wait to try it!
Love me some chick peas! I bet they are awesome roasted, too! Pinned!