

This post may contain affiliate links meaning if you buy from them, I will make a few pennies, at no cost to you. See disclosure here.
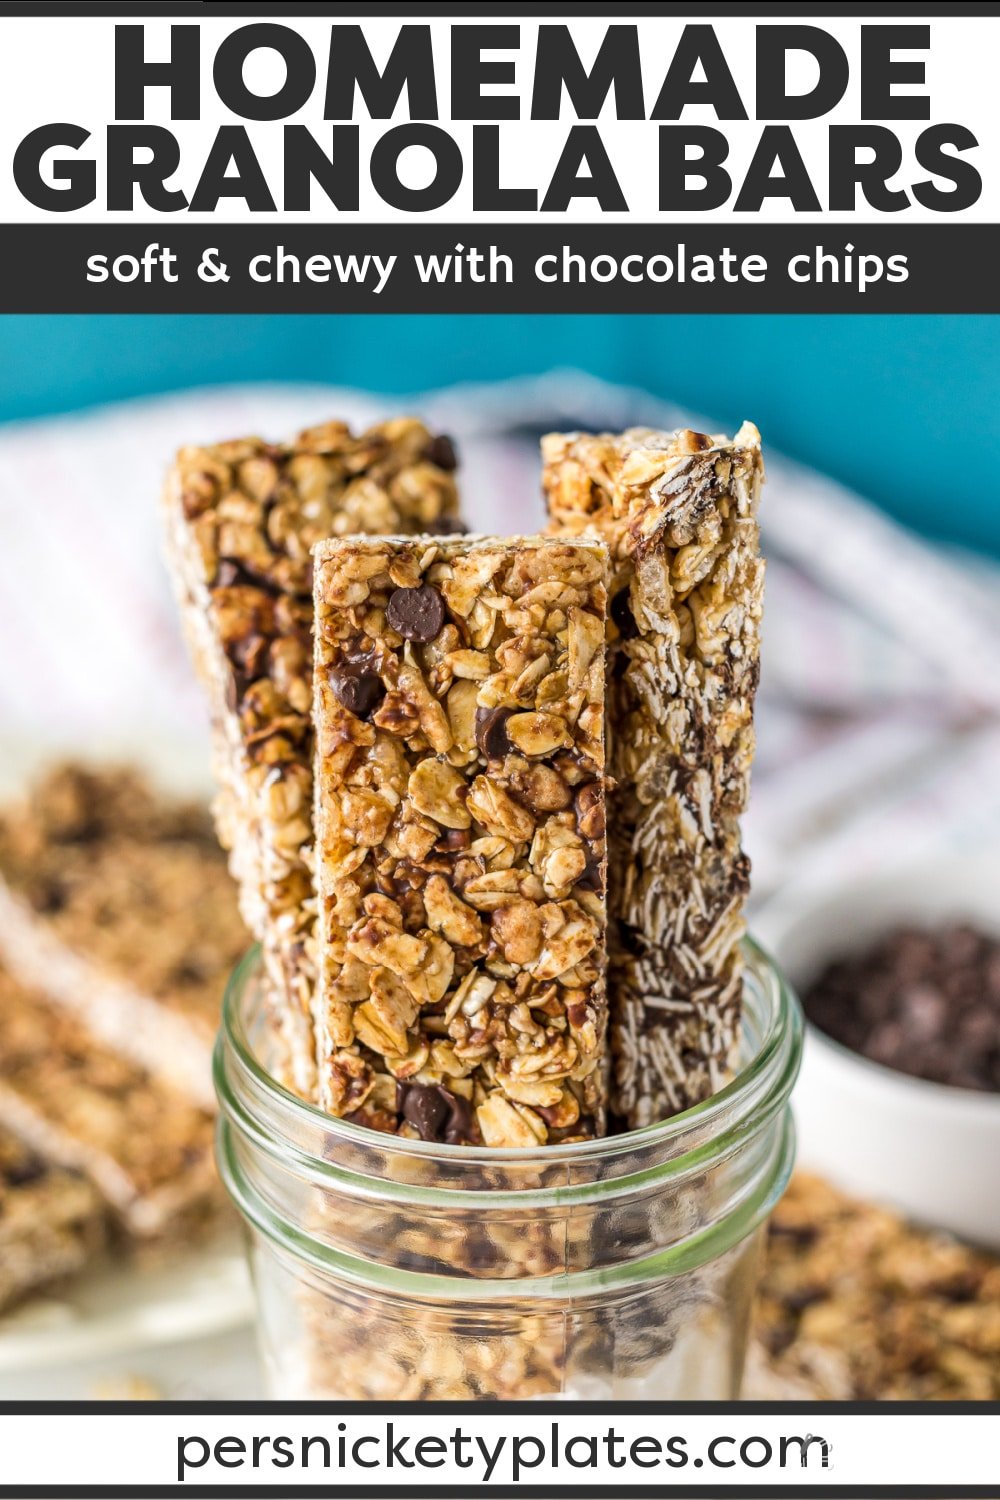
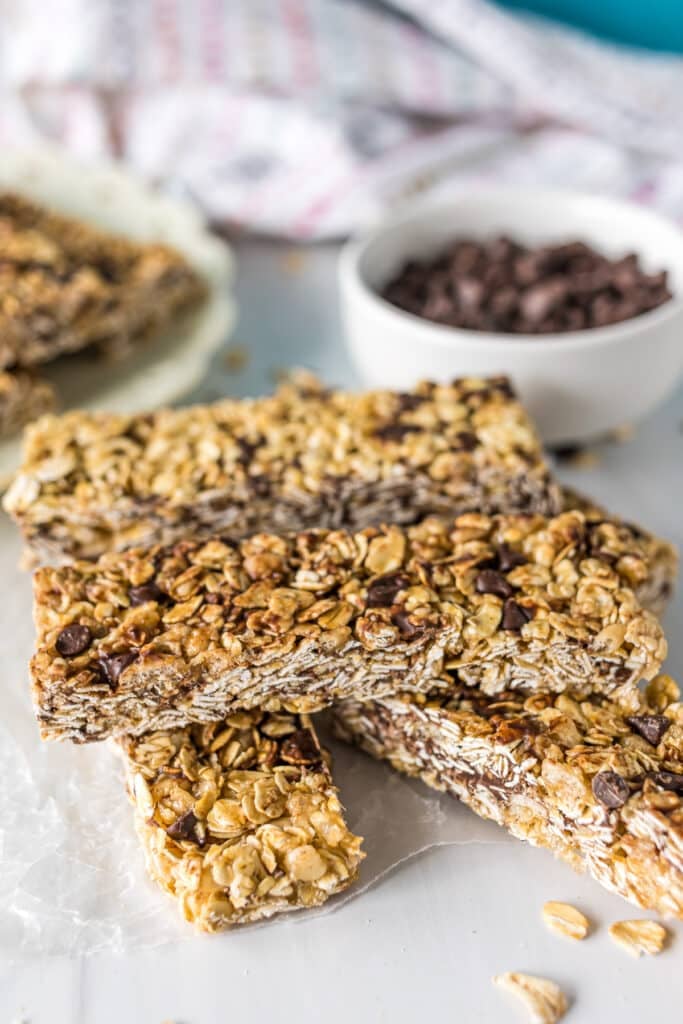
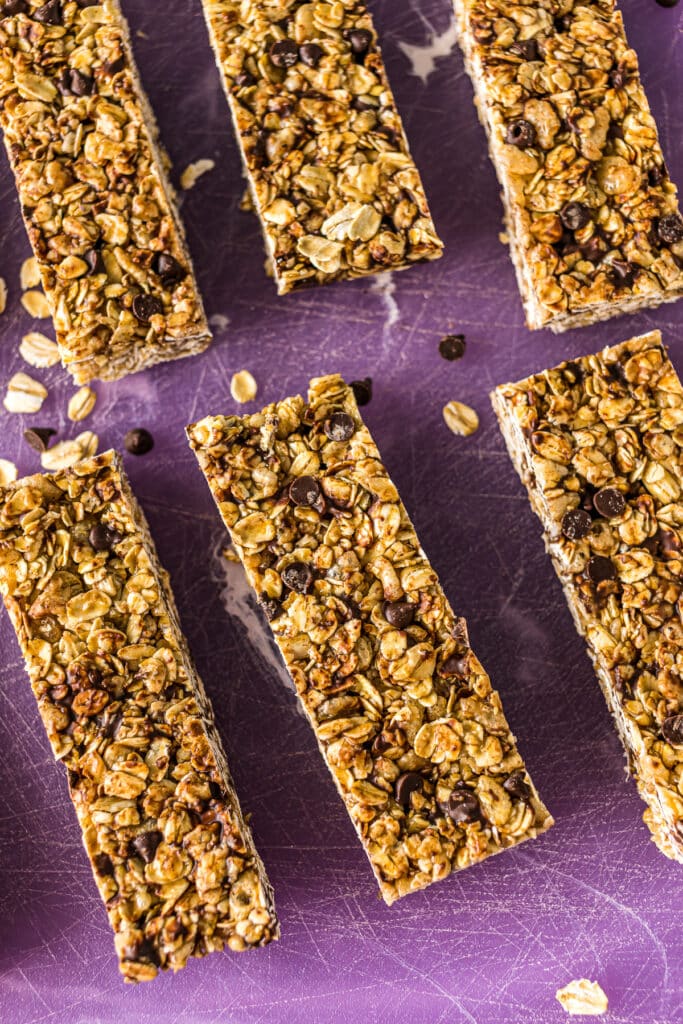
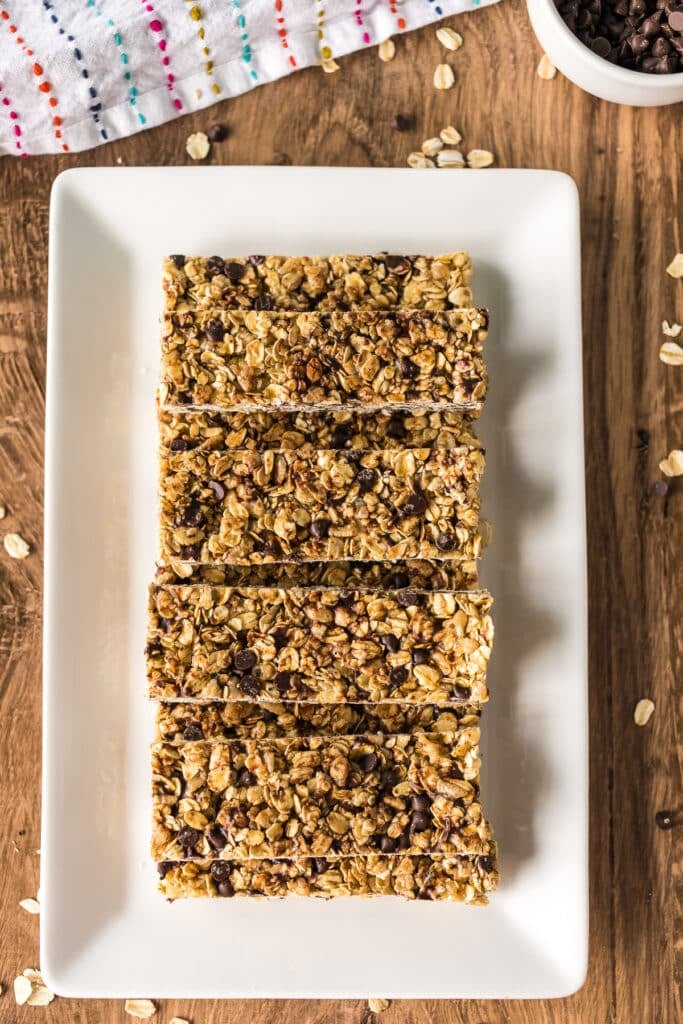
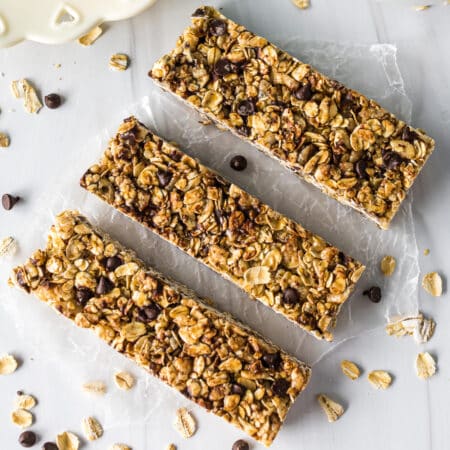
Sweet, salty, crispy, and chewy, these homemade chocolate chip granola bars are no-bake and easy to make. Loaded with oats, honey, chocolate chips, and crispy rice cereal, these bars are perfect for hikes, snacks, or kid’s lunchboxes!
No-Bake Chewy Granola Bars
When it comes to granola bars, I don’t claim these to be the healthiest version out there (because they’re not), however, they are heads and tails above the kind you’d buy from the grocery store.
And depending on what swaps you make, you can certainly make them as healthy as you want them.
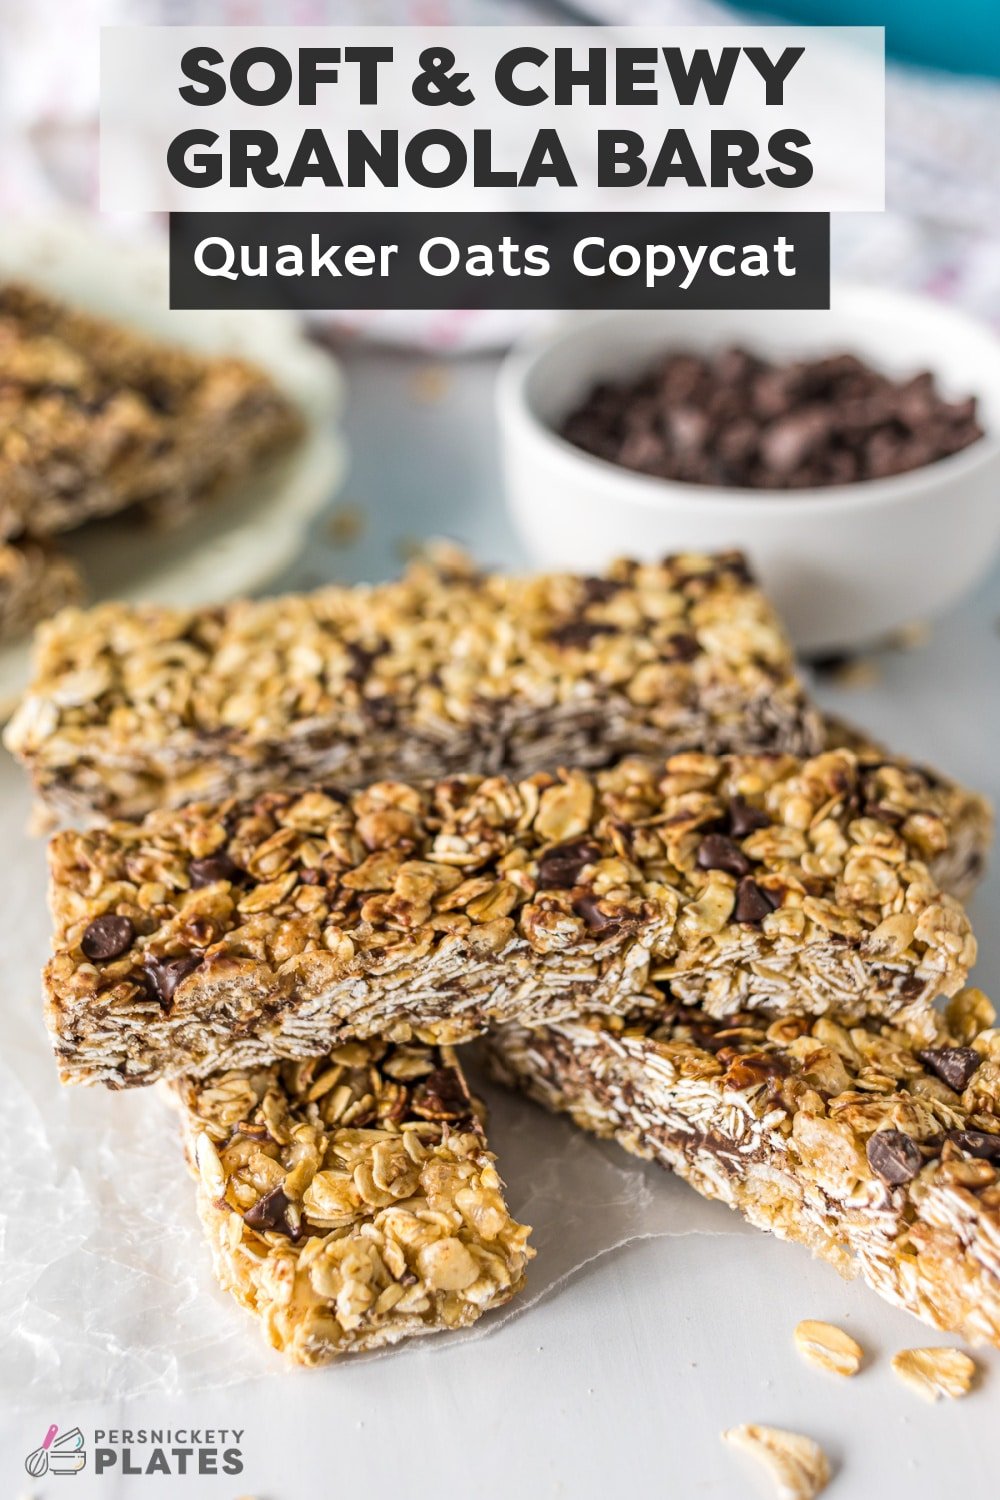
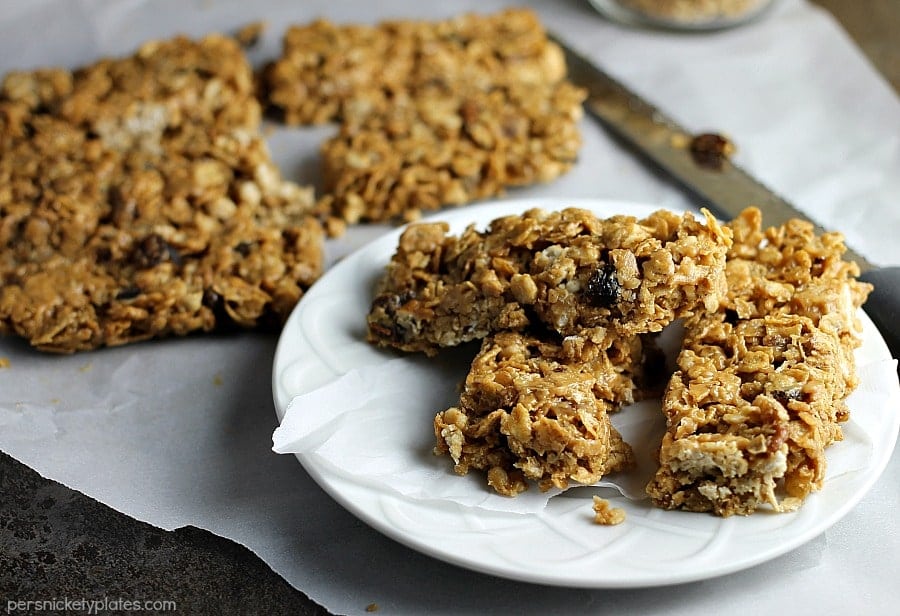
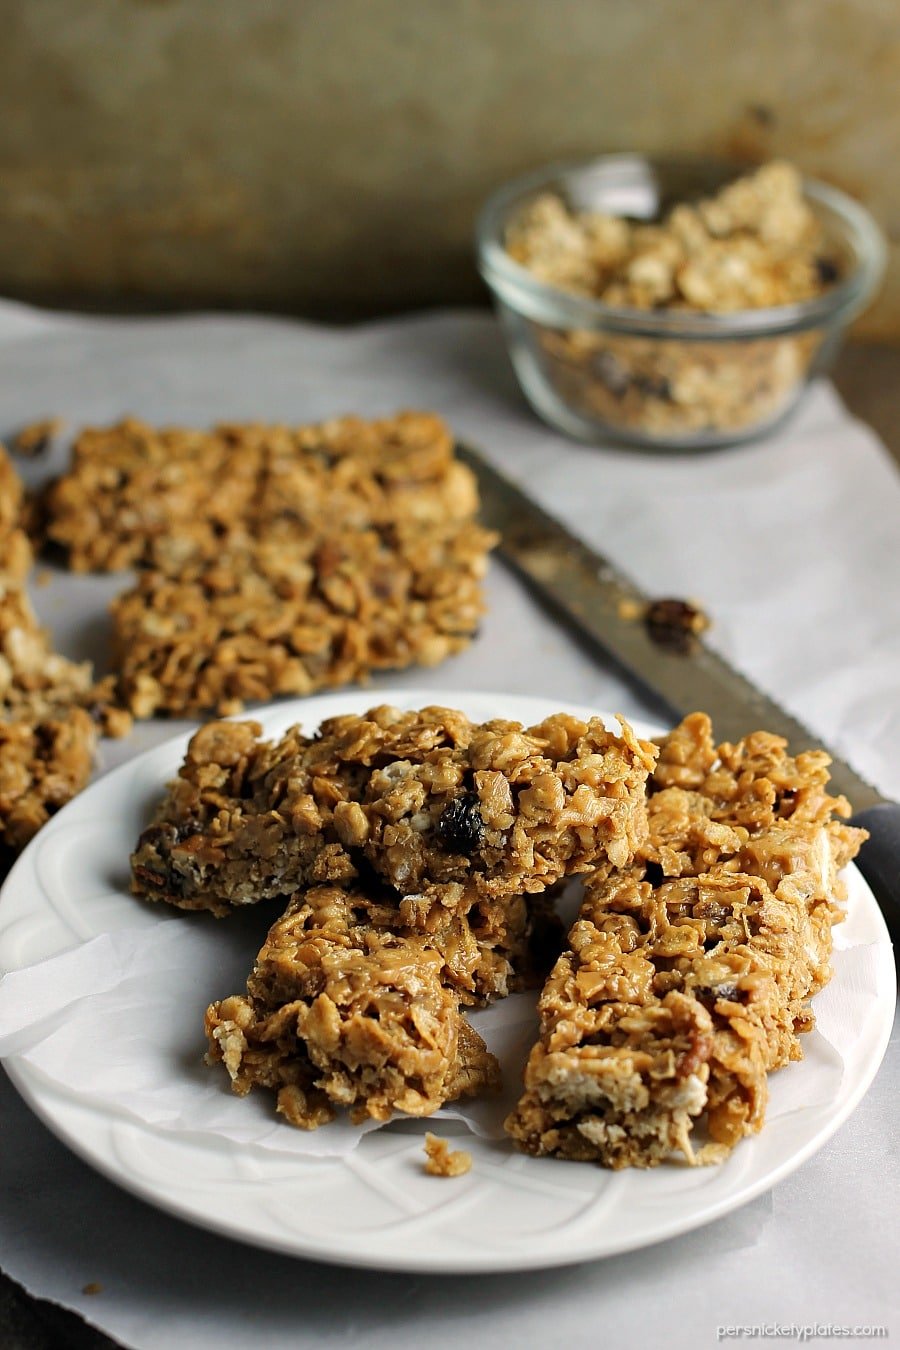
I originally developed this recipe, in 2017, using cereal, dates, and peanut butter, but since having picky kids (and one who hates peanut butter), I wanted to revamp it and make it closer to the Quaker chewy granola bars. You guys. I kinda nailed it.
These bars are made with whole-grain oats, chocolate chips, and sweetened with honey and a little brown sugar. They’ve got the perfect ratio of crunchy and chewy texture to sweet and salty taste.
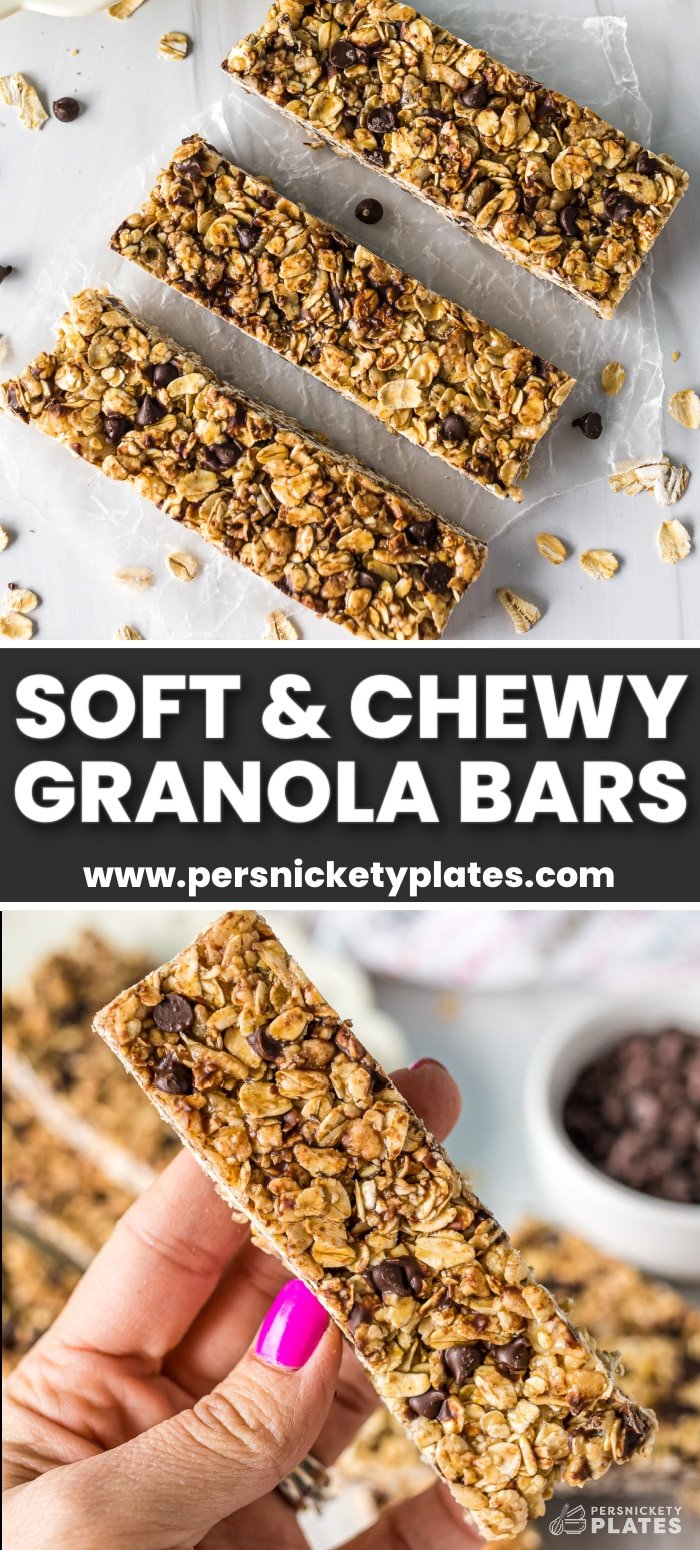
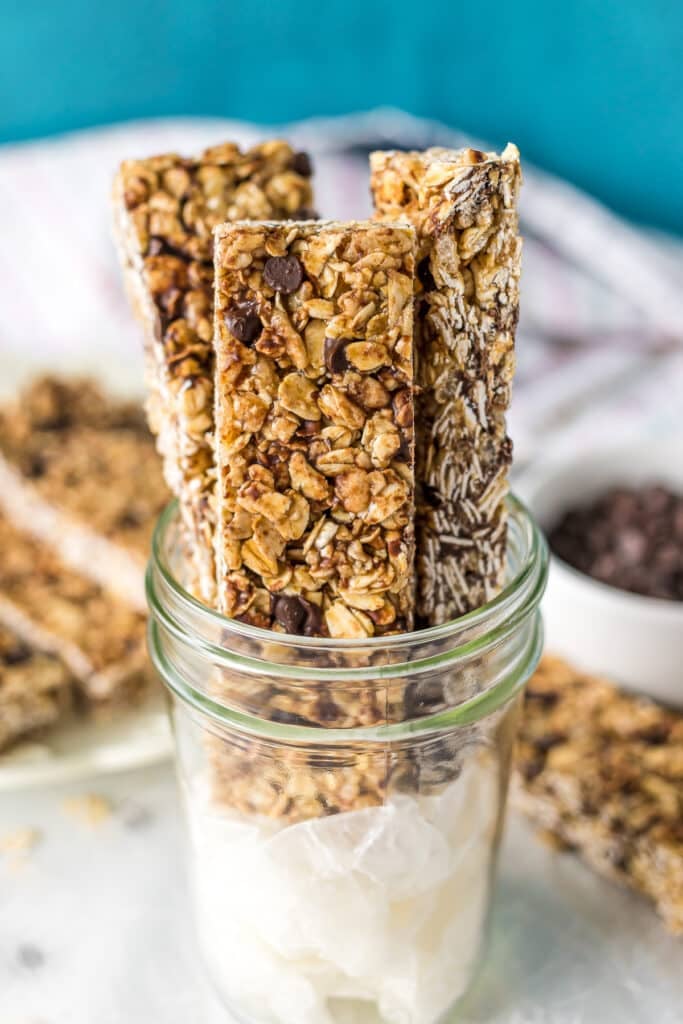
Wrap them up individually and take them with you, eat them as a post-workout snack, or have them as a sweet breakfast treat.
If you like baked oatmeal breakfast cups for an easy grab & go breakfast, these granola bars will fit right in!
Why you’ll love Homemade Chocolate Chip Granola Bars
Budget-friendly – They are made with pantry ingredients that you probably already have. If not, they are easy to find and won’t cost much!
Kid-Friendly – Kids love how sweet they taste, especially with the chocolate chips. The bonus is that they contain protein and fiber too! And because they’re no-bake, kids love to help make them.
Easy To Customize – Change the type of chocolate chips or add some drizzles on top.
Versatile Treat – Eat them for breakfast, after-school snacks, or as a way to keep you full in between meals.
Equipment you’ll need
Ingredients
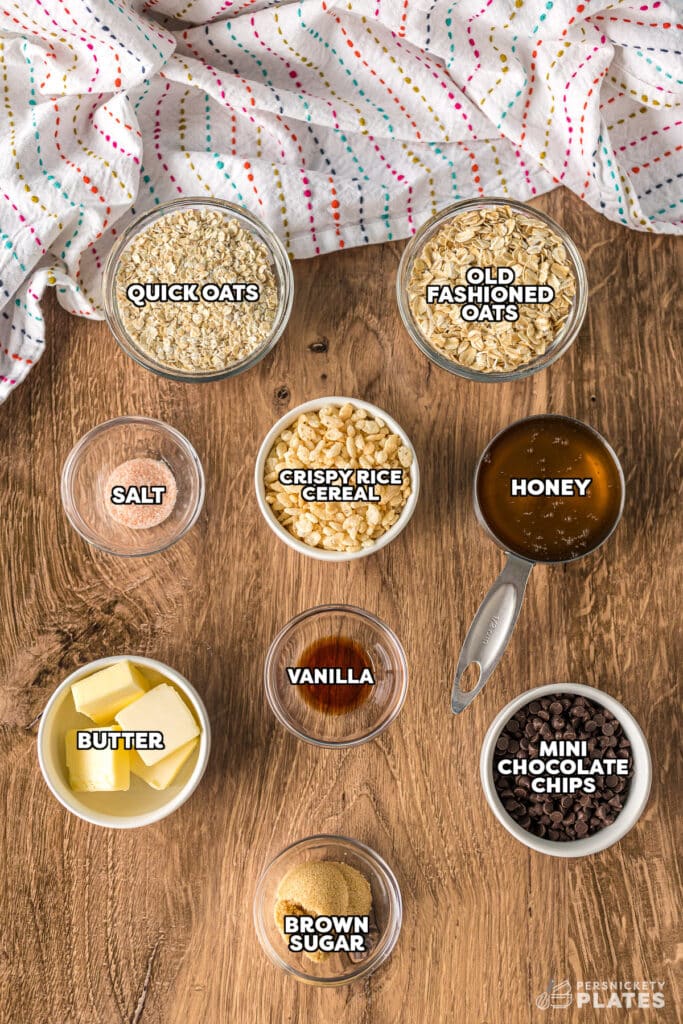
Below is a list of the ingredients you’ll need to gather to make this recipe, why you need them, and possible substitutions. Scroll all the way down for the full recipe card with measurements.
- Oats – Use both old-fashioned rolled oats and quick-cooking oats. When you mix them they make the granola bars chewy and filling.
- Honey – An unrefined sugar that sweetens the granola bars. You can use maple syrup instead if preferred.
- Butter – Use salted butter to enhance all the other flavors and to balance the sweetness.
- Brown Sugar – This sweetens the bars while adding deeper, caramel notes. Brown sugar also helps add moisture keeping them nice and chewy.
- Vanilla Extract – The vanilla is important because it enhances the taste of the tasty granola.
- Crispy Rice Cereal – This adds a nice crispy texture. I use plain rice cereal (Rice Krispies).
- Salt – You don’t need much if you use salted butter.
- Mini Chocolate Chips – You’ll mix them into the bars and add them as a topping.
How to make Chewy Chocolate Chip Granola Bars
This section shows you how to make this recipe, with process photos showing the steps to help you visualize it. For full instructions, including amounts and temperatures, see the recipe card below.
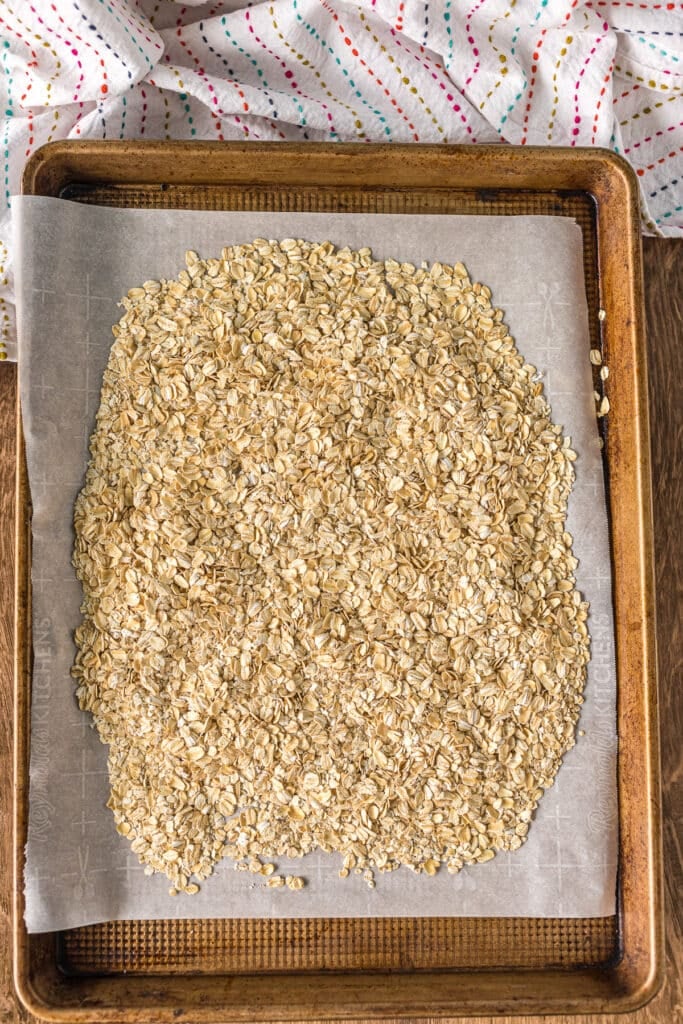
- Step One: Toast the oats. Spread them out onto a parchment-lined baking sheet and toast them in a preheated oven for about 8 minutes, stirring at the 3-minute mark. Once golden, remove them from the oven.
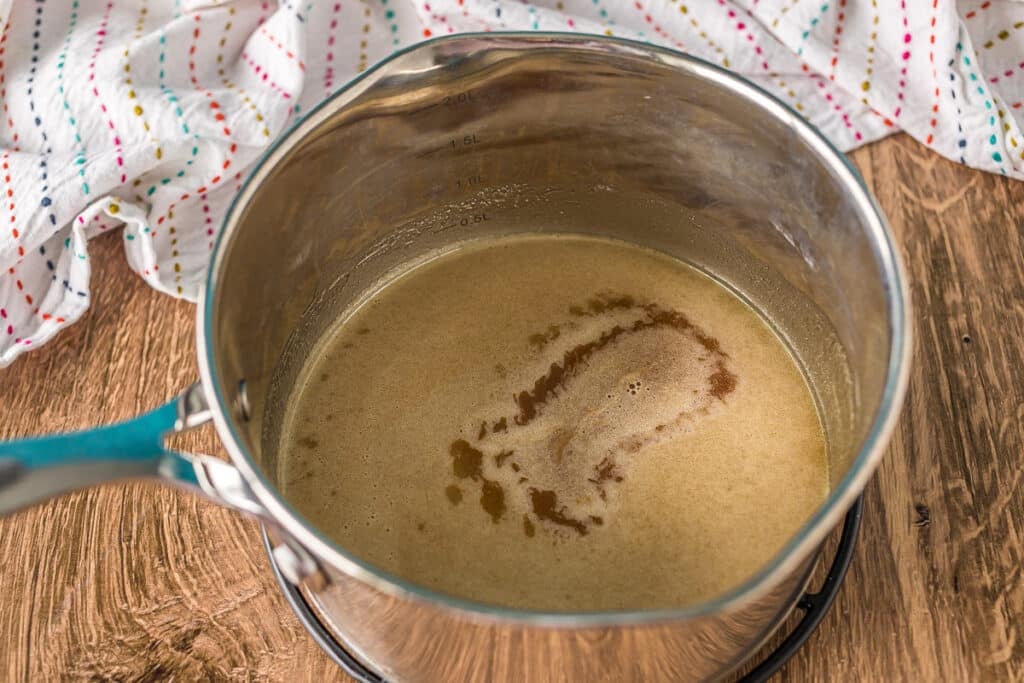
- Step Two: Heat the honey, butter, and brown sugar in a small saucepan over medium heat. Stir frequently until the sugar dissolves. Lower the heat and let it simmer, while stirring constantly, until it bubbles. Remove it from the heat and add the vanilla. Allow it to cool.
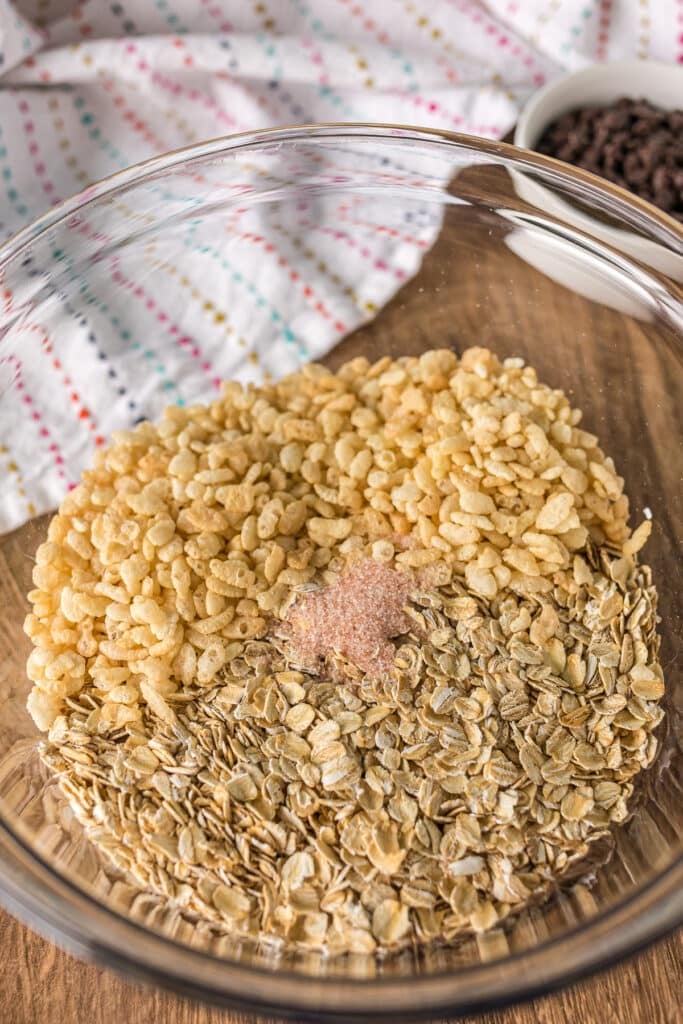
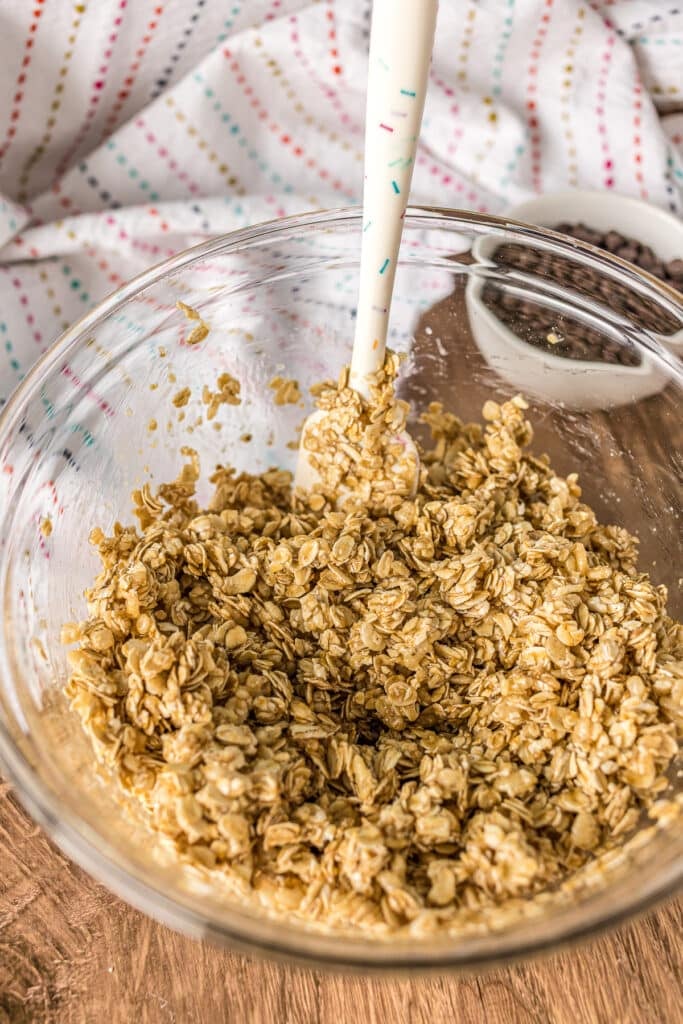
- Step Three: To a large mixing bowl, add toasted oats, rice cereal, and salt. Gently stir in the melted butter and sugar mixture and stir well to ensure everything is completely coated. Let cool to room temp.
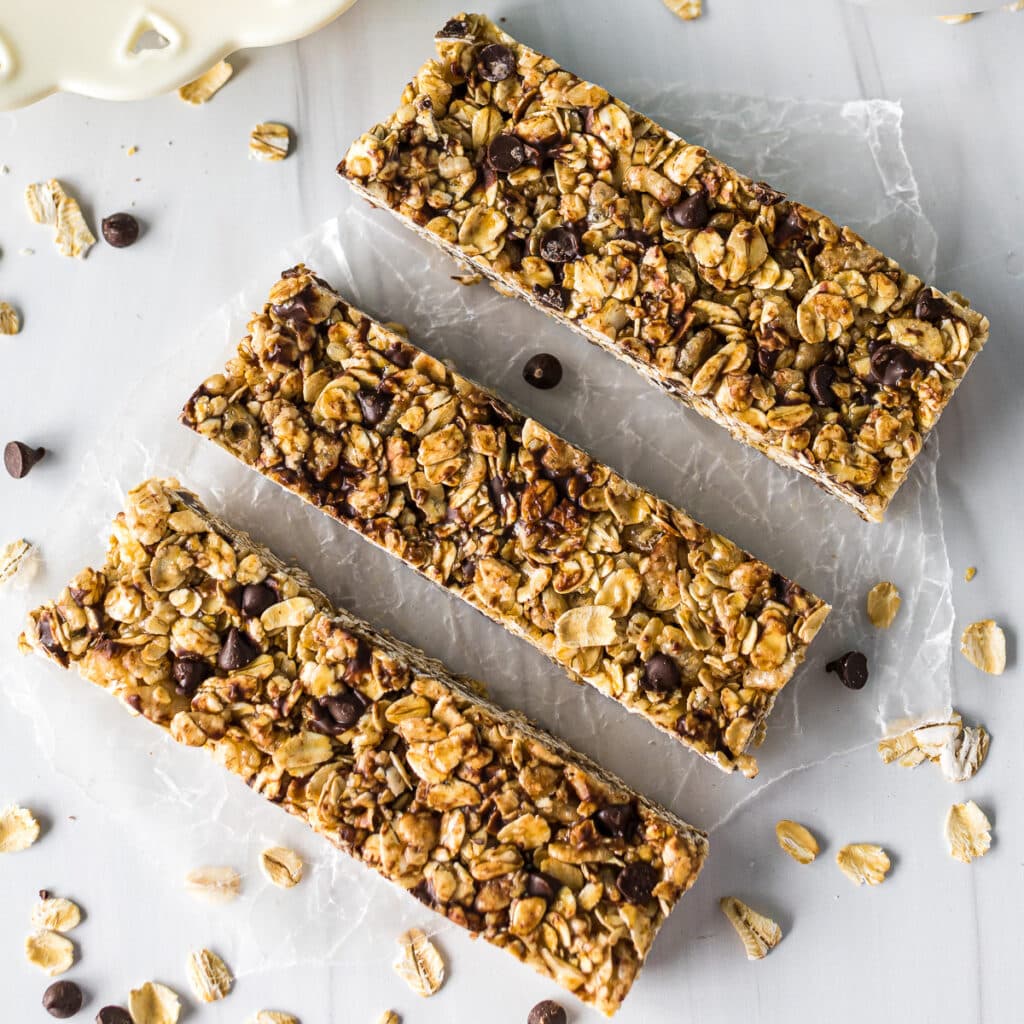
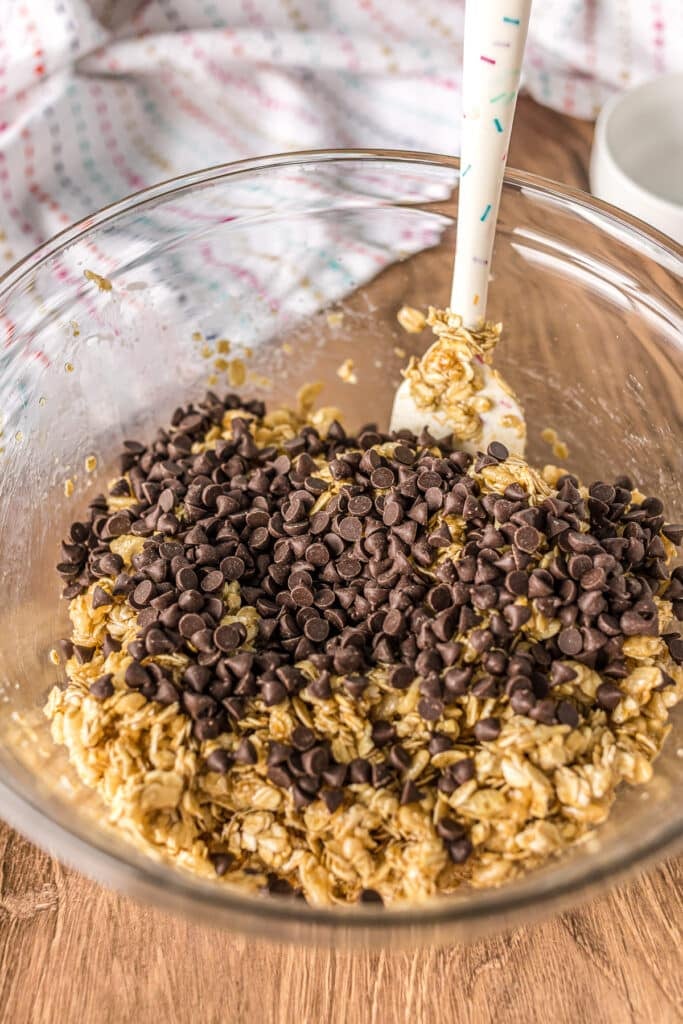
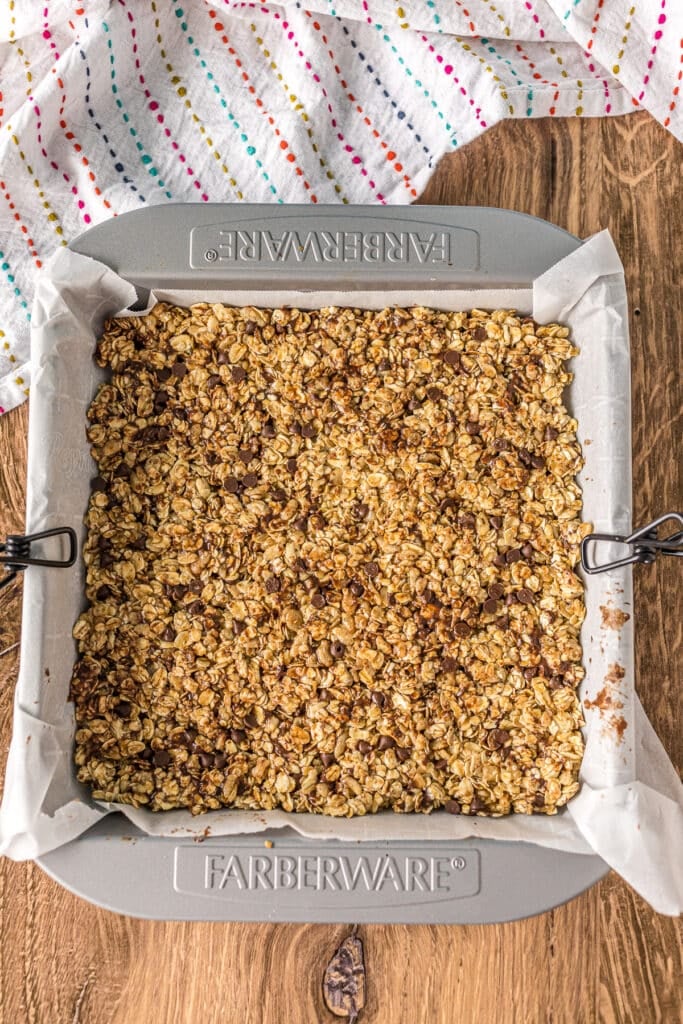
- Step Four: Once the granola is at room temperature, add the chocolate chips (otherwise they’ll just melt). Transfer the mixture to a prepared baking dish and use a spatula to spread it out evenly. If you would like some extra chocolate chips, sprinkle some more on top.
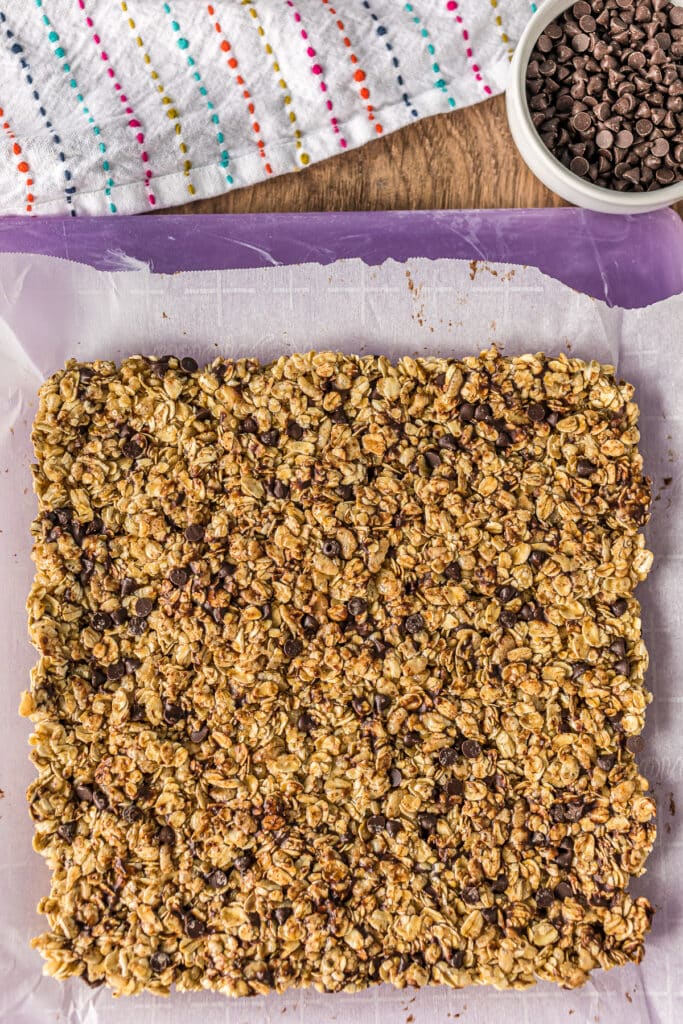
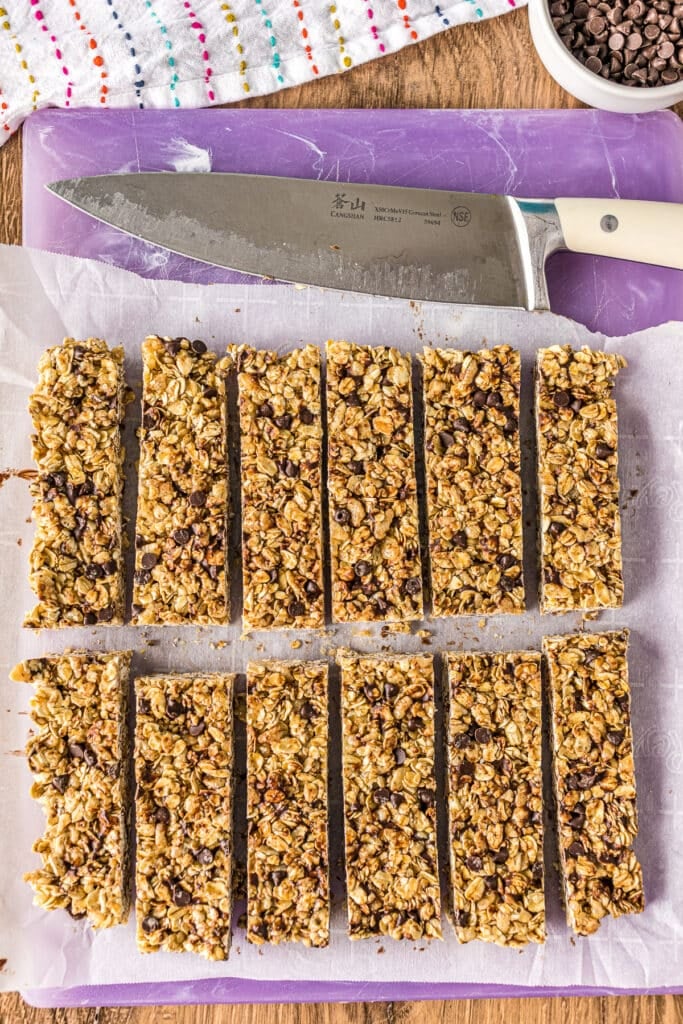
- Step Five: Refrigerate the granola for at least an hour. Once completely chilled, slice them into 12 bars about 1-inch wide. Enjoy!
Tips & Suggestions
- Add your favorite mix-ins. Add raisins, dried cranberries, goji berries, chopped peanuts, pecans, or almonds. You could also add pumpkin seeds, sunflower seeds, chia seeds, or hemp hearts.
- Remove the oats before they burn. They should toast to a golden color, not much darker than that.
- Be careful not to burn the brown sugar and butter mixture. When the sugar is dissolved, turn the heat down to low and stir it constantly while it simmers.
- Ensure the oat mixture is completely cool before mixing the chocolate chips. If it’s too warm, it will melt the chocolate.
- Pack the granola bar mixture tightly into the baking dish. Top it with a layer of parchment paper and use the bottom of a glass or spatula to press the mixture down so it’s flat and even.
- If you prefer a less sweet bar, you can cut down on the amount of brown sugar.
How to reheat and store Homemade Granola Bars
How to store leftovers
Store the granola bars in an airtight container or zip top bag in the fridge for up to 2 weeks. Layer them with parchment paper so that they don’t stick together.
They will survive at room temperature, but they may warm up a bit and become soft.
Can I freeze this granola bar recipe?
Yes, you can freeze the granola bars. First, place them in a single layer on a parchment-lined baking tray and put the tray in the freezer. Once the granola bars are solid, place them in a freezer-safe food storage bag. They will stay fresh in the freezer for up to six months.
How to thaw them
Pull them out of the freezer and let them set at room temperature until they thaw naturally.
FAQs
Yes, these granola bars are naturally gluten-free. To be safe, especially for an allergy, always read the labels on the oats and cereal to ensure they’re certified gluten-free.
When you place the bars in an airtight container, place a piece of parchment or wax paper in between the layers.
Top your granola bars with your favorite ingredients. Try them with shredded coconut, drizzle some melted peanut butter, or spread melted chocolate overtop. I have also enjoyed a sprinkle of sea salt to finish them off!
Need more no bake snack recipes? Try these:
Slow Cooker Cinnamon Sugar Candied Almonds
No Bake Chocolate Peanut Butter Haystacks
Click here for my entire collection of snack recipes.
Homemade Chocolate Chip Chewy Granola Bars – no bake!
Ingredients
- 1 ½ cup old fashioned oats
- 1 cup quick oats
- ½ cup honey
- ¼ cup salted butter
- 2 Tablespoons brown sugar
- 1 teaspoon vanilla extract
- 1 ½ cups crispy rice cereal
- ½ teaspoon salt
- ½ cup mini chocolate chips plus more for topping
Instructions
- Preheat the oven to 350°F and line a lipped baking sheet with parchment paper. Separately, line a 9×9 baking dish with parchment paper and set aside.
- Pour the oats onto the lipped pan and spread into an even layer. Toast the oats in the oven for 3 minutes, stir, then toast for another 5 minutes or until golden. Do not let them brown, just toast. Remove from the oven and set aside.1 ½ cup old fashioned oats, 1 cup quick oats
- In a small saucepan over medium heat, add the honey, butter, and brown sugar. Stir frequently until fully melted and sugar dissolved. Turn the heat to low and let simmer, stirring constantly, until bubbly.½ cup honey, ¼ cup salted butter, 2 Tablespoons brown sugar
- Remove the pan from the heat and stir in the vanilla extract. Let cool.1 teaspoon vanilla extract
- In a large mixing bowl, add the toasted oats, crispy rice cereal, and salt. Stir to evenly distribute.1 ½ cups crispy rice cereal, ½ teaspoon salt
- Once the oats mixture is cool to the touch, stir in the mini chocolate chips. If you don’t wait for it to cool, the chocolate will melt.½ cup mini chocolate chips
- Press the mixture into the prepared baking dish, packing it in evenly. Top with additional mini chocolate chips, if desired. To pack the bars into the pan, I recommend topping with a layer of parchment paper and using the bottom of a flat glass, or a spatula, to evenly press the mixture into a layer.
- Move the pan to the refrigerator to set for an hour before slicing into approximately twelve 1" bars.
Notes
- Store leftovers in an airtight container in the fridge for up to 2 weeks. I recommend using parchment or wax paper between the layers as they can get sticky.
- The bars are fine at room temperature to pack for lunches or snacks, they will just soften a bit as they warm.
- Switch up the mix-ins to dried fruit (raisins, cranberries, etc.) or nuts.
- If you prefer less sweet, reduce the amount of brown sugar.
Nutrition
Nutritional information is an estimate and provided to you as a courtesy. You should calculate the nutritional information with the actual ingredients used in your recipe using your preferred nutrition calculator.
Did you make this recipe?
Tag me on Instagram @melissa_pplates so I can see!Originally published January 3, 2017; recipe & photos updated February 2024


Can you substitute something for the honey? People I know have a honey allergy.
I haven’t tested but I believe maple syrup will work.