This post may contain affiliate links meaning if you buy from them, I will make a few pennies, at no cost to you. See disclosure here.
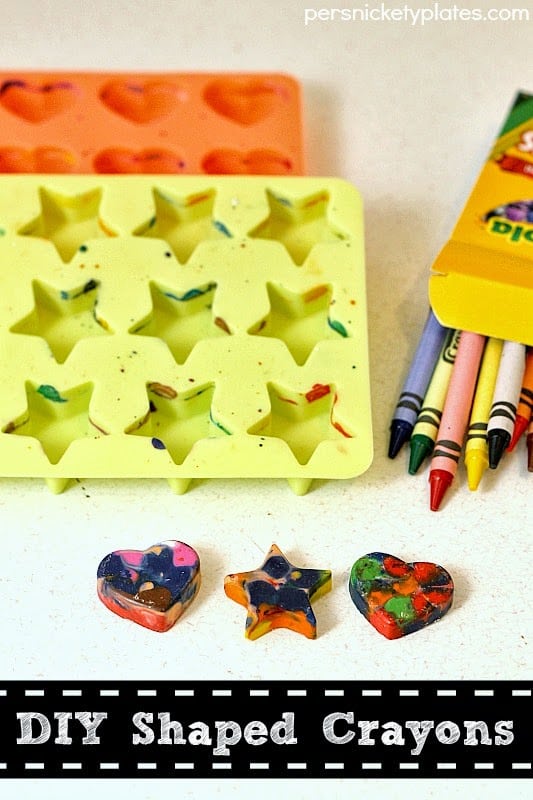
Not Food Friday: DIY Shaped Crayons
Ingredients
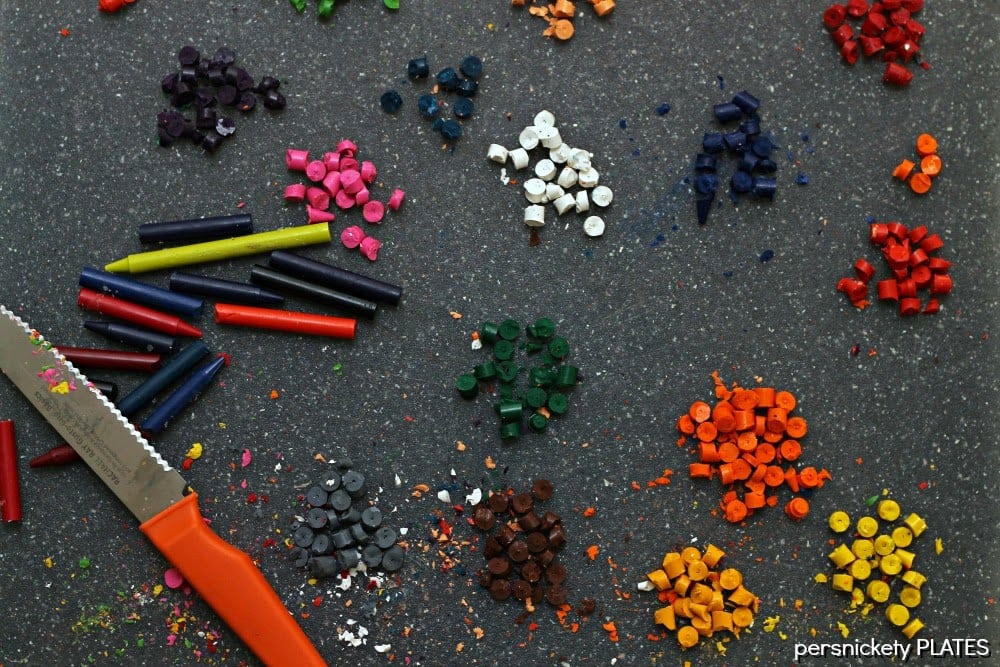
- Crayons Ideally, you’d use old, broken crayons – I didn’t have those, so I used a box of 24 Crayola brand
- Oven safe silicone molds in whatever shapes you want
- Knife & cutting board
Instructions
- Preheat the oven to 250 degrees.
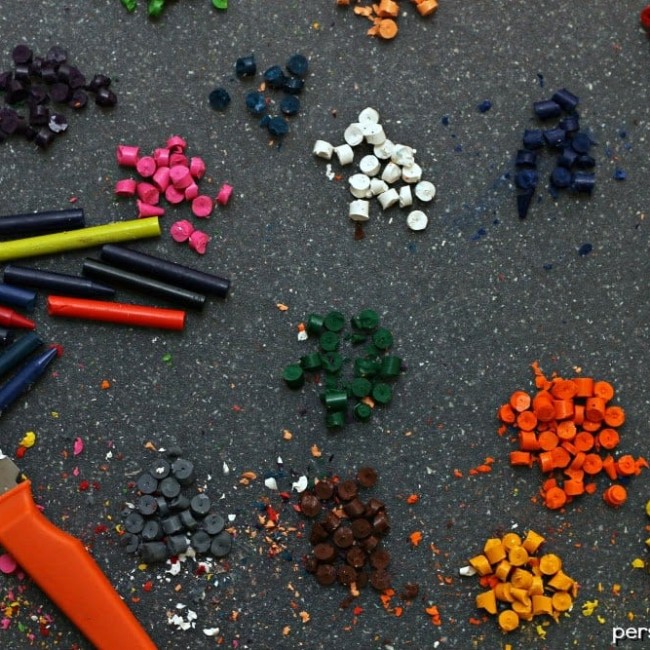
- Peel the wrappers off your crayons. This was trickier than I anticipated. Apparently they glue them on now. When I was little I remember the wrappers falling off.
- Chop your crayons into small pieces. I tried to keep the colors together, but my 3 year old helper wasn’t so worried about grouping.
- Sprinkle pieces into the molds. I might have tried to make some patterns, but again, my 3 year old helper didn’t care so much.
- chopped crayons filled 24 heart and star shapes.
- Once the molds are full, place the trays onto a baking sheet and bake for about 10 minutes. The longer they melt, the more the colors swirl, so that’s up to you.
- Once done, remove from the oven and let cool completely. We put ours in the freezer for about 15 minutes to speed up the process.
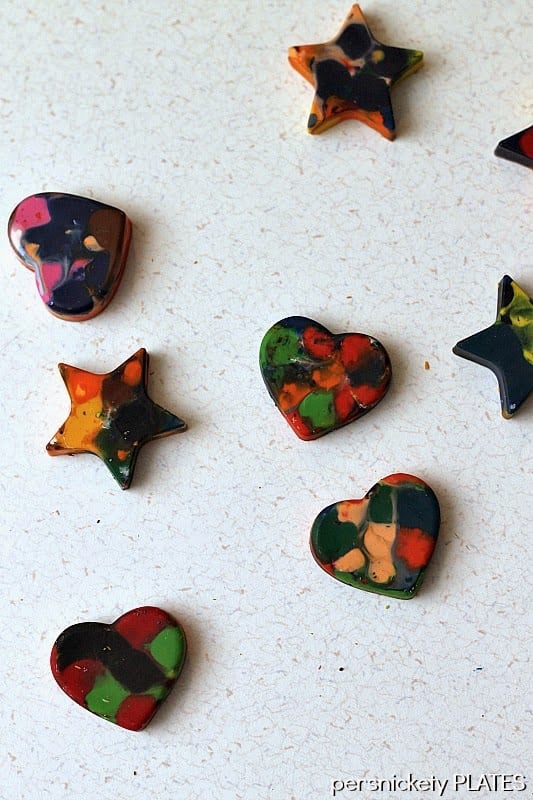
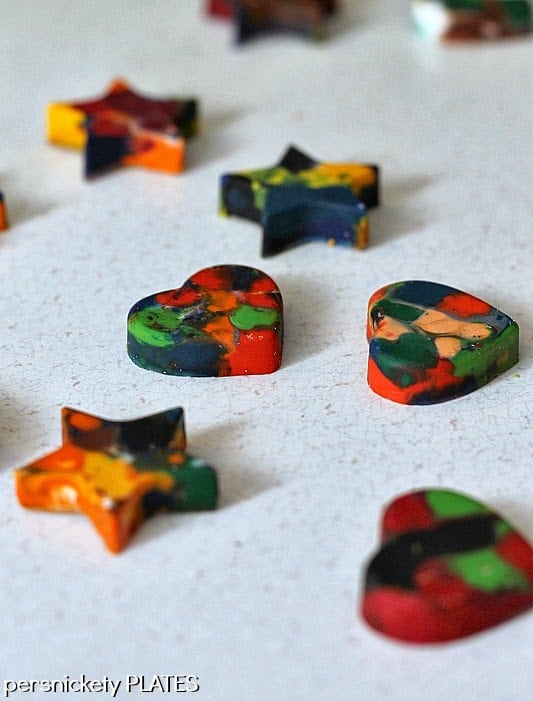
- Because the molds were silicone, the crayons easily popped out.
- Enjoy!
Nutritional information is an estimate and provided to you as a courtesy. You should calculate the nutritional information with the actual ingredients used in your recipe using your preferred nutrition calculator.
Did you make this recipe?
Tag me on Instagram @melissa_pplates so I can see!


what a cute idea!
-liv
http://chocolivlovelaugh.blogspot.kr/
iiiii can’t wait til my babe is old enough to do these!! best diy ever! reminds me of childhood!!
What a cute idea!! I’ve never made my own crayons.