

This post may contain affiliate links meaning if you buy from them, I will make a few pennies, at no cost to you. See disclosure here.
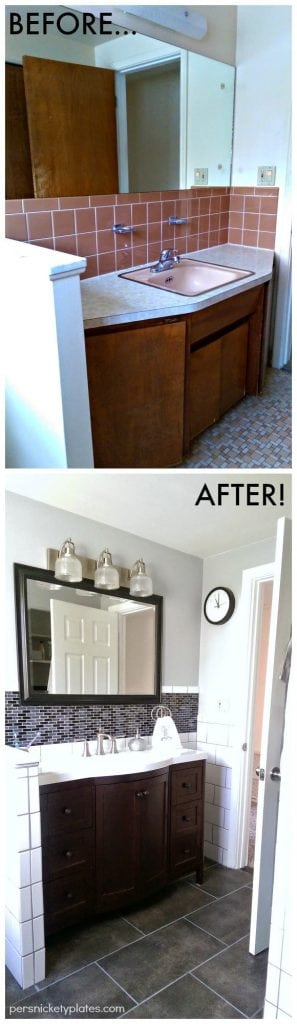
I love a good before and after picture series so today I’m showing you our upstairs bathroom renovation!
We moved into our new house nearly a month ago and are finally starting to feel settled. Besides the boxes of donate/garage sale stuff accumulating in the corners, it’s coming together. I know most of you come here to read about food, but I like talking about life outside of my kitchen every once in awhile. I had fun scouring Pinterest for ideas (you can see my “grown up house” board here), so I thought I’d show you what we came up with.
The plan is to show you the bathroom, our living/dining room, and the bedrooms in a three week series. Usually people save the best for last but since we finished the bathroom first, and it had the biggest changes, that’s what I’m showing you first. Many, many thanks to my dad for his beautiful handiwork. I look forward to taking a shower every night because I love how it turned out.
I feel like this bathroom is decent sized but I realize that’s subjective. When I would search “small bathroom makeover” on Pinterest, I got a lot of huge bathrooms that I definitely wouldn’t call small. Maybe average is a good word? It’s not large by most standards but I certainly don’t feel like it’s small. Anyway, let’s get on with it.
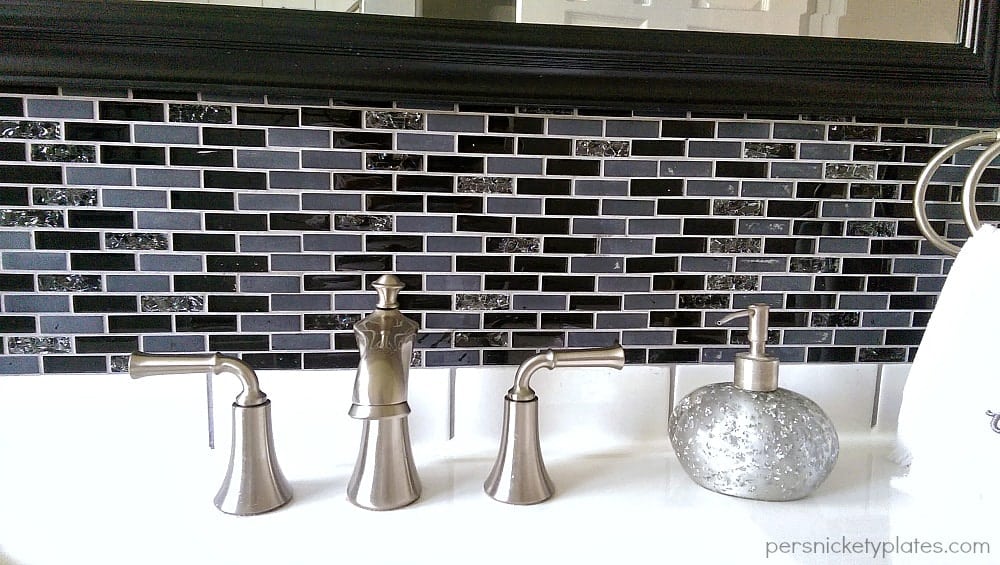
The wall that the sink is on is not very deep so we were limited on which type of vanity we could use that wouldn’t interfere with the swing of the door. We could have ordered something custom but 1) I didn’t want to wait for special order, and 2) I didn’t want to pay for special order. I wanted black but our options were very limited so we got the Madeline from Home Depot in Chestnut. The stock photo makes it look very brown but it’s very dark in real life. I think it flows pretty well with the rest of the colors.
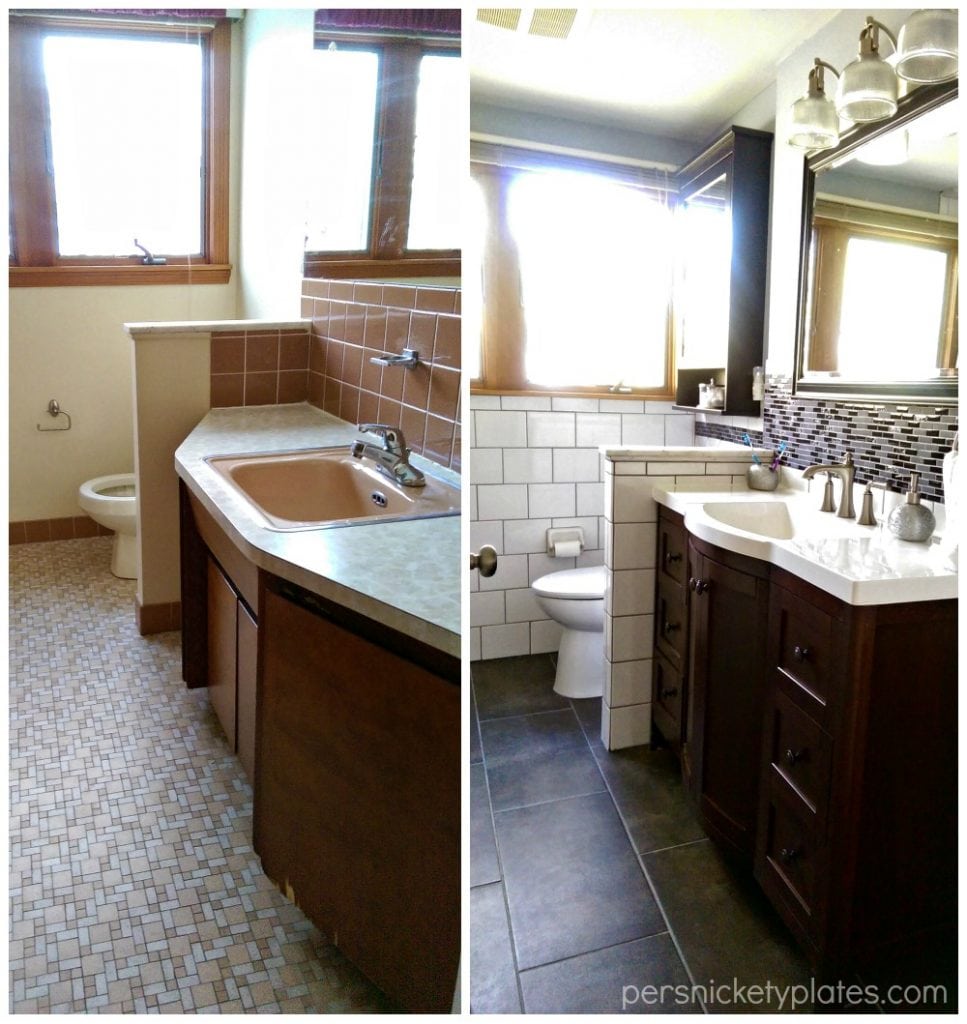
The floor tile is Montblanc Negro from The Tile Shop. I think it’s a nice mix of black/brown/gray.
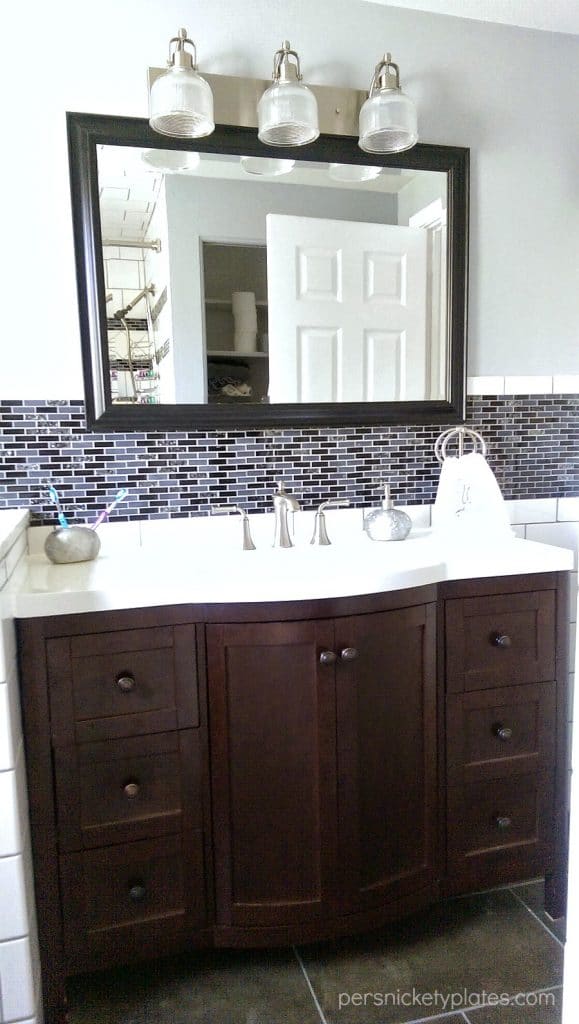
The mosaic wall tile/backsplash is from Lowe’s and it’s reading very blue in these pictures but it’s more black and gray in person. I love the cracked glass.
I knew I wanted a soaker tub and those little nooks in the wall to store shampoo/soap, etc. Love them. I’ve always had shower doors and prefer them to a curtain, but since I’m always leaning in to give Julia a bath, I decided to deal with a curtain for the time being. It’s easier for now.
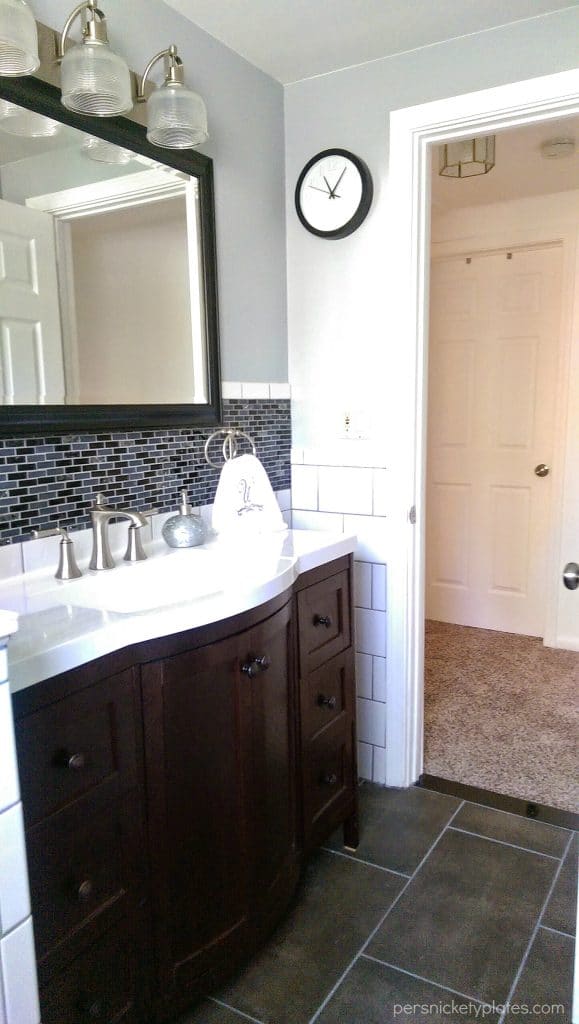
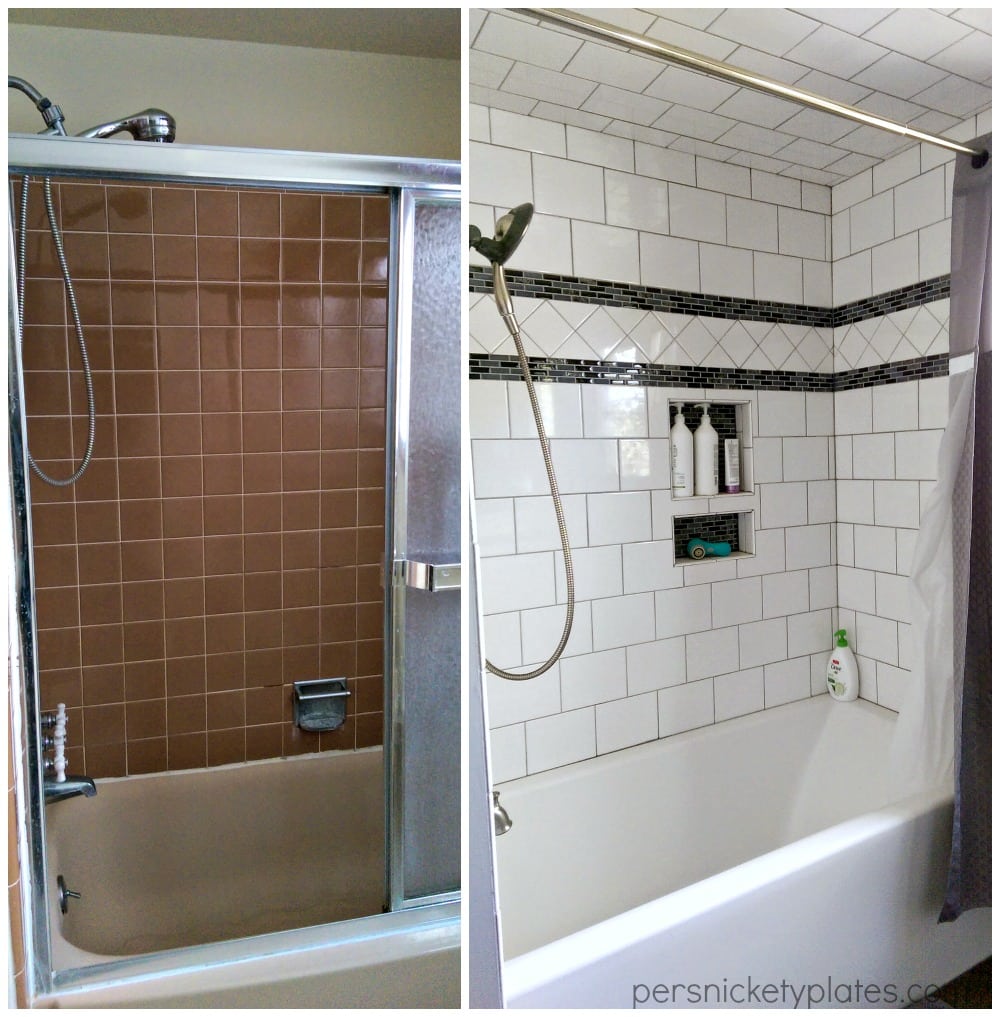 We originally thought we didn’t need a medicine cabinet but after coming from a house that had one, we missed it. I picked the Hemnes mirrored cabinet from IKEA and though it’s large, I love it. We tiled all the way around the toilet which I didn’t think I would like initially but my dad and husband outvoted me and I do really like the way it turned out. Because there is so much tile, there was not a lot of wall space left for painting. The ceiling is Benjamin Moore Aura Bath & Spa paint which repels moisture & mildew and the walls are Benjamin Moore Timber Wolf in eggshell. It’s a bluish-gray that works well with the black and gray mosaic tiles. Isn’t that “before” toilet lovely?!
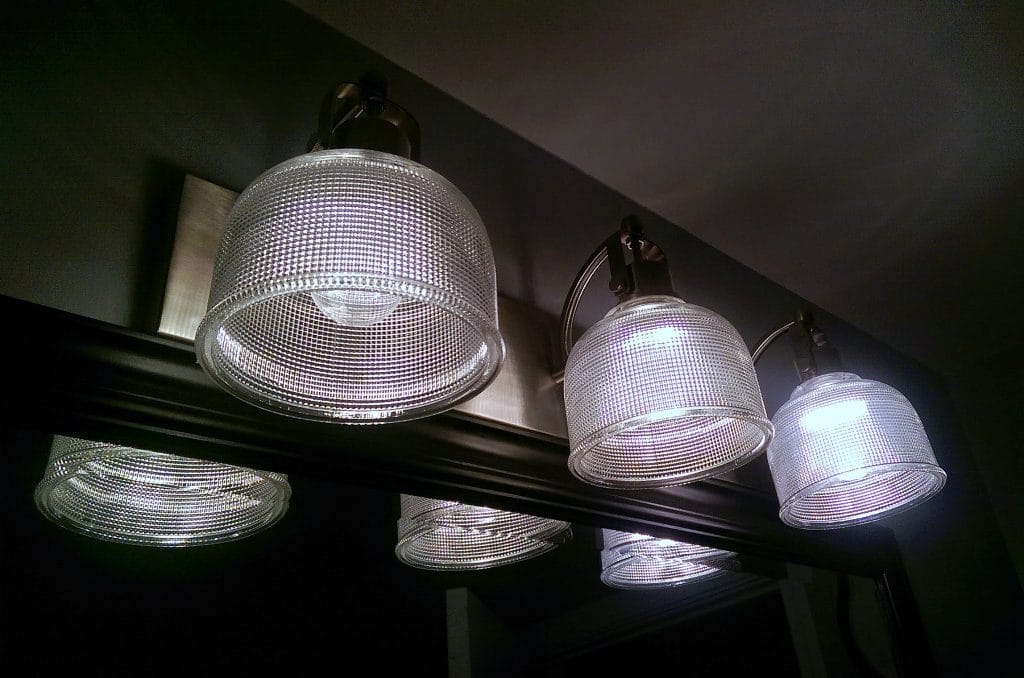
 This is the third light fixture I bought. I found one I loved on a site that was a little expensive, then I found a nearly identical one at Home Depot but it didn’t fit. I ended up finding this very similar one from Menards that had the back panel that we needed. I purposely took this one in the dark so you could see how pretty the light shines.
Two areas that aren’t quite finished yet are the closet behind the door and the window covering. The closet is HUGE. Pictures don’t do it justice but it’s as deep as the shower area. I need to spend some time getting baskets and organizing all of our linens, extra toiletries, etc.
I think that’s it. Did I miss anything? Any questions? Do you love before and after pictures as much as I do?
Again, many thanks to my dad for all his hard work and thank you to Benjamin Moore for generously providing the paint for this project. Like I said, you didn’t get to see much of it here but when I show you the living room and bedrooms, the paint makes a huge difference. While planning, I loved using their website for testing out paint color combos with their “Design Your Own Room” tool. It’s fun – try it!


wow! it’s absolutely gorgeous
Thank you, Heather!
Wow! I’m amazed. I love the before and after difference. You did a great job. Thanks for sharing!
Hey Bud!!
The before and after views of your bathroom are awesome.The tiles and the broad mirror that you have put up here are truly adding beauty to it.The lamps are looking so adorable and completely going with the bathroom tiles and paints.Overall everything is just enhancing the beauty.
Thanks for the share!!
Keep doing good work and keep sharing
Regards
Fred wingg
Be careful to keep your color choices aligned with the home’s architecture. In other words, don’t add cottage garden-type flowers to a bed in front of a starkly modern home. Certain plants are grown because of their interesting and colorful foliage, such as hosta and coleus, and are better suited to more modern homes. If you have questions about what to plant, consult with the experts at your local nursery.