

This post may contain affiliate links meaning if you buy from them, I will make a few pennies, at no cost to you. See disclosure here.
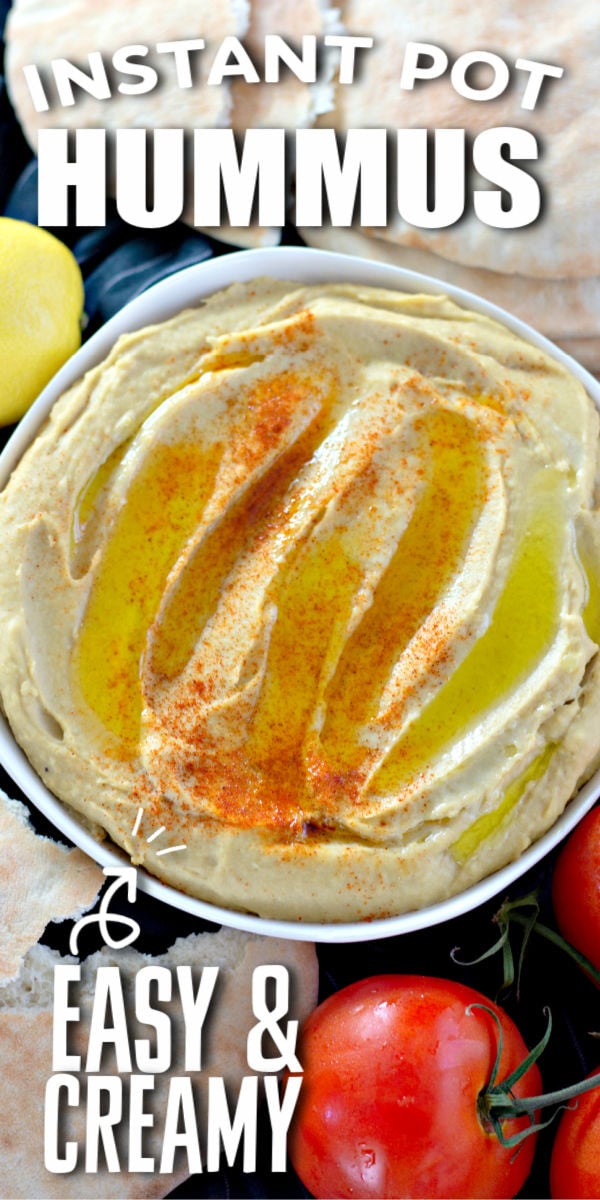
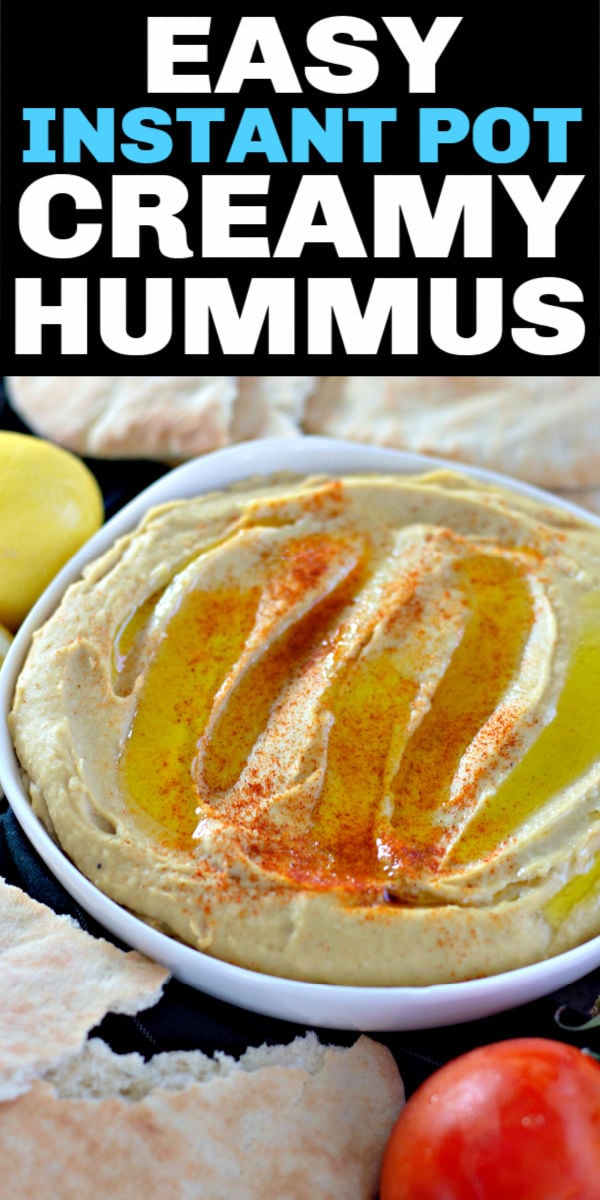
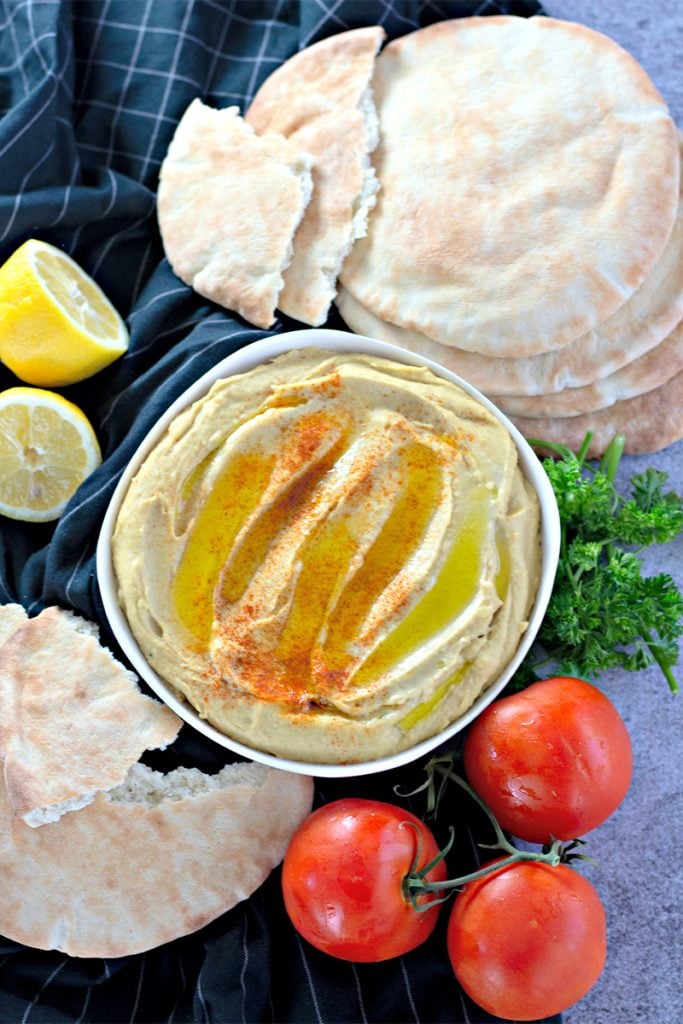
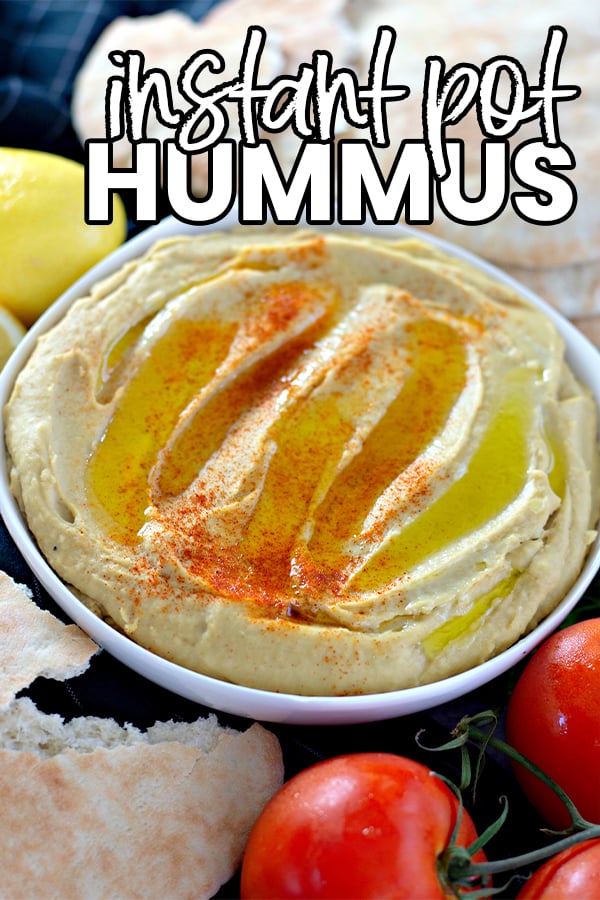
This easy instant pot hummus starts with dry chickpeas but no soaking is required when you make it in the instant pot! This homemade hummus will be ready for snacking in no time.
Click HERE to save recipe to Pinterest
As good as hummus is, store-bought just doesn’t cut it in my book. There is nothing better than a tried and true homemade batch. Trust me – if you’ve never made it yourself, this will change your world.
The best part of this recipe is how EASY it is. You don’t have to soak the garbanzo beans (aka chickpeas) since it’s made in an instant pot. There’s only 10 minutes of prep required, so you can make it before a party while doing other things.
When it’s time to sit down and enjoy it, you’ll love it on some homemade pita bread. Or – you can upgrade this recipe to a hummus veggie burger.
What is hummus?
If you don’t know, you’ve been missing out! You’ll find lots of variations in grocery stores nowadays (chocolate hummus anyone? Nope? Hard pass for me) but the basics are that it’s a dip including garbanzo beans (also known as chickpeas), tahini paste, lemon juice, garlic, and salt.
Many use it as a dip with crackers and veggies, but it can also be used on toast, sandwiches, as a salad dressing, or even to make deviled eggs. This simple recipe is very versatile!
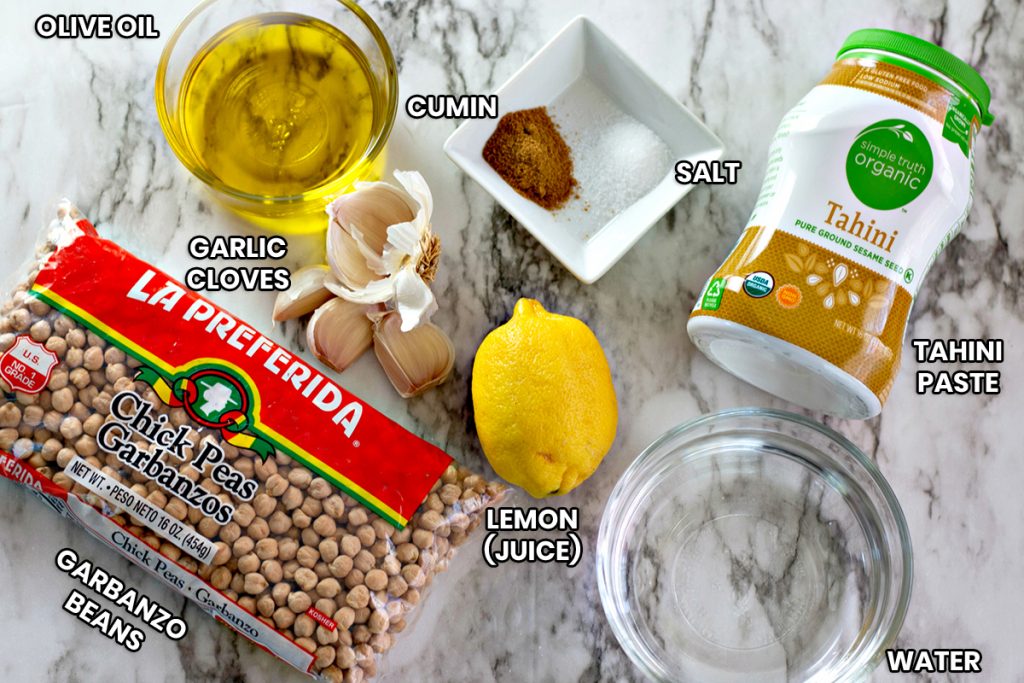
Ingredients
Below is a list of the ingredients you’ll need to gather to make this recipe. Scroll all the way down for the full recipe card.
- Garbanzo beans – Dried garbanzo beans/chickpeas.
- Water – needed to cook the garbanzo beans and to thin the hummus.
- Garlic – you’ll need them all peeled and to mince a couple cloves.
- Lemon juice – perfect consistency, acidity, and flavor for this recipe. Please use fresh and not bottled.
- Tahini paste – Tahini is ground sesame seeds. You can usually find it in the condiment aisle or an ethnic food aisle, depending on your market. If you don’t have any, you can try making hummus without tahini.
- Olive oil – You’ll want a very fine extra virgin olive oil.
- Salt – Absolutely necessary for flavor.
- Cumin – An essential hummus flavor, cumin adds a touch of spice and richness.
Tools you’ll need
- Pressure cooker – if you don’t have an instant pot yet, make sure you grab one and change your life!
- Blender – this blender works so well! You can also purchase the food processor attachment if you wanted.
- Spatulas – everyone needs a great heat resistant spatula and these are great. Perfect for stirring and mixing ingredients in the kitchen!
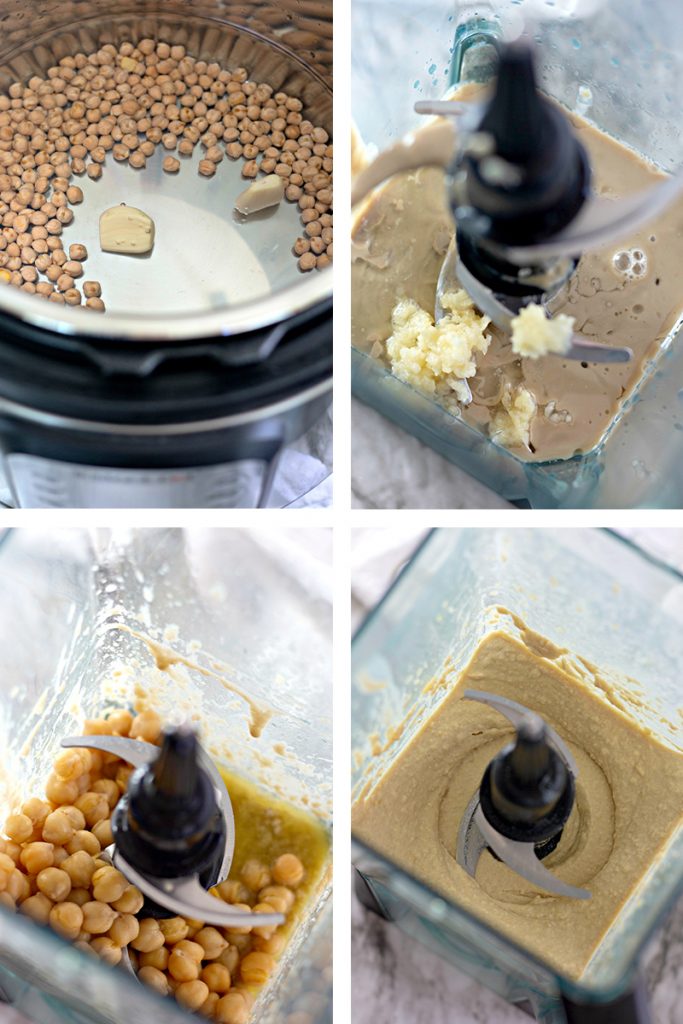
How to make Hummus in the Instant Pot
- STEP ONE: Pour the beans, water, and two garlic cloves into the instant pot; cover and seal vent. Set to high pressure for 40 minutes.
- STEP TWO: Once they’re done cooking, allow the pressure to naturally release for 30 minutes as the beans continue to cook.
- STEP THREE: After the pressure is done releasing, open the instant pot and reserve 1 cup of liquid for later. Remove the cooked beans and garlic and strain off the excess water.
- STEP FOUR: Add the tahini paste, two more cloves of garlic, and lemon juice to a blender or food processor; puree until completely smooth.
- STEP FIVE: Add half the beans, 1 tablespoon of the reserved liquid, and half the olive oil; blend until smooth.
- STEP SIX: Add the salt, cumin, remaining beans, and remaining oil; blend until smooth.
- STEP SEVEN: Taste the hummus and adjust seasonings as needed. If it’s too thick, continue adding more liquid until you’ve reached your desired consistency. It will slightly thicken as it sets so keep that in mind.
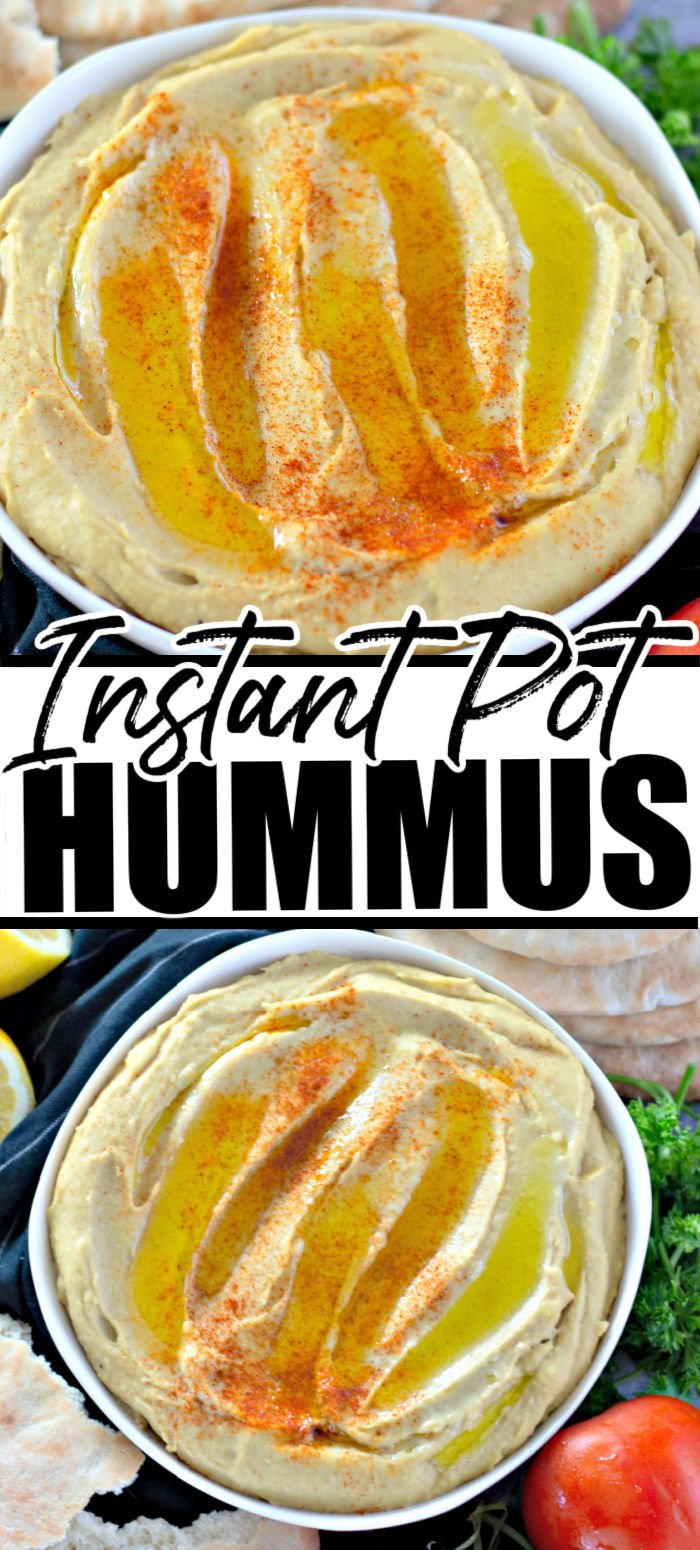
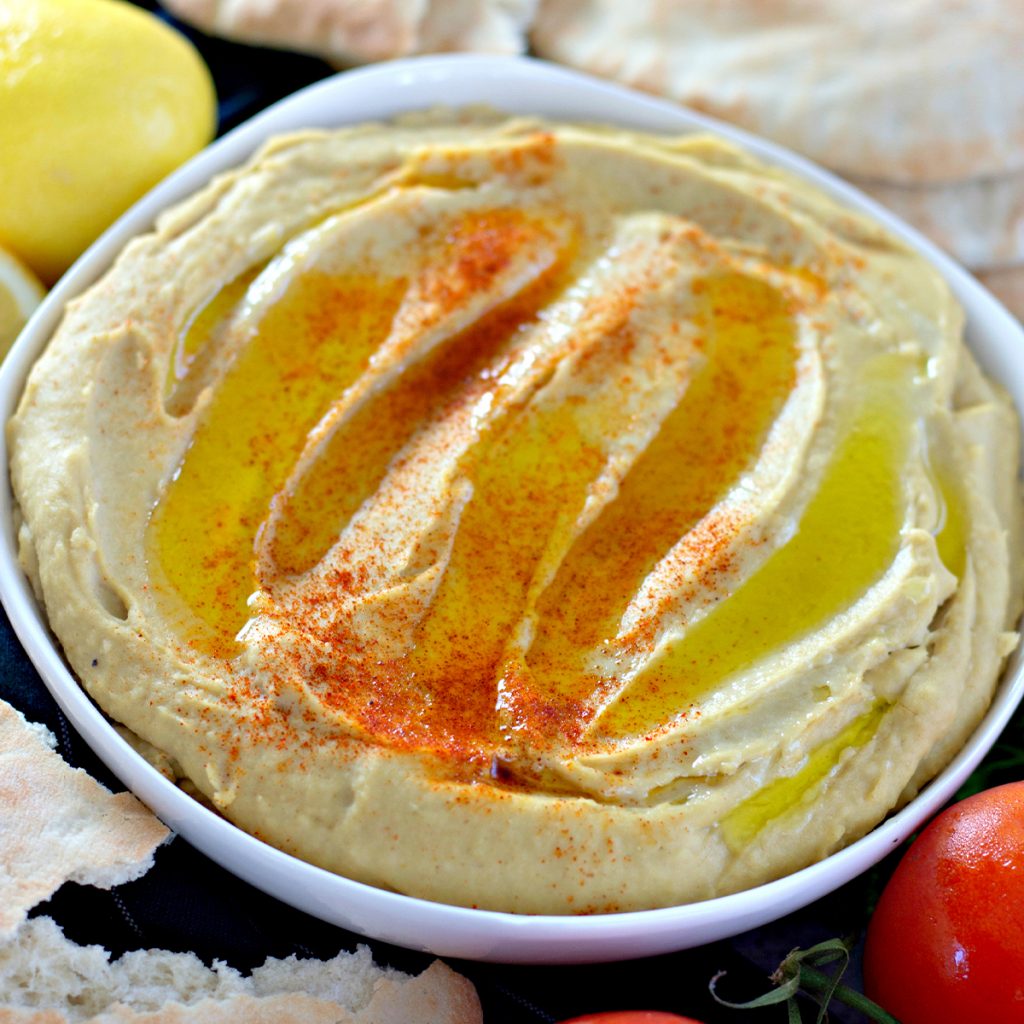
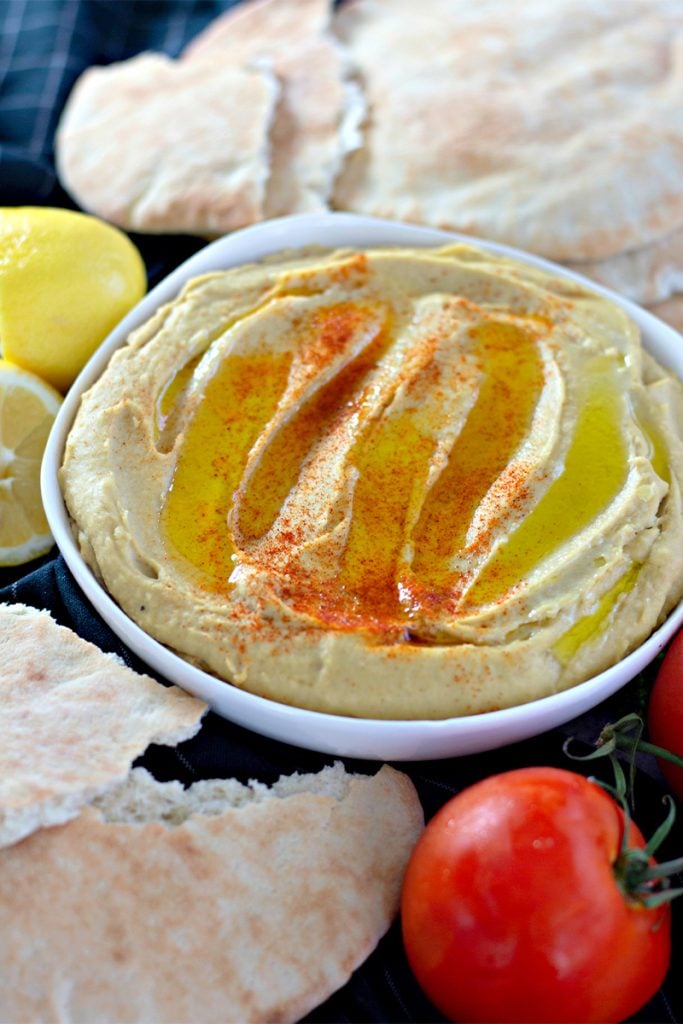
- STEP EIGHT: Pour into a serving bowl and top with olive oil and smoked paprika, if desired.
Do I need to soak the garbanzo beans?
Nope! If you prefer to soak them (or you already have them soaked for whatever reason), reduce your cooking time down to 30 minutes.
What should I add to hummus to make it taste better?
One way is to increase the amount of garlic you’re using! If you enjoy a garlic flavor profile, you can add up to 10, depending on your preference.
Another thing you can try is making sure you use a very high-quality extra virgin olive oil as it adds a lot of flavor to your homemade hummus.
You can also add some hummus toppings such as roasted red peppers, caramelized onions, pesto, or feta cheese.
How long is hummus good for?
Hummus will last 7 days, stored covered in the fridge. Avoid leaving it out for more than 2-4 hours at a time as it can turn sour.
Need more dip recipes? Try these:
Garlic Herb Dip
Buffalo Chicken Dip
Loaded Baked Potato Dip
10 Homemade Dips
If you want more uses for your instant pot, try instant pot shredded chicken or chicken parmesan.

Instant Pot Hummus
Ingredients
- 1 ¼ cup garbanzo beans dry
- 6 cups water
- 4 cloves garlic divided
- ⅓ cup fresh lemon juice
- ½ cup tahini paste
- 1 ½ teaspoons salt
- ⅓ cup olive oil extra virgin
- 1 teaspoon cumin
Instructions
- Add the beans, water, and two peeled garlic cloves to the instant pot. Cover with the lid and seal the vent; set to high pressure for 40 minutes.
- After the garbanzo beans are done cooking, allow the pressure to naturally release for 30 minutes as the beans finish cooking.
- Once all pressure has released, open the instant pot and reserve 1 cup of liquid to use later. Remove the beans and garlic; strain the excess water.
- Using a blender or food processor, puree the tahini paste, two cloves of peeled and minced garlic, and lemon juice.
- Add half of the cooked beans, 1 tablespoon of reserved liquid from earlier, and half of the olive oil; blend until completely smooth.
- Add the salt, remaining beans, and remaining oil; blend until smooth.
- Taste and adjust seasonings as needed. If it's too thick, add more of the reserved liquid until you're satisfied with the consistency.
- Pour into a serving dish and top with olive oil or smoked paprika. Enjoy!
Notes
- The garbanzo beans do not need to be soaked for this recipe. If preferred to soak them, reduce cooking time to 30 minutes.
- Try topping your hummus with chopped roasted red peppers, carmelized onions, pesto, or even crumbled feta cheese.
- For a heavier garlic flavor, try using additional garlic cloves (up to 10, depending on your preference).
- For best results, use a high-quality extra virgin olive oil as it gives the hummus a lot of flavor.
Nutrition
Nutritional information is an estimate and provided to you as a courtesy. You should calculate the nutritional information with the actual ingredients used in your recipe using your preferred nutrition calculator.


Am I missing the amount of olive oil. It refers to half.
Thank you for catching me! 1/3 cup. I will adjust.