

This post may contain affiliate links meaning if you buy from them, I will make a few pennies, at no cost to you. See disclosure here.
DIY Shaped Crayons – recycle your old, broken crayons into fun new shapes!
I love DIY projects. Especially DIY projects with kids. I’m always having to borrow kids to play with – luckily I have a lot to choose from between family and friends.
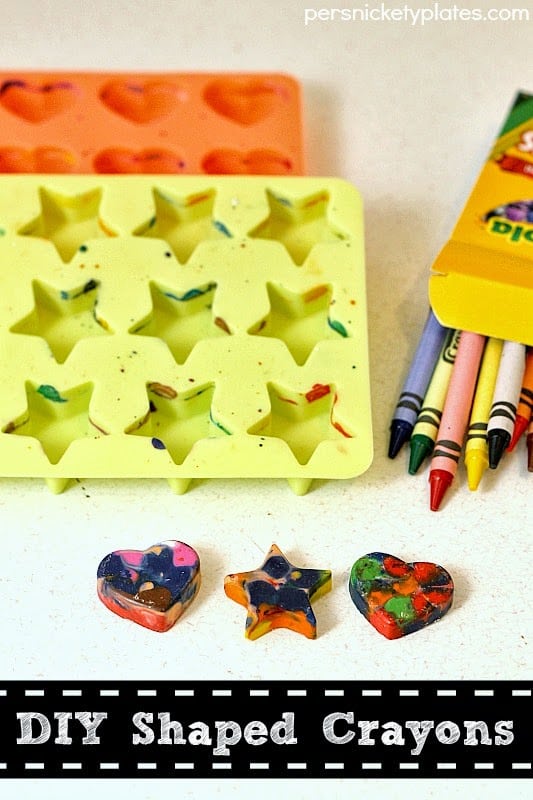

I was walking through Forever 21 (of all places) and saw silicone ice cube trays on clearance. I picked up a heart mold and a star mold and decided to make crayons. Since it was back to school time, crayons were like 50 cents. So, total, this project was under $5 and really fun for my 3 year old helper and me. I think they’d make a great gift for a kid, too.
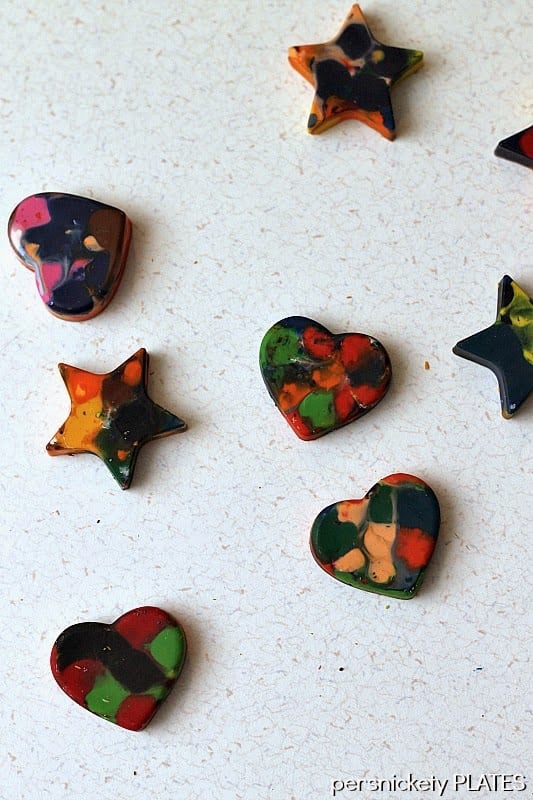
My pictures turned out pretty dark – I didn’t think to take many before I sent my helper on her way with them. But they turned out really pretty and were fun to color with.
Make sure whatever molds you get are oven safe (most are up to 500 degrees). It should say right on them.


Not Food Friday: DIY Shaped Crayons
DIY Shaped Crayons - recycle your old broken crayons into fun new shapes!
Ingredients
- Crayons Ideally, you’d use old, broken crayons – I didn’t have those, so I used a box of 24 Crayola brand
- Oven safe silicone molds in whatever shapes you want
- Knife & cutting board
Instructions
- Preheat the oven to 250 degrees.
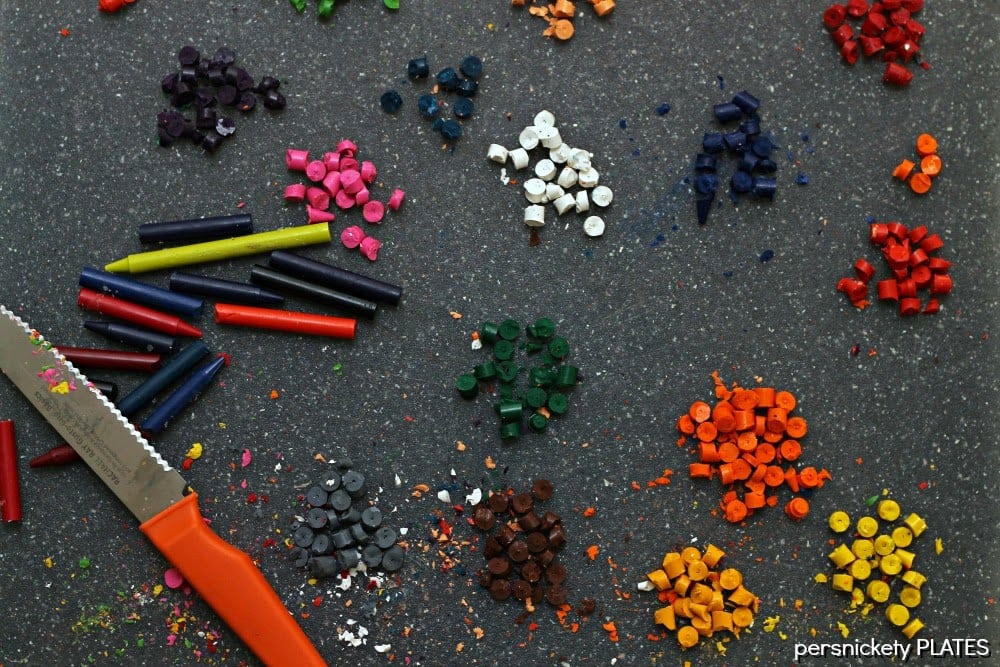
- Peel the wrappers off your crayons. This was trickier than I anticipated. Apparently they glue them on now. When I was little I remember the wrappers falling off.
- Chop your crayons into small pieces. I tried to keep the colors together, but my 3 year old helper wasn’t so worried about grouping.
- Sprinkle pieces into the molds. I might have tried to make some patterns, but again, my 3 year old helper didn’t care so much.
- chopped crayons filled 24 heart and star shapes.
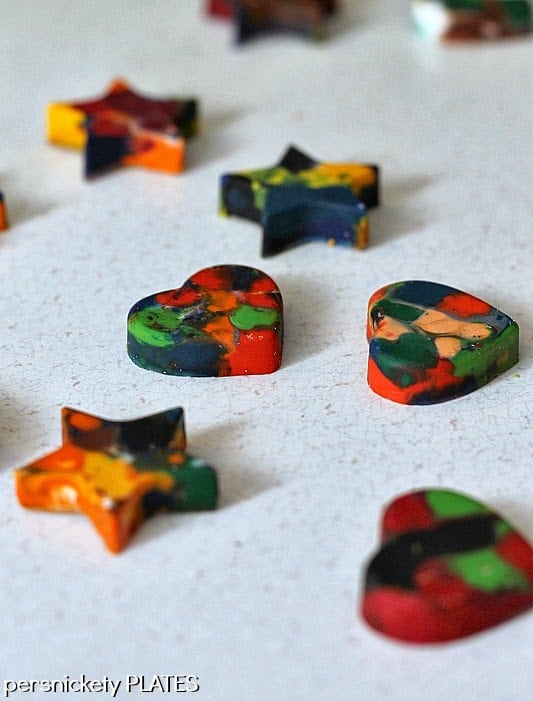
- Once the molds are full, place the trays onto a baking sheet and bake for about 10 minutes. The longer they melt, the more the colors swirl, so that’s up to you.
- Once done, remove from the oven and let cool completely. We put ours in the freezer for about 15 minutes to speed up the process.
- Because the molds were silicone, the crayons easily popped out.
- Enjoy!
Nutritional information is an estimate and provided to you as a courtesy. You should calculate the nutritional information with the actual ingredients used in your recipe using your preferred nutrition calculator.
Sharing of this recipe is both encouraged and appreciated. Copying/pasting and/or screenshots of full recipes to any social media is strictly prohibited. Content and photographs are copyright protected.
Did you make this recipe?
Tag me on Instagram @melissa_pplates so I can see!


what a cute idea!
-liv
http://chocolivlovelaugh.blogspot.kr/
iiiii can’t wait til my babe is old enough to do these!! best diy ever! reminds me of childhood!!
What a cute idea!! I’ve never made my own crayons.