


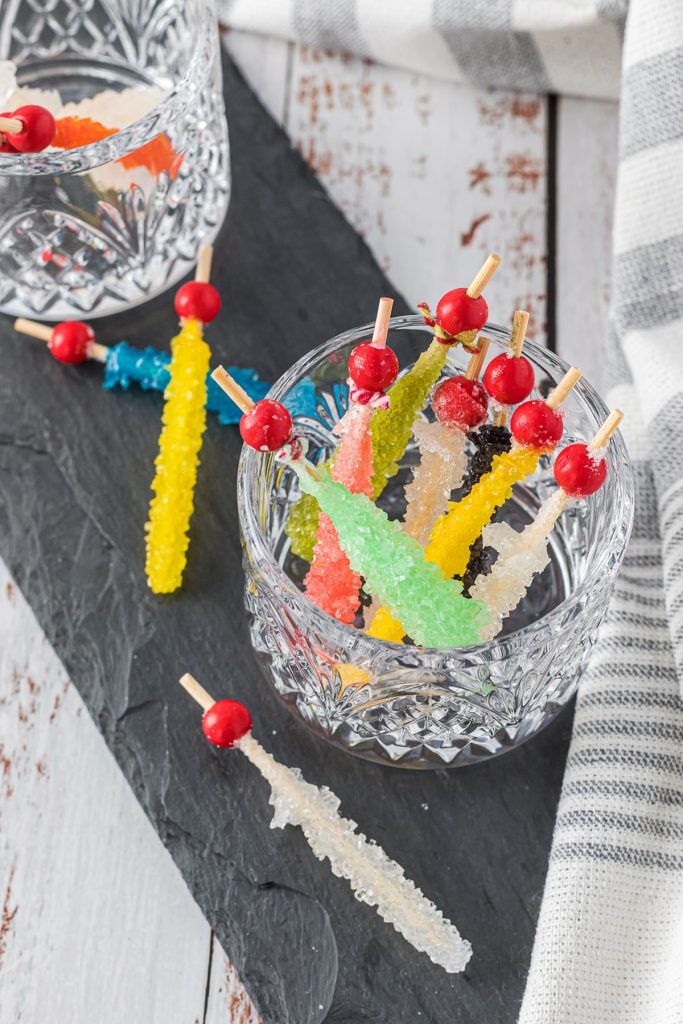
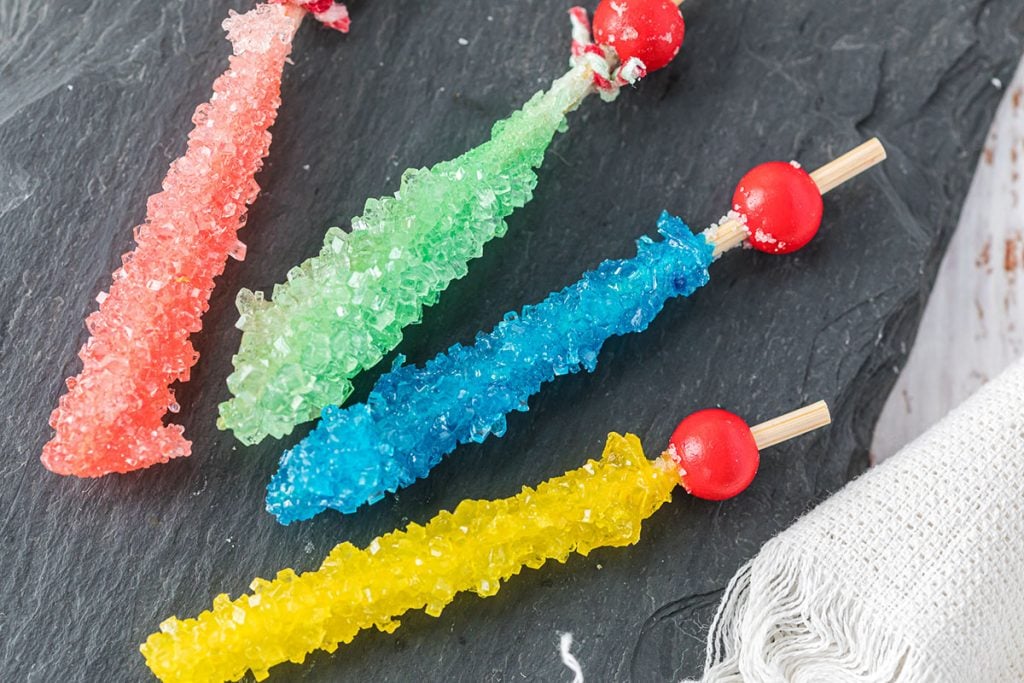
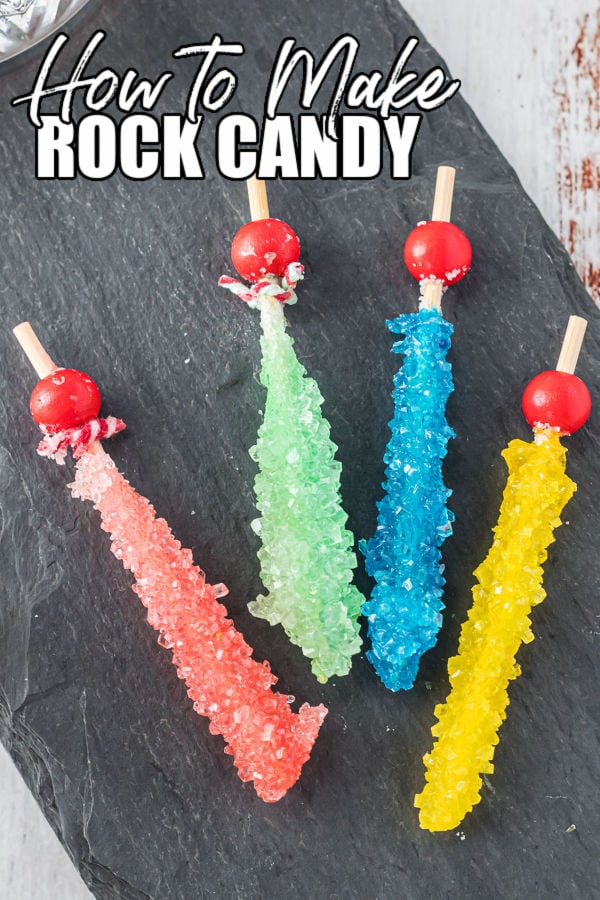
Did you ever wonder how to make rock candy? It’s so easy! Homemade rock candy is not only delicious, it’s also a fun science experiment!

Click HERE to save recipe to Pinterest
When I was little I was always intrigued by rock candy. It’s so pretty! I would pick it out from a candy shop and not even want to eat it – I just liked to look at it. We even served it on our candy buffet at our wedding.
It looks so magical to me, I never would have guessed how easy it is to make at home. Now that I have kids, I can get them involved in making it with me.
Rock candy isn’t just a fun treat, you can also turn it into a science experiment which is extra helpful during distance learning times.
ROCK CANDY INGREDIENTS
Like I said, making rock candy is easier that you probably thought. The ingredients are pantry staples, but you might need to order or pick-up some of the supplies.
Below is a list to help you gather what you need – the full recipe with instructions is down below.
SUGAR – Granulated white sugar.
WATER
FOOD COLORING – Optional, but pretty! I like this Wilton Color Right set – you can make so many colors! Gel colors will be more vibrant than traditional liquid colorings.
FLAVORS/EXTRACTS – Michaels and JoAnn has a pretty good variety of flavorings, but you can also order them. LorAnn makes a “fruity flavors” pack of flavors that would be perfect for this project. They are potent.
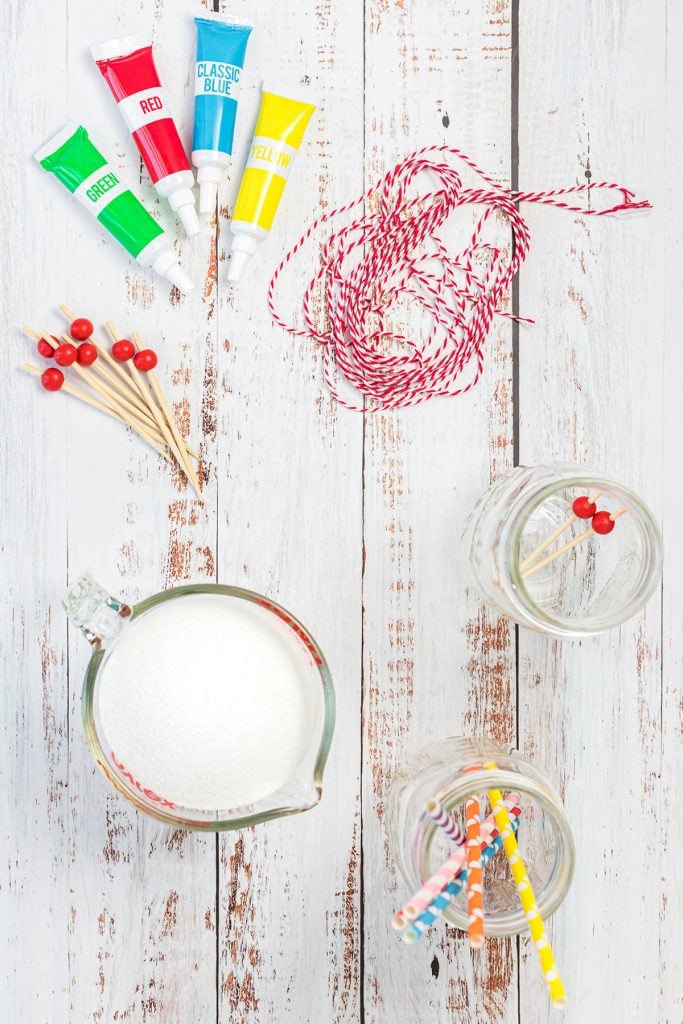
SUPPLIES NEEDED
Outside of the actual ingredients, you will need a few supplies to make homemade rock candy. If you don’t have them on hand, below are Amazon links for easy ordering:
- Wooden Skewers – These plain ones or these with the red balls are fun.
- Glass Jars – 12 oz mason jars are a good size. Use glass, not plastic – both for ease of cleanup and plastic is porous.
- Straws – Any straws or skewers will do – you will use them to make a “X” to dangle your candy.
- Baker’s Twine – You’ll need baker’s twine to dangle the skewers into the sugar mixture.
HOW TO MAKE ROCK CANDY
The process is simple, and crystals will start to form in as quickly as 2-4 hours from starting, but you’ll really want to give them 3-10 days to make large crystals.
I’m going to include more pics than usual so you can clearly see the steps. Let’s do this!
STEP ONE: To a medium saucepan over medium heat, add the sugar and water. STIR CONSTANTLY until it reaches a rolling boil. Don’t boil too long or it will harden.
STEP TWO: Remove the pan from the heat and continue stirring until all the granules dissolve. The mixture will change from cloudy to clear.
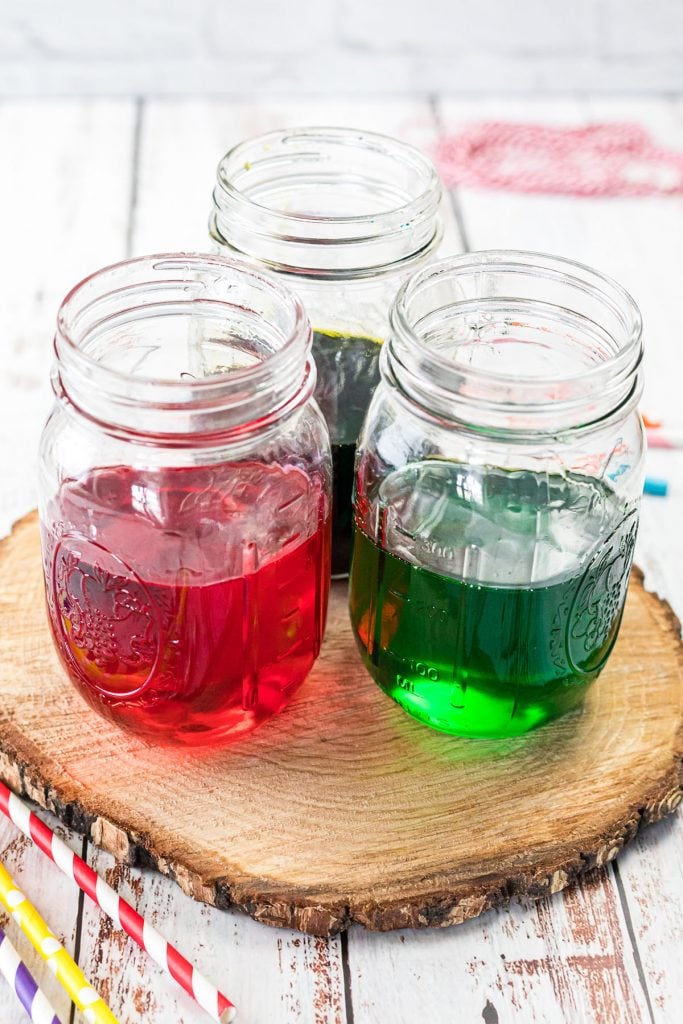
STEP THREE: Carefully pour the hot mixture into your mason jars. You will decide how many jars you need based on how many colors/flavors you want to make (I divided between three 12 oz jars). Place the jars in the fridge to cool to room temperature. You don’t want cold – just cooler.
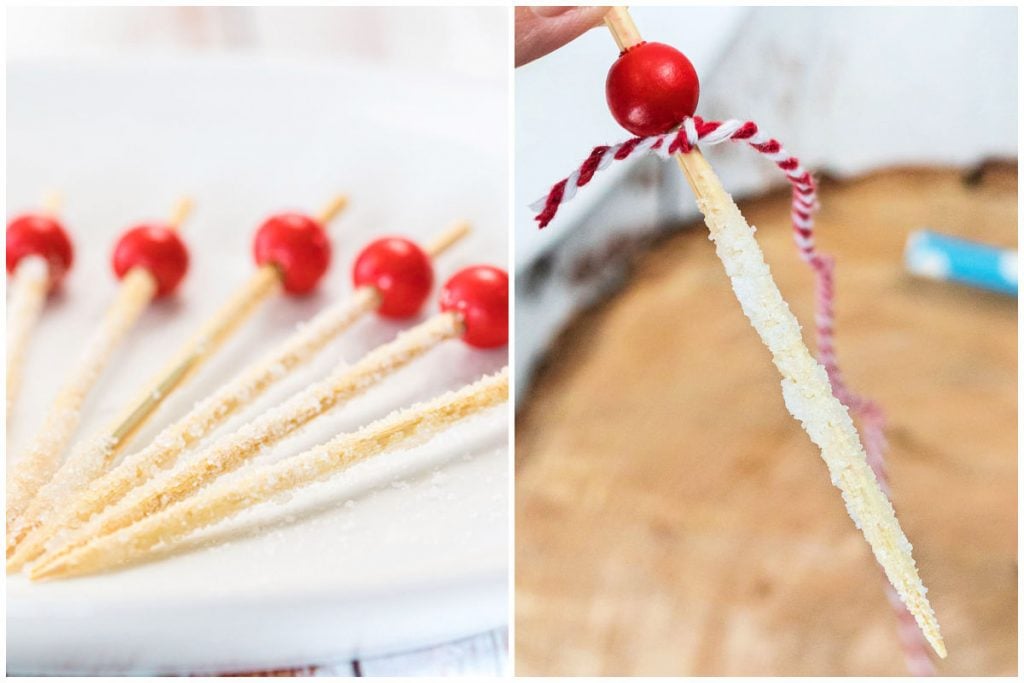
STEP FOUR: While the mixture is cooling, dampen the wooden skewers and roll them in sugar. Tie baker’s twine to to them and set them aside to dry.
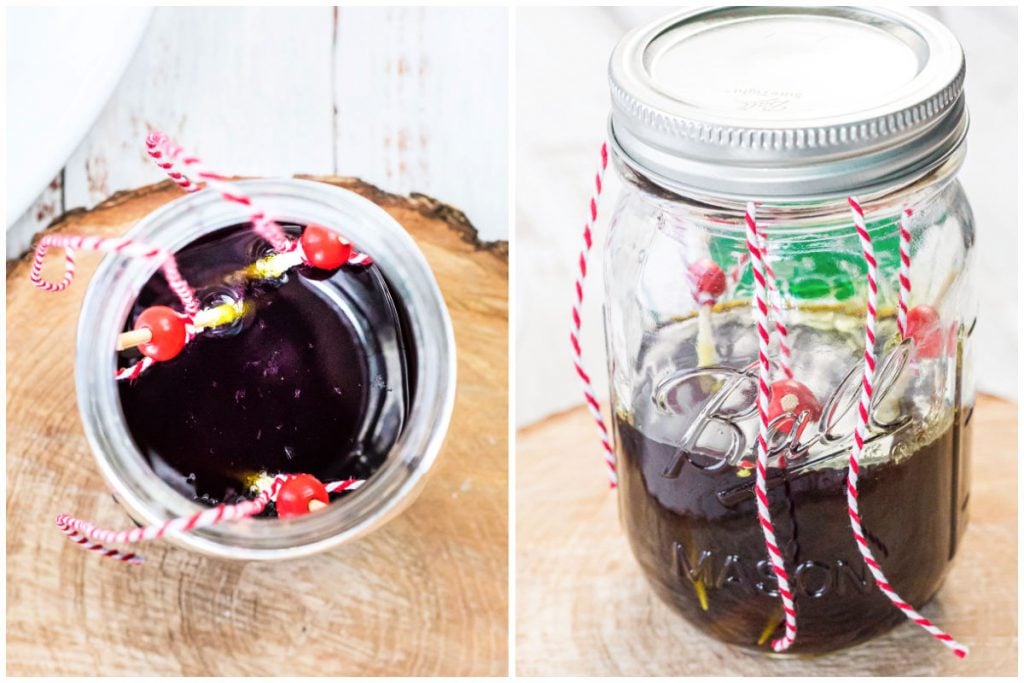
STEP FIVE: Once cooled, remove the jars from the fridge and add whichever color and flavoring you choose and stir to distribute. Then, dangle the skewers into the jars, making sure not to touch the bottom/sides of the jar or other skewers. Carefully put the lid on the jar to hold the strings in place (or cover with plastic wrap). Set the jars somewhere in a cool place where they will be undisturbed to allow the crystals to form.
STEP SIX: After 3-10 days (or however long you want to let your crystals grow, they’re ready to remove from their jars & dry.
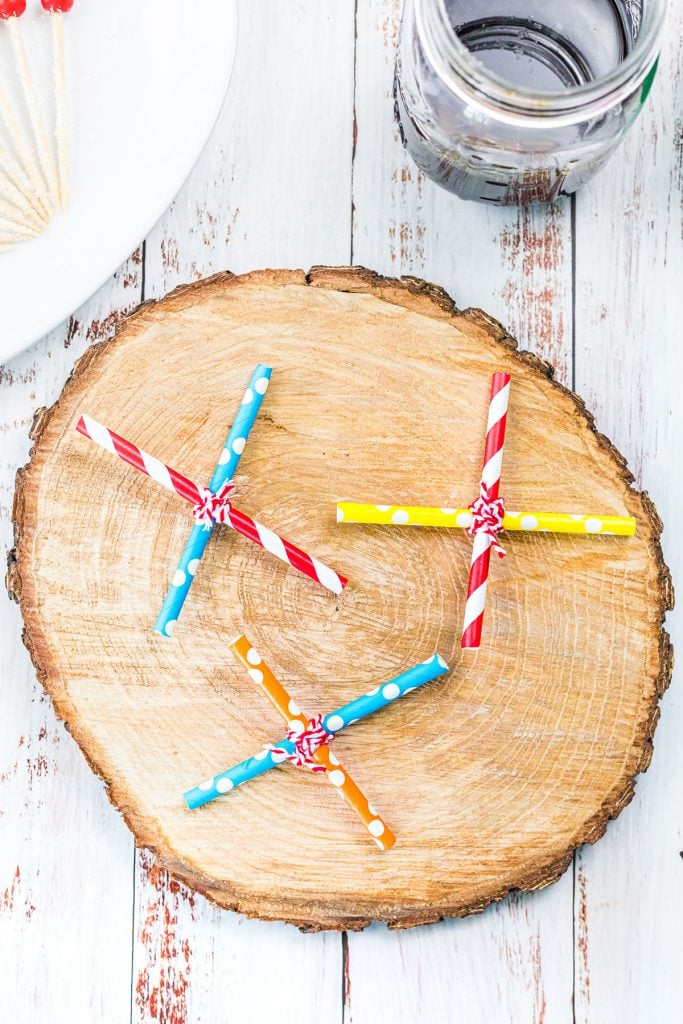
Tie two straws into an X and balance it on top of a clean jar.
Carefully remove the rock candy sticks from their jars and tie the strings onto the straw X’s.
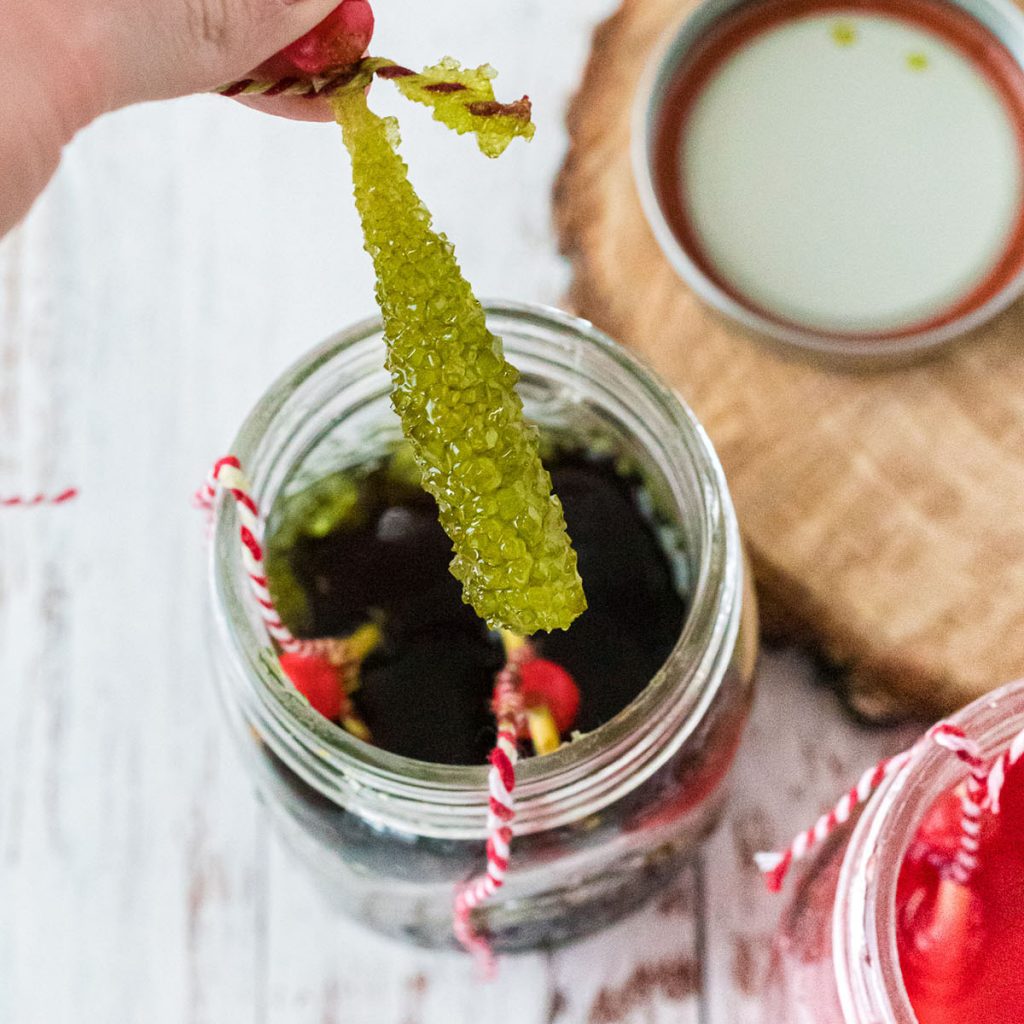
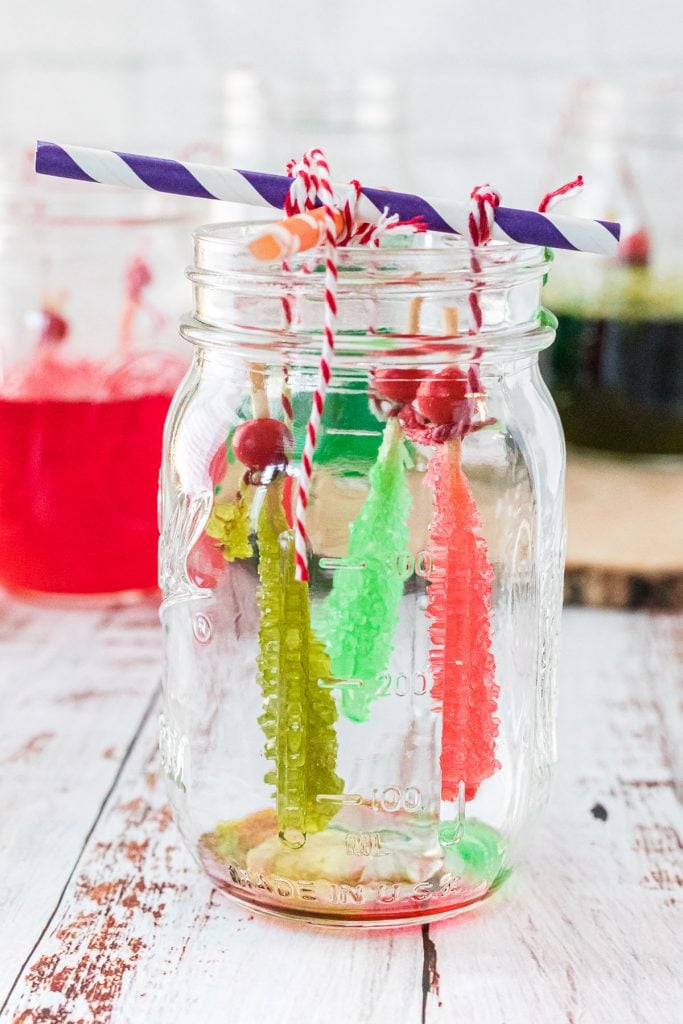
Don’t let them touch each other. Let them hang in the jar from the X until they are dry.
CAN YOU EAT IT?
YES! Not only is making it fun, you can totally eat rock candy!
HOW MANY DOES IT MAKE?
I divide the sugar mixture between three 12 oz mason jars and it makes around 10 sticks.
HOW LONG DOES IT TAKE ROCK CANDY TO GROW?
Rock candy can start growing in as quickly as two hours but to really get some substantial crystals, you’ll want to leave it be for 3-10 days to really grow.
WHAT IF I DON’T HAVE WOODEN SKEWERS? WHAT ELSE CAN I USE?
Instead of wooden skewers, you can also use popsicle sticks. Baker’s Twine can also be used in place of the wooden skewers. To do this, tie a Life Saver candy (or similar) to the end bottom of the string to act as a weight and place it into the sugar mixture instead of the skewers. Please note that although this method does work, wooden skewers work better.
WHAT IF I DON’T HAVE MASON JARS?
Any glass jar should work, or even a glass cup, but you’ll want to make sure it’s not a thin glass that could easily break (especially with hot liquids). If your kids want to make multiple colors/flavors, you could even make individual sticks in tall shot glasses.
POSSIBLE FLAVOR/COLOR COMBOS
- Mint flavor with red or green coloring
- Raspberry flavor with blue coloring (blue raspberry)
- Strawberry flavor with red coloring
- Lemon flavor with yellow coloring
- Grape flavor with purple coloring
- Orange flavor with orange coloring
HOW DO I CLEAN THE JARS AFTER?
After you’re done growing the crystals, the glass jars will have quite a bit of leftover sugar in them that is a bit messy. To clean the jars, shake out any excess, then fill the jars with hot soapy water and let them soak. The sugar should start to dissolve and be easier to clean like normal.
WHERE CAN I BUY ROCK CANDY?
After I showed you how easy it is to make, you want to buy it?? Ok, I get it – maybe you don’t have 3-10 days to wait for the crystals to grow. Luckily you can order rock candy on Amazon, pick it up at a local bulk candy shop, or Party City carries many colors.
NEED MORE HOMEMADE CANDY RECIPES? TRY THESE:
Homemade Hard Candy
Crockpot Peanut Clusters
Easy Peanut Brittle
CONNECT WITH PERSNICKETY PLATES!
Follow along on my social media so you never miss a post!
Facebook | Twitter | Pinterest | Instagram
I made a fun group on Facebook for sharing recipes, asking questions, and talking about food. I’d love to have you! Request to join HERE.
Also, sign up to receive an email in your inbox for each new recipe:
FREE EMAIL SUBSCRIPTION & EBOOK
If you MAKE & LOVE this recipe, share it on Instagram and tag me @melissa_pplates and/or #persnicketyplates so I can see it. I LOVE seeing what you make & I’ll share it in my stories!
It is VERY HELPFUL to me and other readers if you leave a review after you make my recipe. Please come back & let me know how it turned out!
How To Make Homemade Rock Candy
Equipment
- Wooden Skewers
- Three 12 oz mason jars
- Straws
- Baker’s Twine
Ingredients
- 3 cups granulated white sugar
- 1 cup water
- 1-2 drops food coloring optional
- ½ teaspoon flavoring oil or extract optional
Instructions
- Add the sugar and water to a medium pan and heat over high heat, stirring constantly, until it reaches a rolling boil. Be careful not to boil it too long or the candy will start to harden.3 cups granulated white sugar, 1 cup water
- Remove the pan from the heat and keep stirring until all of the sugar granules have dissolved. The mixture will suddenly get clearer when this happens.
- Carefully pour the hot sugar mixture into the three jars and put them into the fridge to cool for approximately 30 minutes. You don't want the mixture to be cold, just room temperature.
- While the mixture is cooling, prepare the wooden skewers by dampening them and rolling them in sugar. Tie baker's twine to the top of each and put them aside to dry.
- Once the mixture has cooled to room temperature, remove the jars from the fridge and add food coloring and/or flavoring and stir.1-2 drops food coloring, ½ teaspoon flavoring oil or extract
- Dangle the prepared skewers into the sugar mixture, without touching the sides/bottom of the jar, or other sticks. Once the picks are placed in the jar, hold the strings along the sides of the jar screw the top on to hold the strings in place. (Plastic wrap can also be used)
- Set the jars aside somewhere where they won't be disturbed and wait 3 -10 days for the sugar crystals to grow. The longer you wait, the larger the crystals will get.
- When the crystals reach your desired size, they are ready to dry. Tie two straws into an X and balance it on top of a clean jar. Carefully remove the rock candy sticks from their jars and tie the strings onto the straw X’s. Don’t let them touch each other, let them hang in the jar from the X until they are dry.
- Once they are dry they are ready to eat!
Notes
- Divide the mixture between at least two 12 oz jars. You can easily double (or triple) the recipe to make additional colors/flavors. How many sticks you make will depend on how many jars you choose to use but it should make 10-12 as written.
- Jars will have sugar crystals growing on their sides and maybe even across the top, you can break this to get your rock candy out. Just be careful not to knock the crystals off of your skewer sticks.
- To clean the jars, soak in hot water for a bit to loosen the crystals.
- Baker’s Twine can be used in place of the wooden skewers if desired. To do this, tie a Life Saver candy to the end bottom of the string to act as a weight and place it into the sugar mixture instead of the skewers. Please note that although this method does work, we have found that wooden skewers work better.
- Mint flavor with red or green coloring
- Raspberry flavor with blue coloring (blue raspberry)
- Strawberry flavor with red coloring
- Lemon flavor with yellow coloring
- Grape flavor with purple coloring
- Orange flavor with orange coloring
Nutrition
Nutritional information is an estimate and provided to you as a courtesy. You should calculate the nutritional information with the actual ingredients used in your recipe using your preferred nutrition calculator.


Excellent job! Love the colors!
Love this idea I tried but only problem I had was keeping sticks separated and away from sides and bottom ..