This post may contain affiliate links meaning if you buy from them, I will make a few pennies, at no cost to you. See disclosure here.
We spent the weekend a little under the weather. It started with Bob, then moved to Julia, then hit Rosie.
Knock on wood, I’m still holding out, but we’ll see what this week holds.
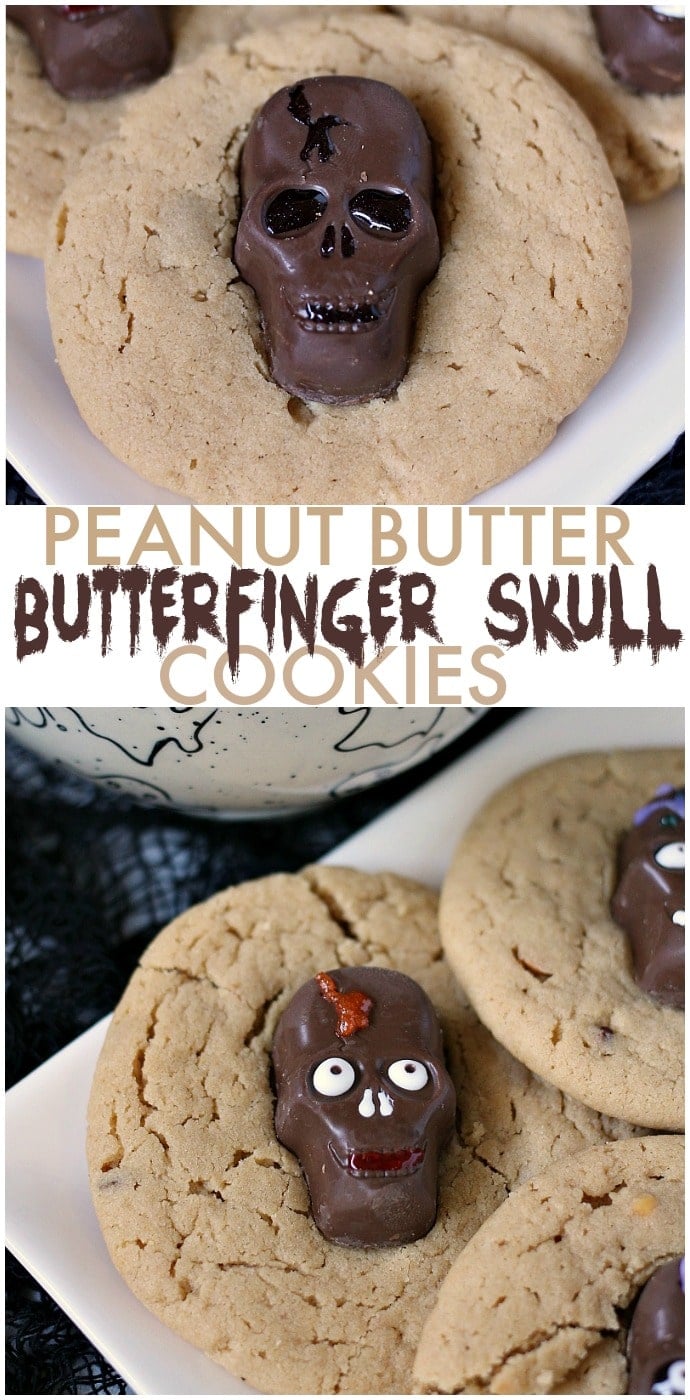
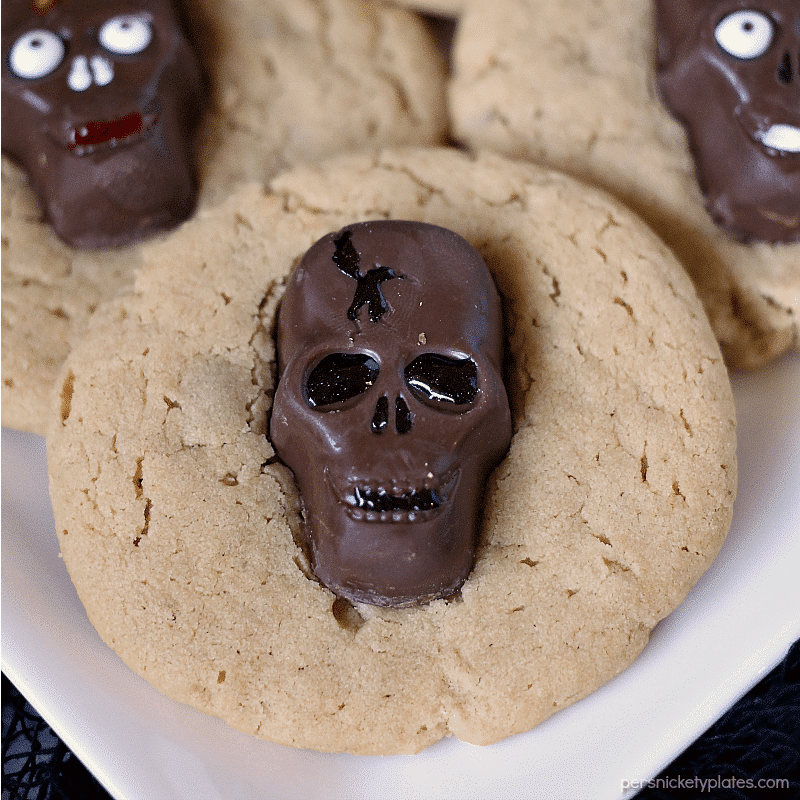
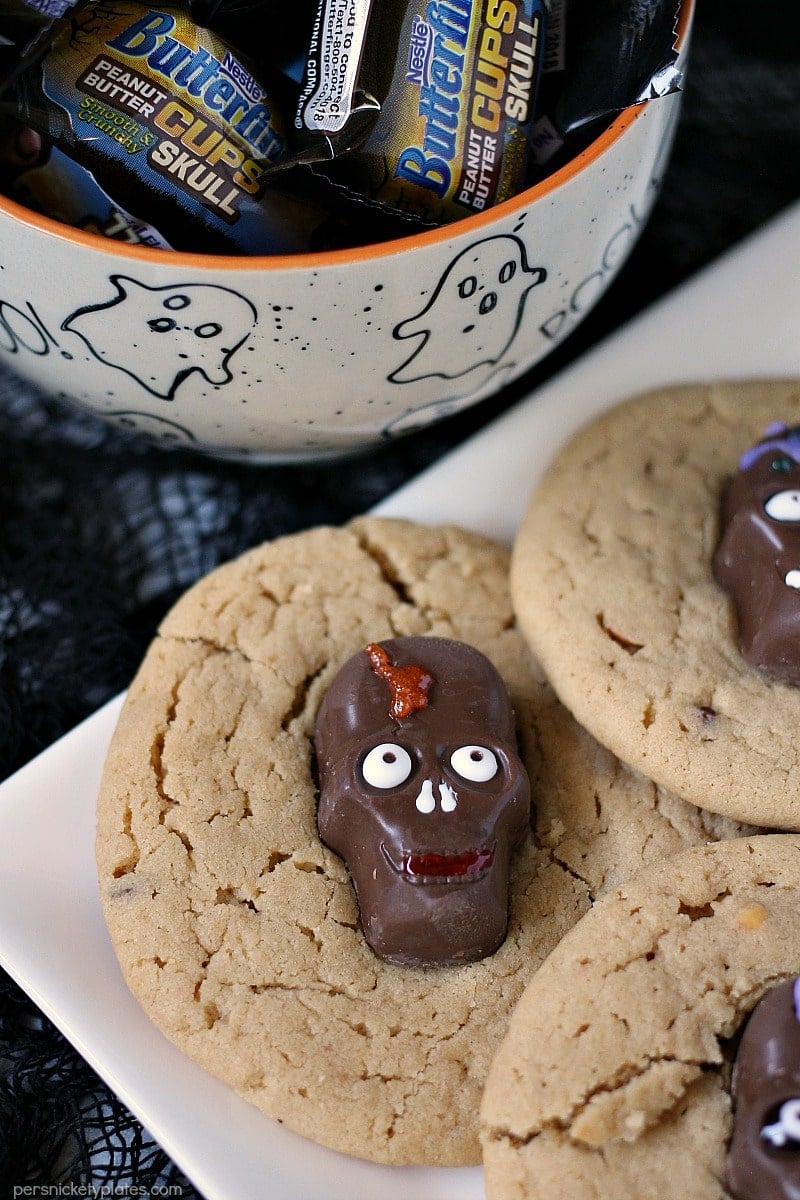
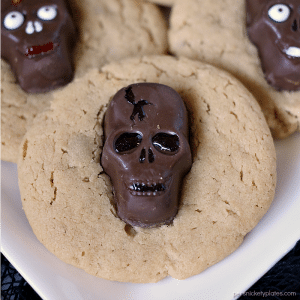
Peanut Butter Butterfinger Skull Cookies
I escaped the germs on Saturday morning and made a solo trip to Walmart. I picked up some essentials then wandered in the Halloween candy aisle.
I grabbed a bag of the Butterfinger Peanut Butter Skull Cups and some crunchy peanut butter. I figured they would pair perfectly with a chewy peanut butter cookie.
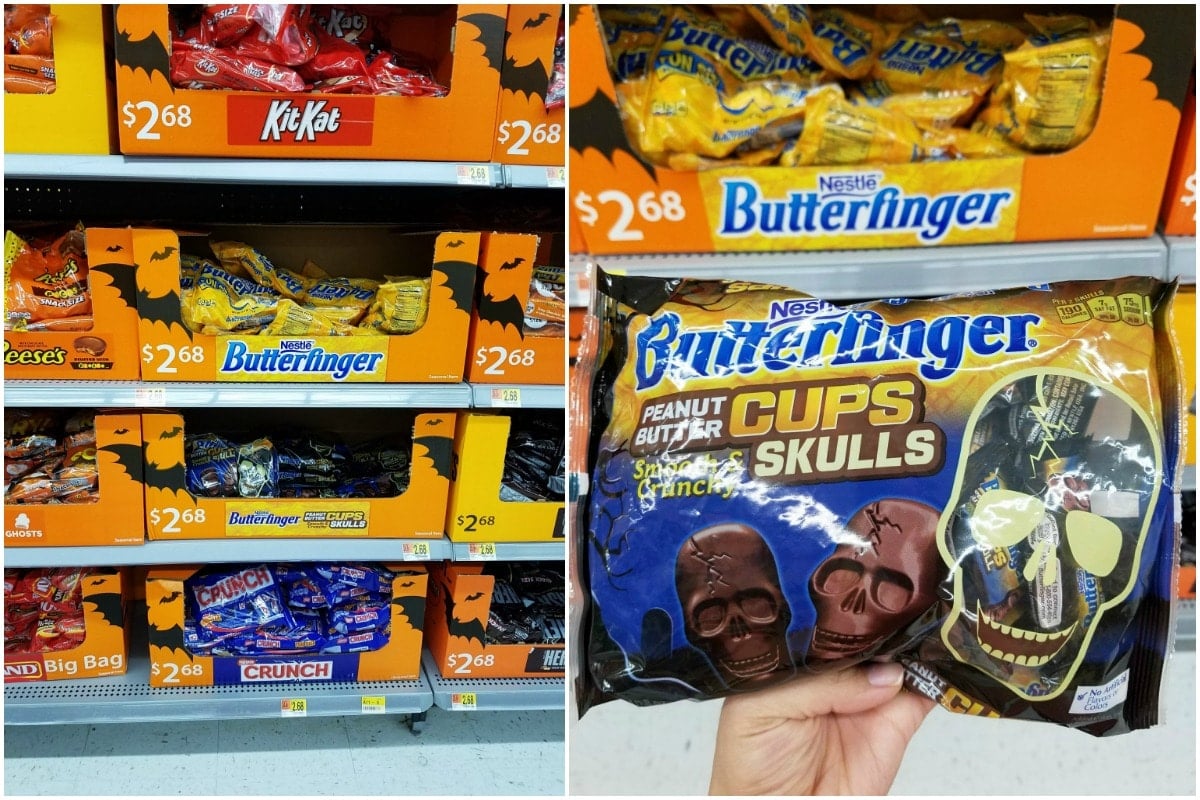
I also swung by the baking aisle and picked up several different colored decorating icings.
I got home, whipped up the cookie dough, and while it was chilling in the fridge, Julia and I started decorating the skulls. You can skew them creepy or cute, depending on how you decorate them.
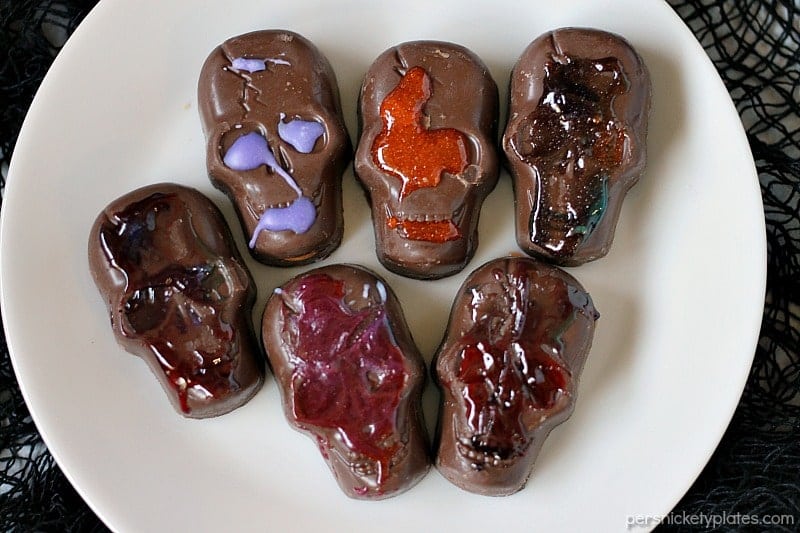
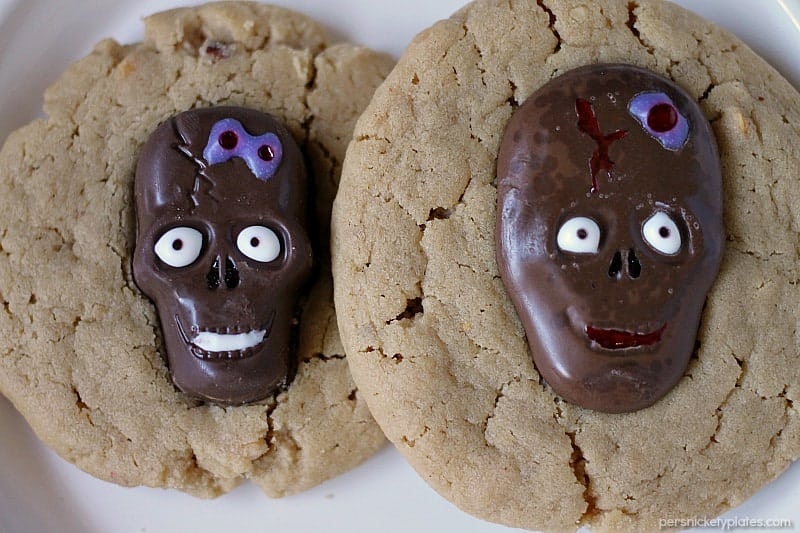
Here are Julia’s. She was so excited to decorate them.
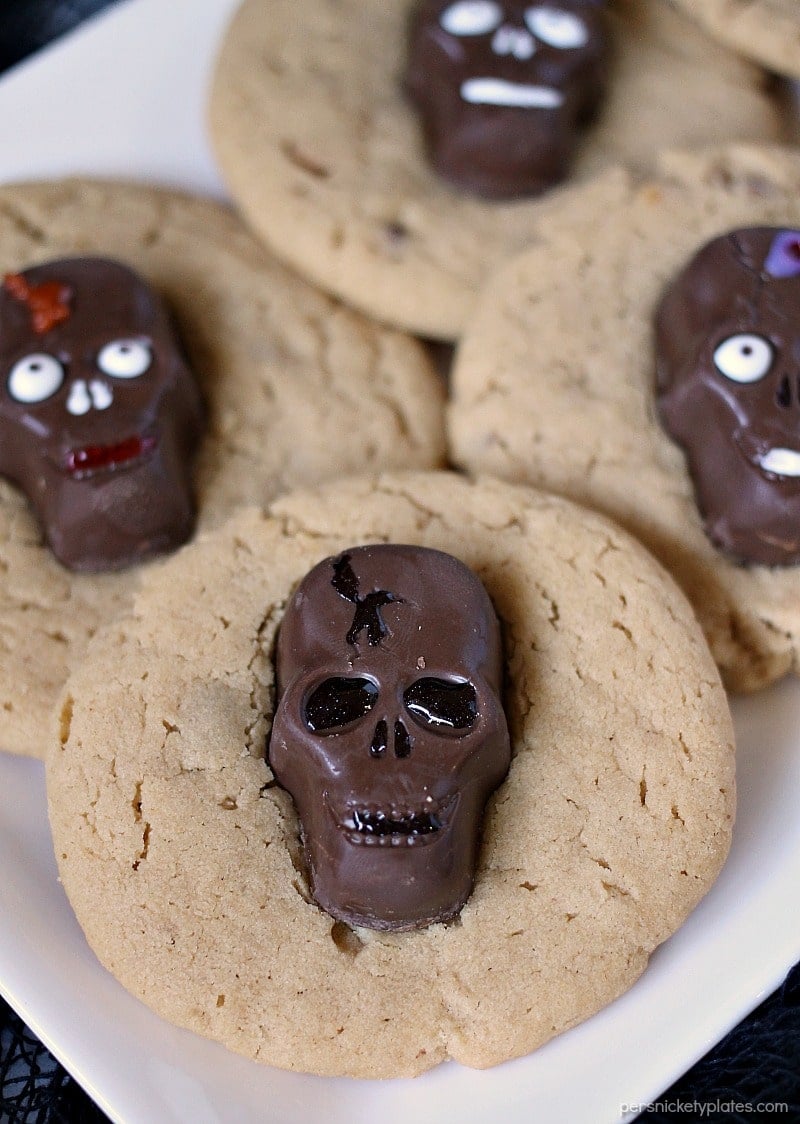
Once the cookies were baked and slightly cooled, I pressed a Peanut Butter Skull into the top of each.
If you don’t wait for them to cool enough, you end up with the melty skull on the right. Still cute, right? Julia wanted to add bows to some of them to make them girls.
I think they’d be the perfect addition to any Halloween party. If you don’t feel like making the cookies from scratch, you can use a mix or one of those pre-made refrigerated roll of cookie dough.
Tips for making these Peanut Butter Butterfinger Skull Cookies a success:
- Use colored decorating icing to decorate the Butterfinger Peanut Butter Skulls.
- You can pick up a peanut butter cookie mix or use pre-made dough if you’re looking for a shortcut.
- You need to use a large scoop of dough to make room for the skulls. I used a medium cookie scoop and did one and a half scoops (approximately 1.5 Tablespoons).
- Wait for your cookies to cool to room temp before you press in the peanut butter skulls or you’ll end up with melty skeletons.
CONNECT WITH PERSNICKETY PLATES!
Follow along on my social media so you never miss a post!
Facebook | Twitter | Pinterest | Instagram
I made a fun group on Facebook for sharing recipes, asking questions, and talking about food. I’d love to have you! Request to join HERE.
Also, sign up to receive an email in your inbox for each new recipe:
FREE EMAIL SUBSCRIPTION & EBOOK
If you MAKE & LOVE this recipe, share it on Instagram and tag me @melissa_pplates and/or #persnicketyplates so I can see it. I LOVE seeing what you make & I’ll share it in my stories!
It is VERY HELPFUL to me and other readers if you leave a review after you make my recipe. Please come back & let me know how it turned out!
Peanut Butter Butterfinger Skull Cookies
Ingredients
- 1 cup unsalted butter at room temp
- 1 ¼ cup peanut butter I used 1 cup crunchy, 1/4 cup creamy – use whichever combo you want
- 1 cup sugar
- 1 cup light brown sugar
- 2 large eggs
- 1 teaspoon vanilla
- 2 ½ cups flour
- 1 teaspoon baking powder
- 1 ½ teaspoon baking soda
- ½ teaspoon salt
- 25 Butterfinger Peanut Butter Skull Cups
- colored icing for decorating optional
Instructions
- In a large bowl, cream together the butter, peanut butter, and sugars.1 cup unsalted butter, 1 ¼ cup peanut butter, 1 cup sugar, 1 cup light brown sugar
- Beat in the eggs and vanilla until smooth.2 large eggs, 1 teaspoon vanilla
- In a medium bowl, whisk together the flour, baking powder, baking soda, and salt.2 ½ cups flour, 1 teaspoon baking powder, 1 ½ teaspoon baking soda, ½ teaspoon salt
- In thirds, pour the dry ingredients into the wet ingredients, stirring between each addition.
- Cover with plastic wrap and put in the fridge to chill for at least an hour.
- While the dough is chilling, use the colored icings to decorate the skull cups.
- When ready, preheat the oven to 350 degrees and line two baking sheets with parchment paper or silicone baking mats.
- Scoop dough (approx. 1.5 Tablespoons) into a ball and roll between your hands. Press them down with the palm of your hand to flatten. They will be large so only do 9 per pan.
- Bake for 8-9 minutes or until golden.
- Remove from oven and let cool to room temperature.
- Once cooled, press a decorated Butterfinger Peanut Butter Skull Cup into each.
Nutrition
Nutritional information is an estimate and provided to you as a courtesy. You should calculate the nutritional information with the actual ingredients used in your recipe using your preferred nutrition calculator.
Did you make this recipe?
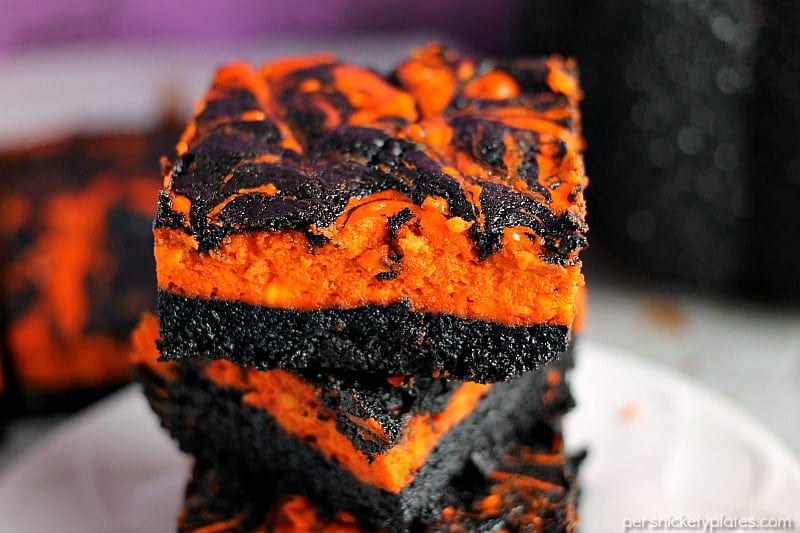
Tag me on Instagram @melissa_pplates so I can see!Other Halloween treats you may like…
Halloween Cream Cheese Swirl Brownies
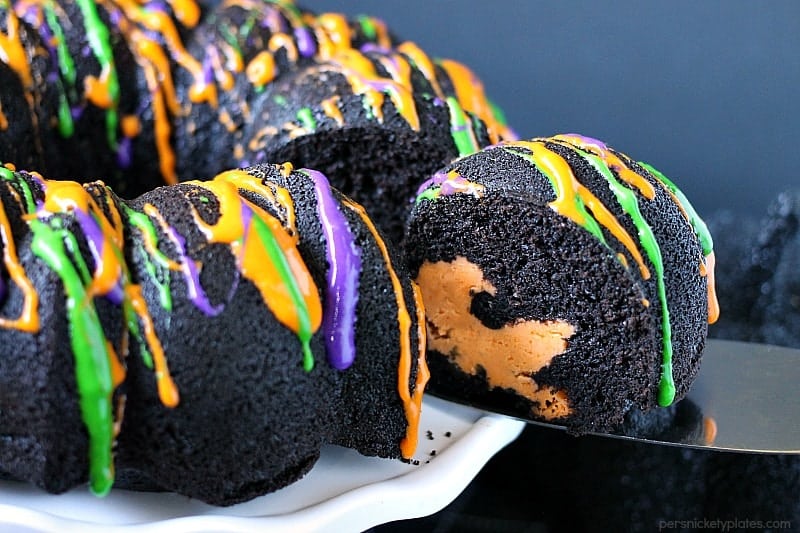
Halloween Chocolate Tunnel Cake