

This post may contain affiliate links meaning if you buy from them, I will make a few pennies, at no cost to you. See disclosure here.
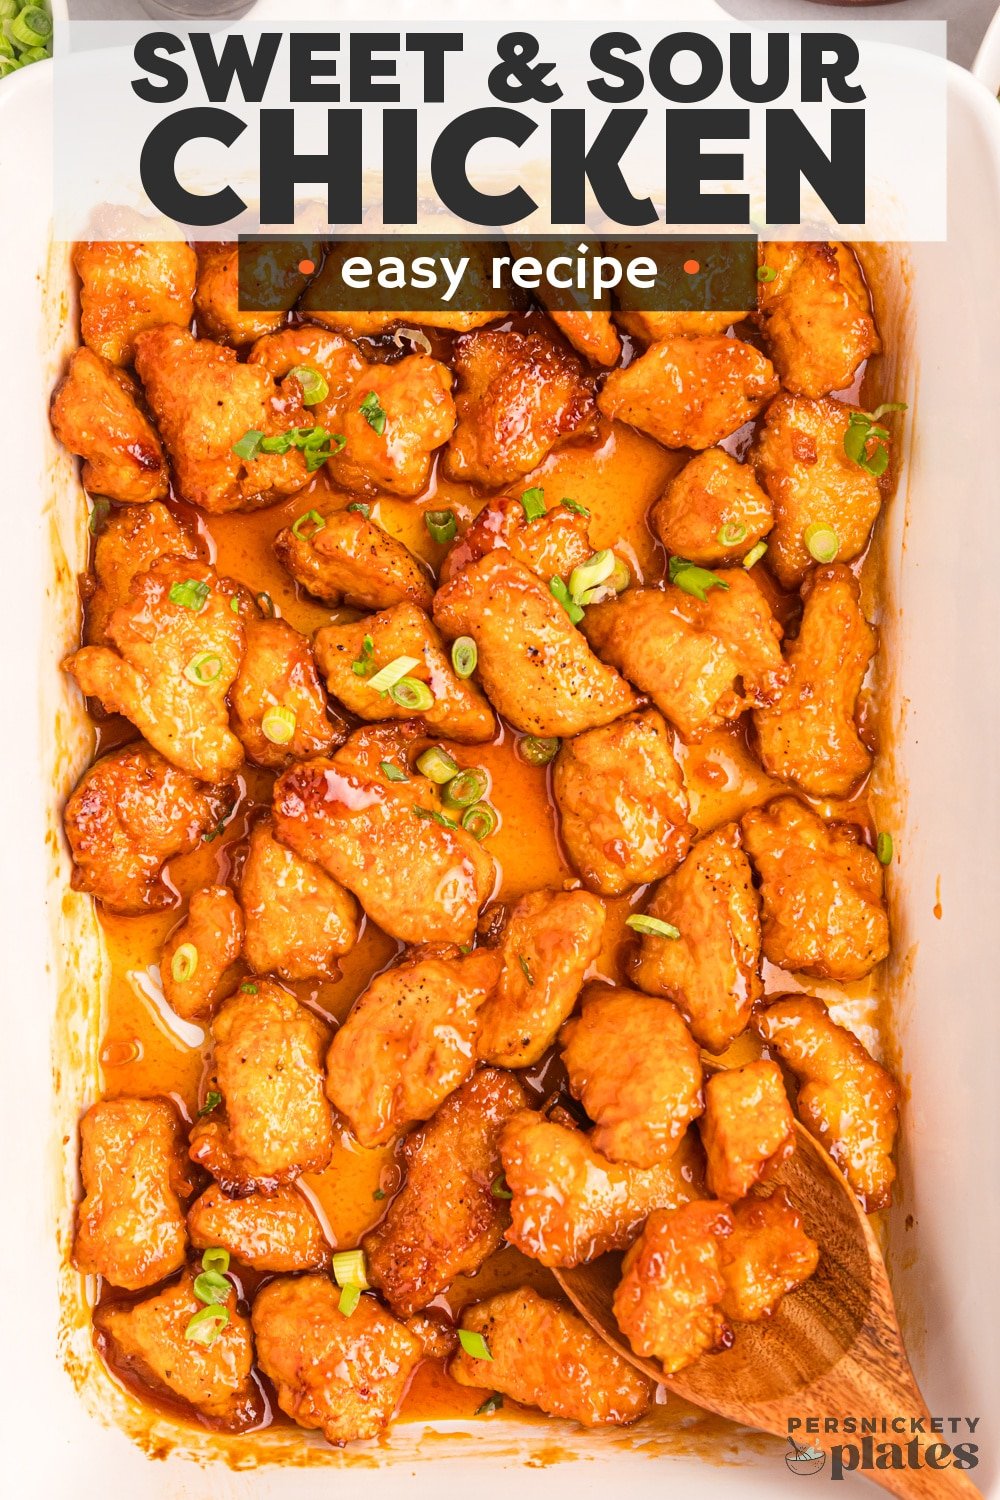


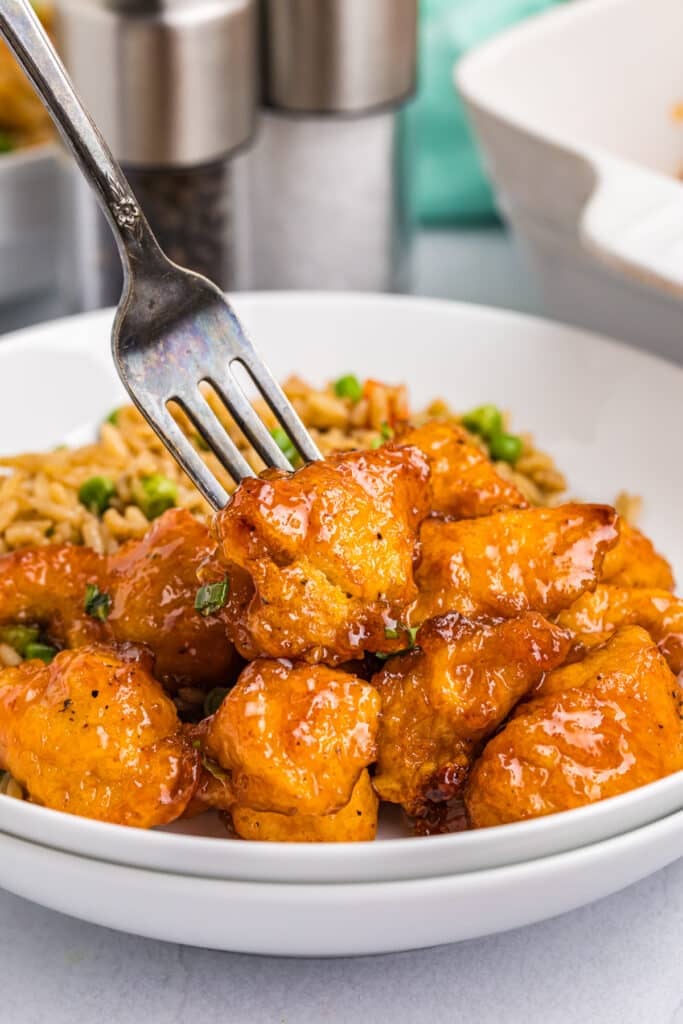
Baked sweet and sour chicken is made with a light crispy coating smothered in a sweet, sour, and slightly sticky sauce and baked until perfectly crisped on the outside and tender on the inside. Serve with your favorite sides and have delicious take-out without leaving home!

Homemade Sweet & Sour Chicken
Baked sweet and sour chicken are quite literally little golden nuggets! They’re made by dredging chunks of chicken into a cornstarch and egg coating, pan-fried until golden, and then tossed in the BEST (& easiest) homemade sweet and sour sauce and baked in the oven until crispy on the outside and juice on the inside.
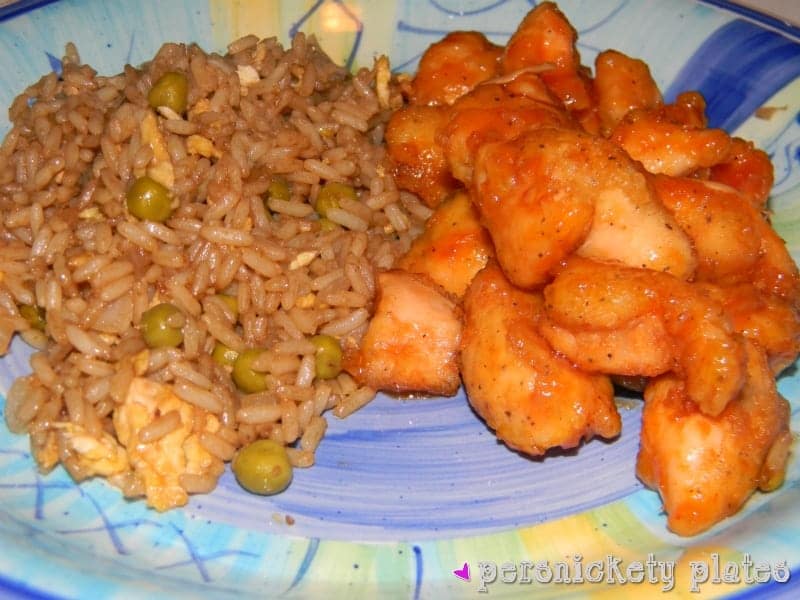
I can’t tell you how much my family enjoys this meal especially when served with fried rice, but I will say, I never seem to make enough!
If you have extra time, try my slow cooker sweet & sour chicken, too.
Why you’ll love this recipe
- Better than takeout. It’s a great way to enjoy the takeout experience and flavors while being able to control how it’s made!
- No need to wait for the weekend. Sweet and sour baked chicken is great for weeknight dinners too.
- Makes great leftovers. Reheated the next day, leftovers are just as yummy!
- A few simple ingredients and an easy and delicious sweet and sour sauce to match!
Tools you’ll need
Ingredients
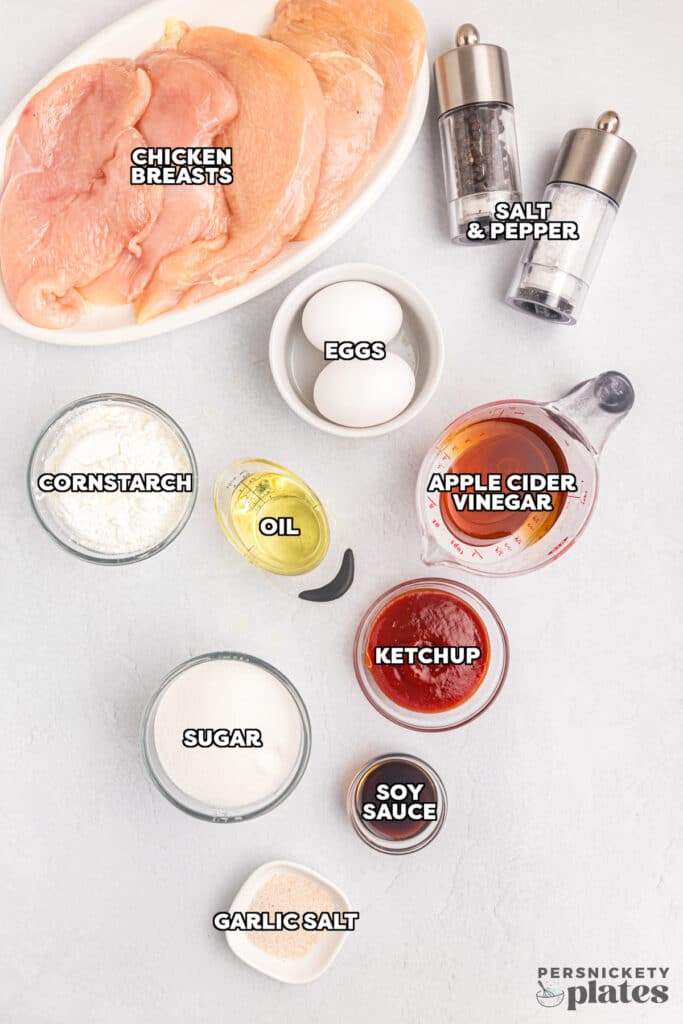
Below is a list of the ingredients you’ll need to gather to make this recipe, why you need them, and possible substitutions. Scroll all the way down for the full recipe card with measurements.
Jump- Chicken – Boneless skinless chicken breasts cut into 1-inch pieces. You’ll need about 3-4 breasts.
- Salt and Pepper – To taste. There is plenty of flavor from the sauce, so you won’t need too much seasoning.
- Cornstarch – This coats the chicken to remove excess moisture and gives the egg coating something to stick to. Similar to what flour does, cornstarch is much lighter and gluten-free, so that’s what I use.
- Eggs – Used to coat the chicken and give it a nice golden color once it is fried.
- Oil – Vegetable oil is a good choice because it has a neutral flavor and a high smoke point. It’s also inexpensive which is great.
- For the Sauce – Sugar, ketchup, apple cider vinegar, low sodium soy sauce, and garlic salt or garlic powder.
How to make Baked Sweet and Sour Chicken
This section shows you how to make this recipe, with process photos showing the steps to help you visualize it. For full instructions, including amounts and temperatures, see the recipe card below.
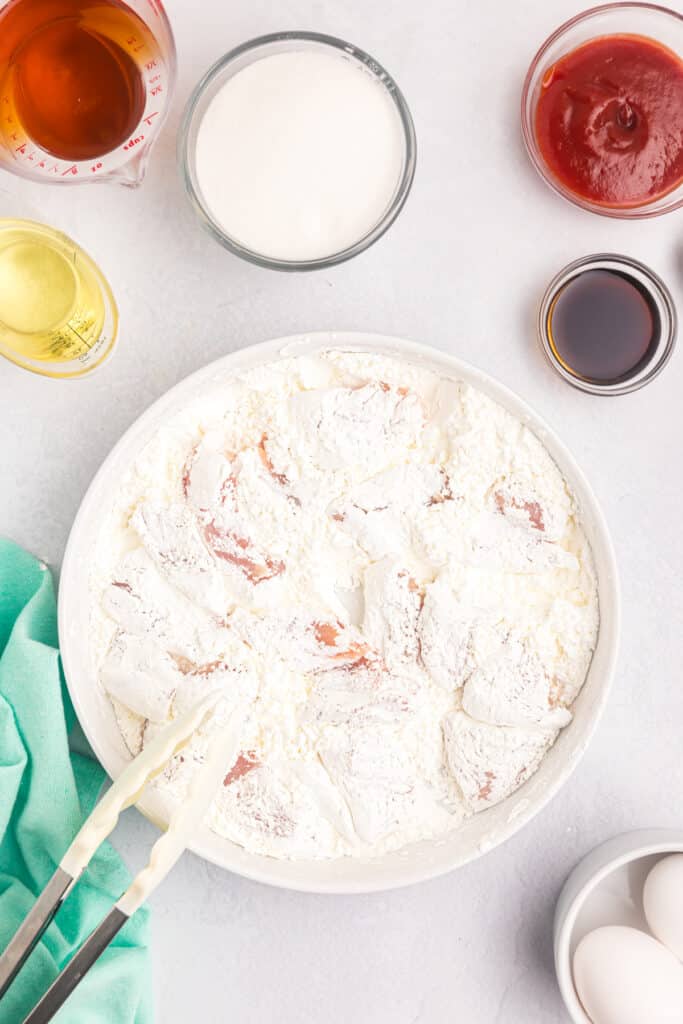
Jump- Step One: Coat the seasoned chicken cubes in cornstarch and use tongs to toss them around making sure all sides are evenly coated.

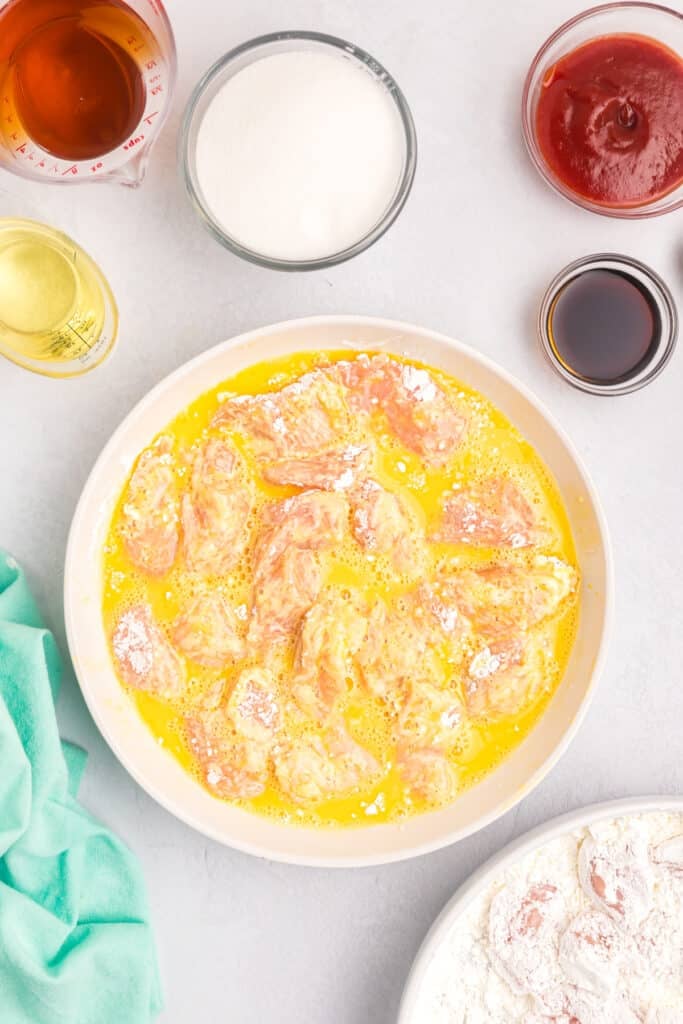
- Step Two: Then, dip the chicken into the beaten eggs, again making sure all sides are coated.
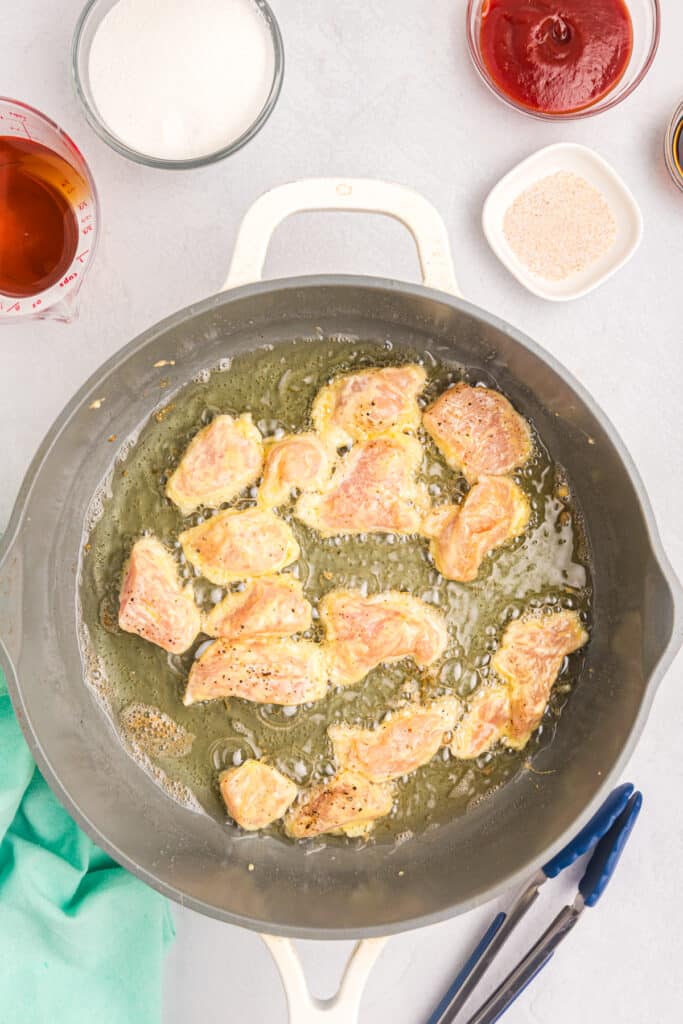
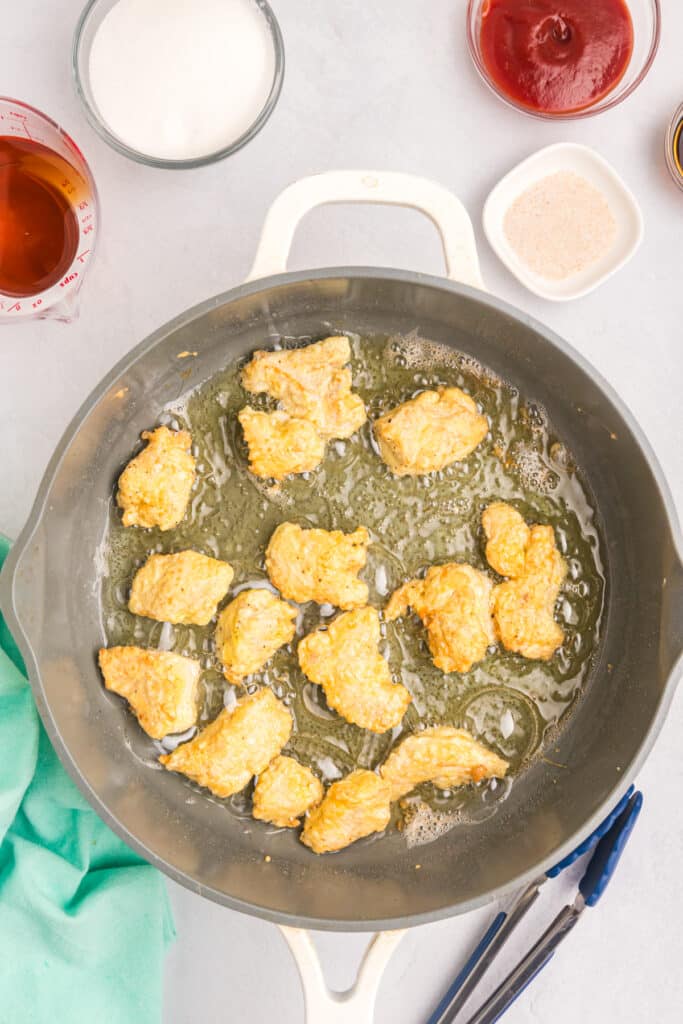
- Step Three: Cook the chicken pieces in a large skillet over medium-high heat with the vegetable oil for 2-3 minutes. They should be slightly browned but not cooked all the way. Transfer them to a prepared baking dish.
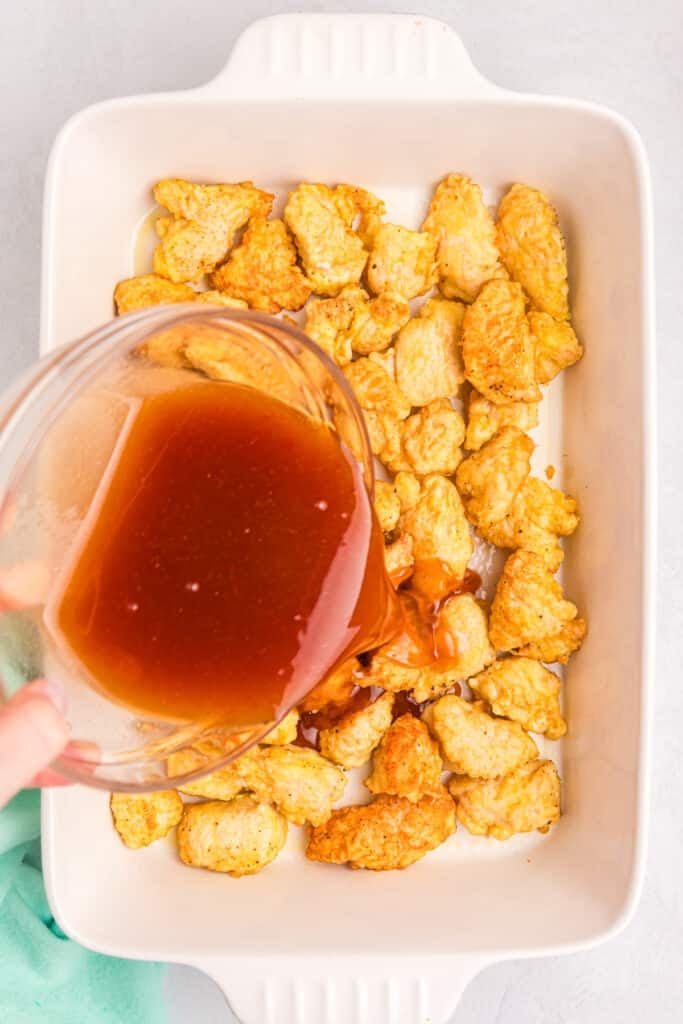
- Step Four: Whisk the ingredients for the sauce together in a medium mixing bowl and pour it evenly over the chicken in the baking dish.

- Step Five: Bake for 1 hour, stirring every 15 minutes. Serve with white rice or fried rice!

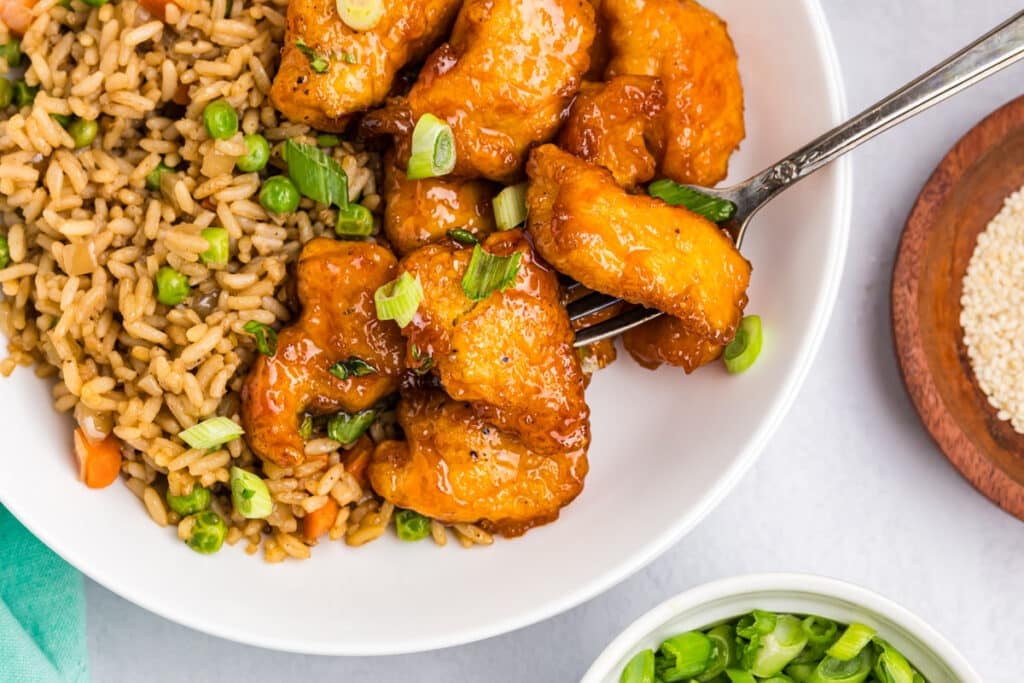
How to serve it
Sometimes I like to go all out with our homemade takeout and serve it with things like air fryer buffalo chicken egg rolls, easy chicken fried rice, or slow cooker chicken ramen.
For a lighter meal, it’s great with white rice and a chopped side salad or steamed veggies.
- Make sure the oil is hot before adding the chicken. Otherwise, the pieces will absorb too much oil waiting for it to heat up, and it’ll make for a soggy coating!
- Avoid dry chicken. Do not cook all the way through in the oil, they will finish baking in the oven.
- For a shortcut, you can use a store-bought sweet and sour sauce.
- If you want it even saucier, make a bit more sauce, and pour the extra over the chicken just out of the oven. Toss to coat.
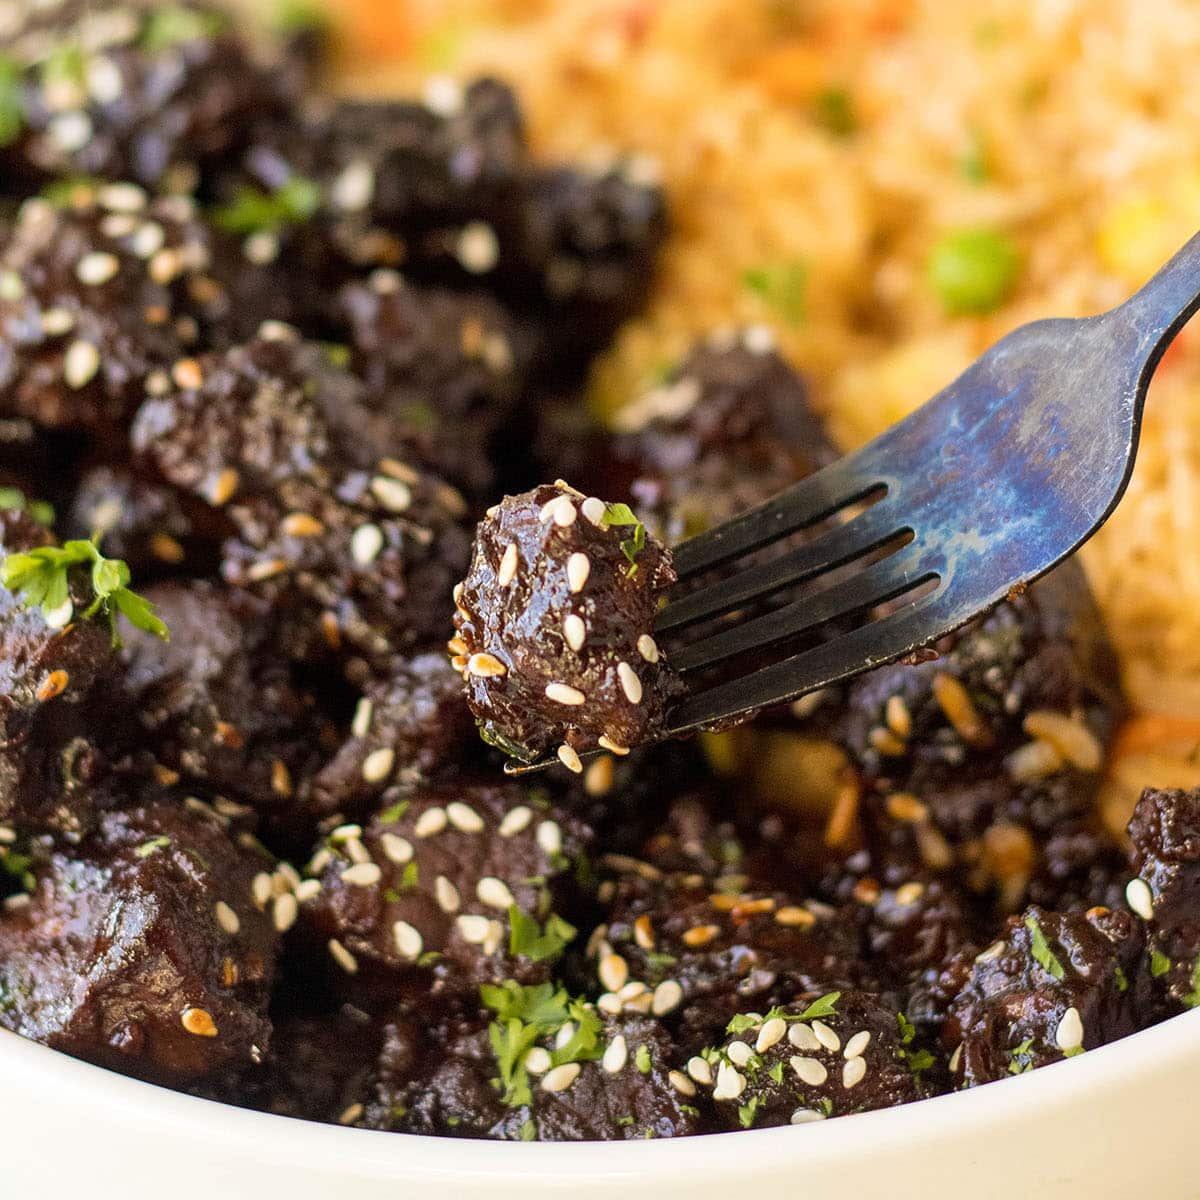
- To switch up the flavors, this recipe also works with using homemade teriyaki sauce.
- Make these chicken bites spicy! Add some red pepper flakes to the sweet and sour mix.
Storage & Reheating
How to store leftovers
Keep leftovers stored in an airtight container for up to 4 days in the fridge.
Freezing Instructions
Baked sweet and sour chicken freezes well, so I say double the batch! Once completely cooled, freeze leftovers in a freezer-safe container for up to 2 months. Thaw in the fridge overnight.
Reheating Instructions
Pour everything back into a skillet to reheat. Add some more sauce if needed.
FAQs
Can I add veggies to this dish before baking?
Yes! You can add the popular pineapple chunks and pieces of red and green bell pepper to the baking dish before pouring the sauce overtop.
Or you can use whatever veggies you want; broccoli, cauliflower, zucchini, carrots, etc.
Does the vinegar taste as strong as it smells?
No! Despite it giving off a strong vinegary aroma, the result is a lovely tangy (sour) flavor which is what we want in a sweet and sour baked chicken recipe.
Need more takeout inspired recipes? Try these:
Click here to view my entire collection of easy main meal recipes.
Did You Make This?
If you made this recipe, I’d love to know how it went in the comments section below.
You can also tag me on Instagram – @melissa_ppplates or share a pic in the Persnickety Plates Community Facebook group. I love seeing what you’ve tried!

Baked Sweet and Sour Chicken
Ingredients
For the Chicken
- 1½ pounds boneless skinless chicken breasts 3-4 breasts
- salt & pepper to taste
- 1 cup cornstarch
- 2 large eggs
- ¼ cup vegetable oil
For the Sweet & Sour Sauce
- ¾ cup granulated white sugar
- 4 Tablespoons ketchup
- ½ cup apple cider vinegar
- 1 Tablespoon low sodium soy sauce
- 1 teaspoon garlic salt or garlic powder
Instructions
- Preheat the oven to 325°F and lightly spray a 9×13 baking dish with non-stick spray. Set aside.
- Trim the chicken breasts and cut into approximately 1" cubes. Season with salt & pepper to taste.1½ pounds boneless skinless chicken breasts, salt & pepper
- Pour the cornstarch into a shallow bowl and add in the chicken. Use tongs to fully coat all sides.1 cup cornstarch
- Crack the eggs into a shallow bowl and beat with a fork until light and frothy.2 large eggs
- Move the chicken from the cornstarch to the beaten eggs, turning to coat each piece evenly.
- Heat a large skillet over medium-high heat and add the vegetable oil.¼ cup vegetable oil
- Add the coated chicken to the oil and cook for 2-3 minutes or until browned but not cooked through. Once slightly brown, move to the prepared baking dish.
- To a medium mixing bowl, whisk together the sugar, ketchup, apple cider vinegar, soy sauce, and garlic salt. Pour the sauce evenly over the chicken in the baking dish.¾ cup granulated white sugar, 4 Tablespoons ketchup, ½ cup apple cider vinegar, 1 Tablespoon low sodium soy sauce, 1 teaspoon garlic salt
- Bake for one hour, stirring every 15 minutes.
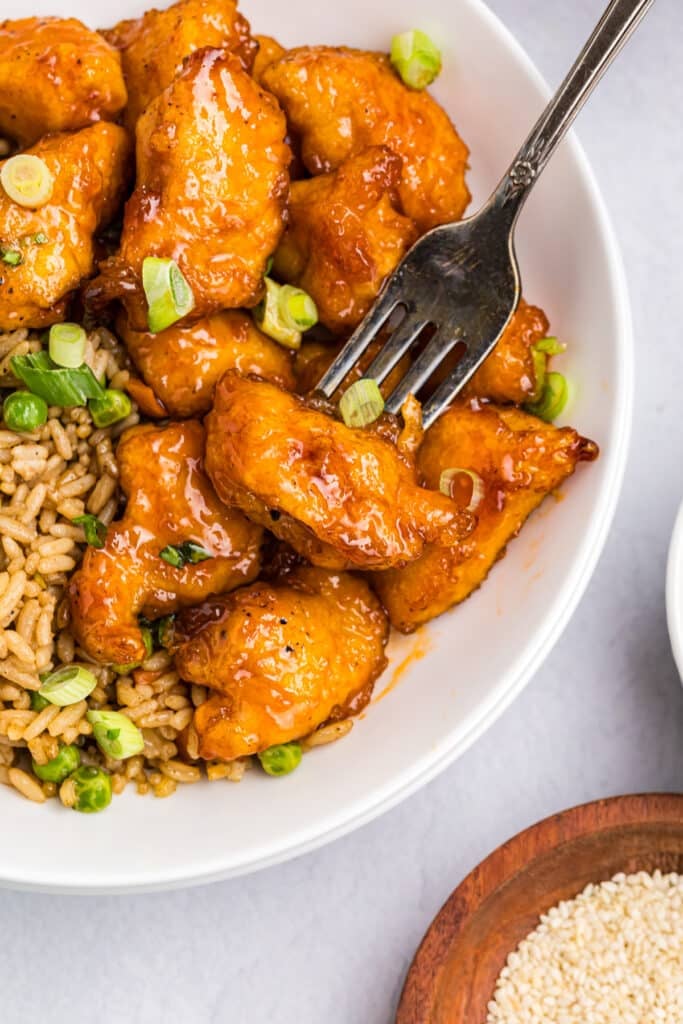
- Serve over fried rice or white rice.
Notes
- Store leftovers covered in the fridge for up to 4 days.
- Make sure the oil is hot before adding the chicken. Otherwise, the pieces will absorb too much oil waiting for it to heat up, and it’ll make for a soggy coating!
- Avoid dry chicken. Do not cook all the way through in the oil, they will finish baking in the oven.
- For a shortcut, you can use a store-bought sweet and sour sauce.
- If you want it even saucier, make a bit more sauce, and pour the extra over the chicken just out of the oven. Toss to coat.
- To switch up the flavors, this recipe also works with using homemade teriyaki sauce.
- Make these chicken bites spicy! Add some red pepper flakes to the sweet and sour mix.
Nutrition
Nutritional information is an estimate and provided to you as a courtesy. You should calculate the nutritional information with the actual ingredients used in your recipe using your preferred nutrition calculator.
Did you make this recipe?
Tag me on Instagram @melissa_pplates so I can see!Originally published December 7, 2011


All of these recipes look so good! I wonder if my hubs will eat them (he’s so ridiculously picky) 🙁
By the way I’m giving away a $50 Sephora gift card AND $40 credit to Iyiami Handbags on my blog http://www.l0velindsey.com!
LOOKS DELISH!
I invite you to visit my blog and check out my giveaway 😉
I am pregnant too and craving mustard! ha! But this would also do! http://bellesbazaar-heather.blogspot.com/
I altered the sweet and sour chicken to save calories. I used boneless, skinless chicken thighs. Chicken thighs are more portion controlled than chicken breasts, which can be large. I coated a 9 x 13 pan with cooking spray, then placed the six thighs in the pan. I made the sweet and sour sauce, which I poured over the chicken thighs. Chicken was baked at 325 degrees for 20 minutes, after which I turned over each thigh to re coat and returned to the oven for another 20 minutes.
Very tasty! The next time I make the recipe I will thicken the sauce to make the dish less runny.
Sounds like good swaps, thighs are generally higher in calories than breasts though 🙂