

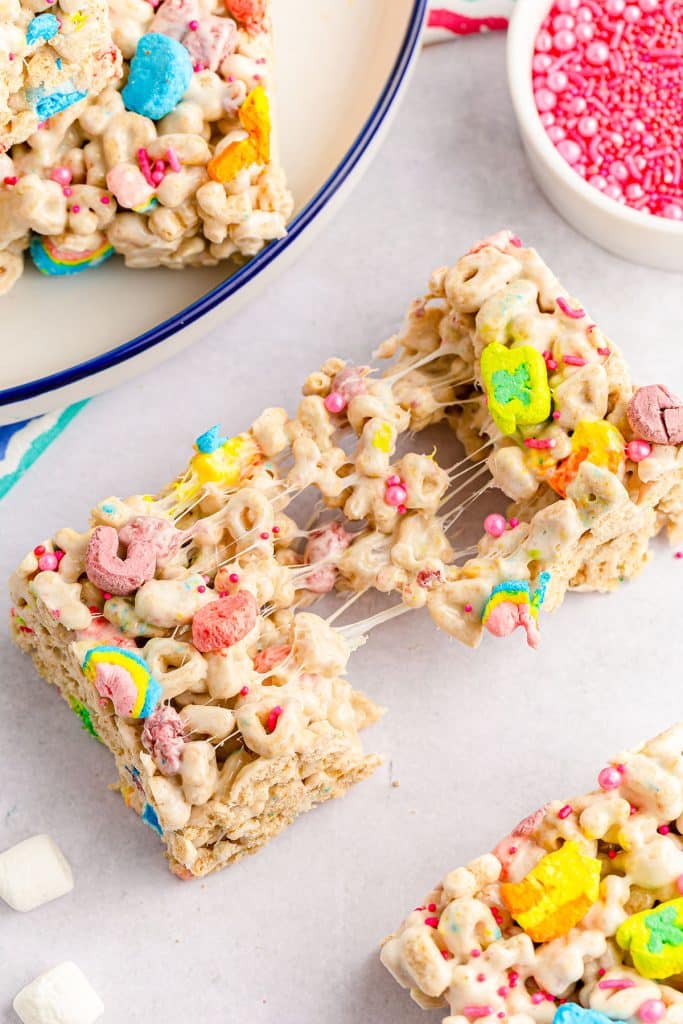
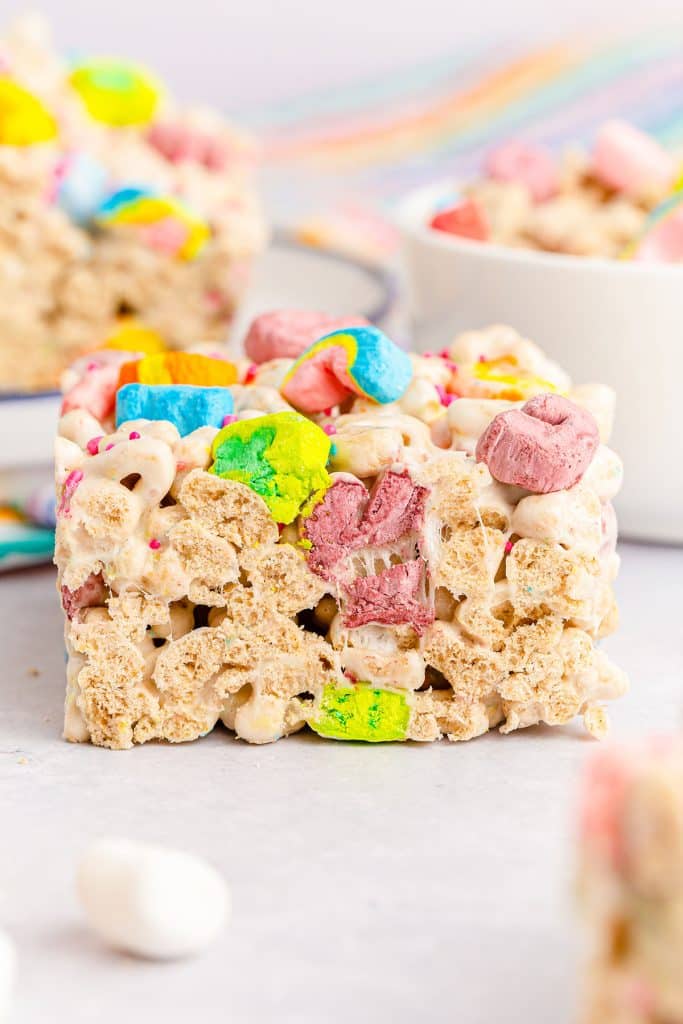
Lucky charms treats are a no bake dessert made with 15 minutes of prep time using everyone’s favorite cereal! They’re loaded with colorful lucky charms and melty marshmallows set into festive, chewy, gooey squares that are perfect for all your St. Patrick’s Day dessert trays!

Lucky Charms Marshmallow Treats
Today we’re bringing a little nostalgia to the dessert table and turning your favorite childhood cereal into no bake lucky charms treats!
They’re a fun twist on the classic rice Krispie squares in that they’re crispy, chewy, marshmallowy, and delightfully sweet.
However, for a St Patrick’s day dessert, these festive lucky charm treats flecked with magically delicious marshmallow charms are hands down my first choice!
They’re so easy to make with just a few ingredients that even the kids love to get involved. They make great school snacks for classroom parties and kids love telling their friends they helped make them!
Add these bars to your dessert table for all your St. Paddy’s day parties, whether you’re hosting or bringing something, as they travel well and can last for days at room temperature.
Believe me, it’s not just kids that love them. Grown-ups love them too!
Why you’ll love these Lucky Charms Treats
- Easy recipe – They’re no bake & couldn’t be easier. You can never have too many no bake recipes, especially when life gets busy.
- Adorably festive – Bright and colorful, these cheery lucky charms treats are just as fun to look at as they are to eat!
- Extra marshmallows – The lucky charms themselves are marshmallows, and we’re using traditional white marshmallows too for extra gooey, buttery goodness.
- Simple ingredients – You need just 5 ingredients and that’s if you include extra sprinkles on top!
Helpful Tools
- Large Pot
- 9×13 Baking Dish – love that it has a lid for storing.
- Silicone Spatulas – the gooey marshmallows don’t stick to these as much.
- Lucky Charms Marshmallows – just the marshmallows, optional for topping.
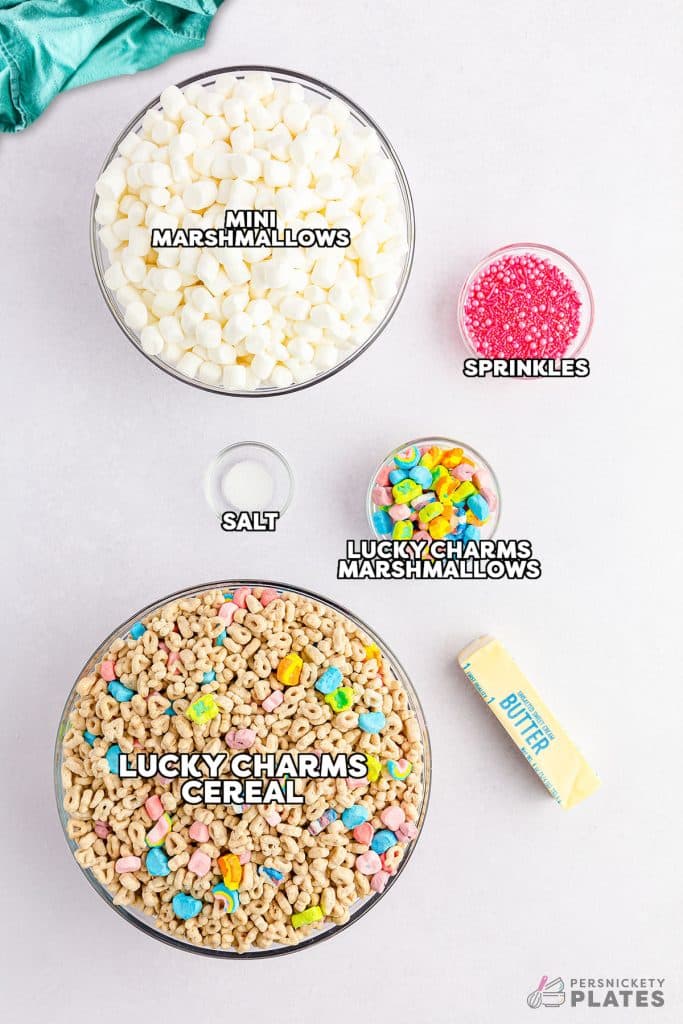
Ingredients
Below is a list of the ingredients you’ll need to gather to make this recipe, why you need them, and possible substitutions. Scroll all the way down for the full recipe card with measurements.
Jump- Unsalted Butter – Melted butter helps melt the marshmallows into a smooth mixture. Once it cools and set the butter solidifies but helps keep the texture nice and chewy.
- Salt – Adding salt is necessary to balance out the sweetness of basically everything else in this recipe! If you end up using salted butter, skip the added salt.
- Mini Marshmallows – I use mini just because, but you can use regular marshmallows if preferred. As long as it all gets melted, it works.
- Lucky Charms Cereal – A throwback cereal that’s been around for decades. It’s made of oat cereal in various shapes symbolizing luck (horseshoes, clovers, hearts, etc.). The colorful marshmallows represent the same thing and together make a crunchy, chewy, rainbow treat.
- Lucky Charms Marshmallows – Packages of these can now be found sold separately. No more having to pick out the marshmallow charms one by one! Although, if you can’t find any online, or in store, get to diggin’!
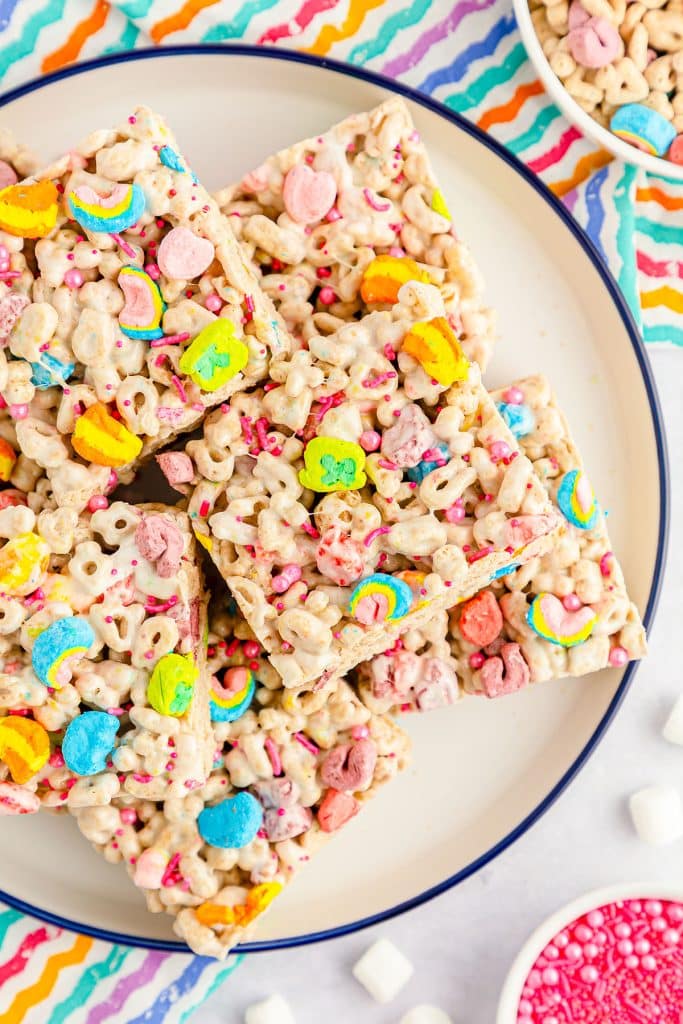
- Rainbow Sprinkles – An optional way to top your lucky charms treats for a bit of extra color.
How to make Lucky Charms Treats
This section shows you how to make this recipe, with process photos showing the steps to help you visualize it. For full instructions, including amounts and temperatures, see the recipe card below.
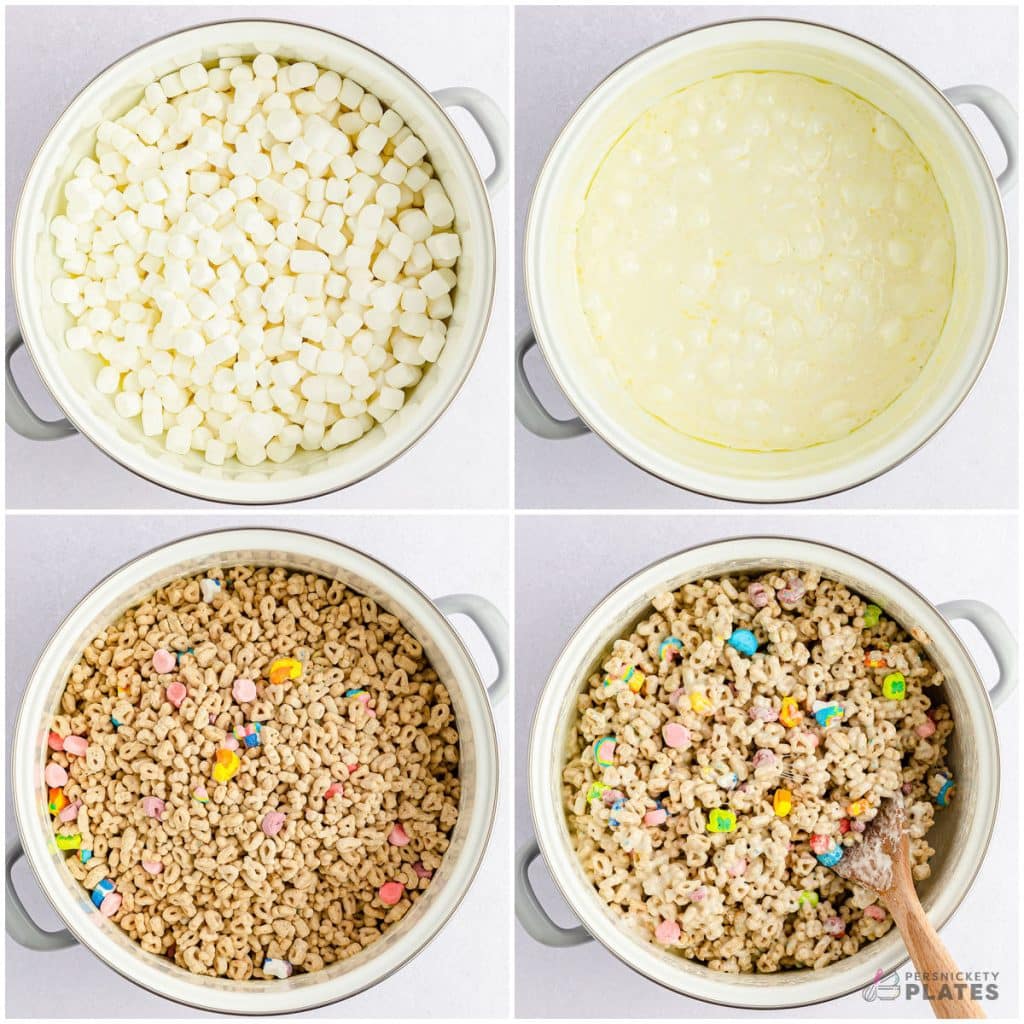
Jump- Step One: Melt the butter in a large pot over low heat, then stir in the salt (if using unsalted butter). Add in the marshmallows and stir constantly until marshmallows have melted and it is mostly smooth. Be careful not to overdo it and cause it to burn.
- Step Two: Remove the pot from the heat and gently fold in the cereal until it’s all completely and evenly coated. It will be sticky and may need some extra arm strength.
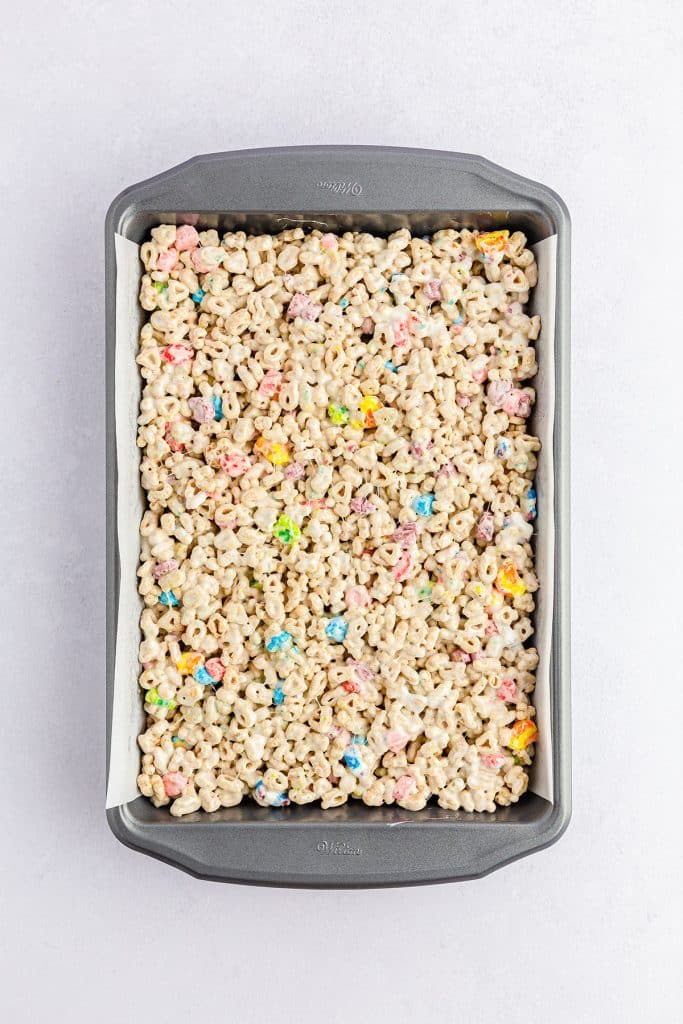
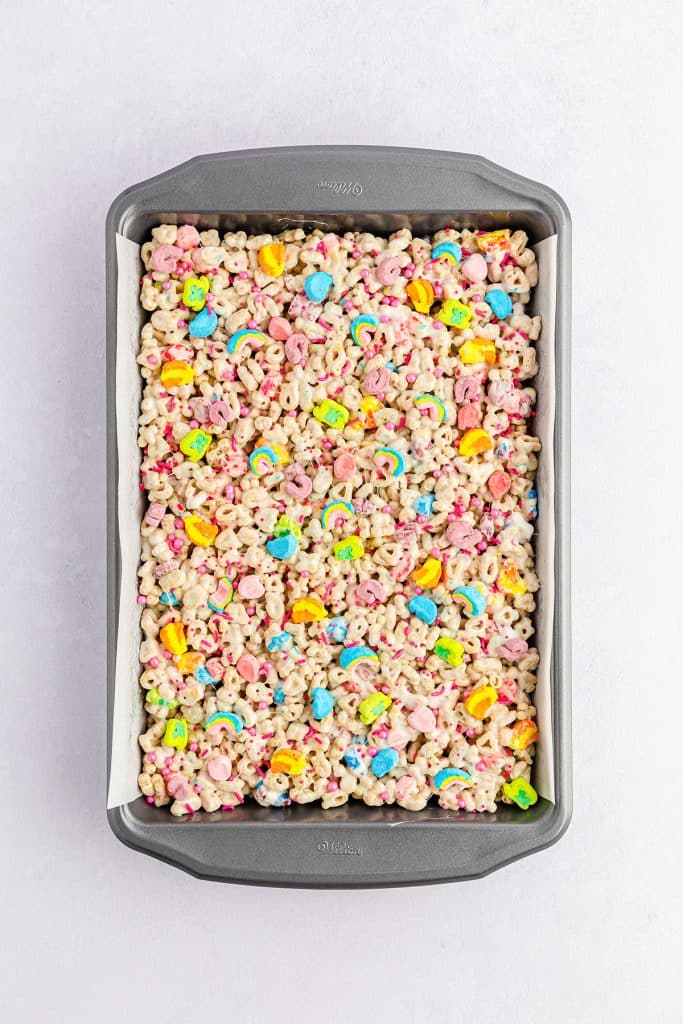
- Step Three: Spread the cereal mixture into a prepared 9×13 baking dish, but do not pack it down otherwise your treats will end up hard. Immediately add extra lucky charms marshmallows and rainbow sprinkles on top before it sets.
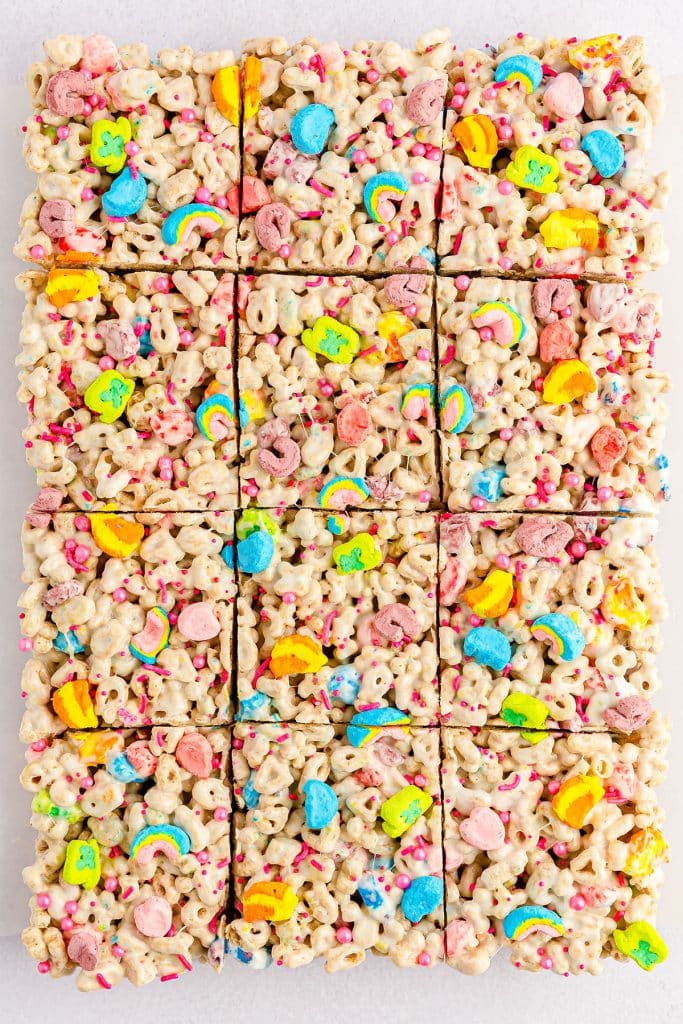
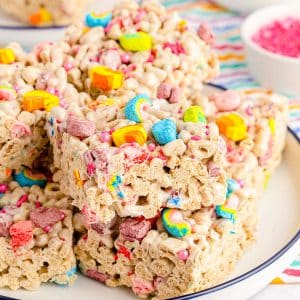
- Step Four: Let it sit at room temperature for 30-60 minutes until it has cooled and set. Cut into bars as big or as little as you’d like. Enjoy!
What to serve with Lucky Charms Bars
I’d say these are the perfect ending to a slow cooker corned beef and potatoes dinner!
Add these no bake Irish potato candies to your dessert tray as well and invite everyone to sample one or two of each.
- Add a splash of pure vanilla extract to your melted marshmallows for added flavor.
- For best results, keep the heat really low when melting the marshmallow mixture.
- Don’t forget to grease your baking dish. These sticky squares won’t stay intact if they are stuck to the pan.
- Make sure to use fresh marshmallows. Stale ones just won’t cut it.
- Use a silicone or rubber spatula to help you gently press the mixture into th bottom of the pan.
- Lightly spray your hands with non stick cooking spray if you are using them to gently spread the marshmallows into the dish. It will help prevent the mixture sticking to your hands.
How to store leftovers
These are best enjoyed the same day they’re made but any leftover bars can be kept in an airtight container for up to 2 days. They’ll be eaten long before then, so don’t worry!
FAQs
Can I cut this recipe in half?
Certainly. Use half of the ingredients and use an 8 x 8 baking dish. Either that or make two smaller batches. One for you and one for a friend.
Are lucky charms treats gluten free?
They are! The oat cereal is gluten-free, as are the lucky charms marshmallows. Just make sure to read the label on the mini marshmallows, although most are gluten-free.
How many marshmallows will I need?
If you’re using mini marshmallows, you’ll need about 10 oz which equals about 6 cups. If using regular marshmallows you will need about 40.
Need more no bake recipes? Try these:
Chocolate Rice Krispie Peanut Butter Balls
Click here for my entire collection of dessert recipes.
Lucky Charms Treats
Equipment
Ingredients
- 8 tablespoons unsalted butter melted
- ¼ teaspoon salt
- 10 ounce mini marshmallows
- 10 cups Lucky Charms cereal
- ½ cup Lucky Charms marshmallows optional for topping
- rainbow sprinkles optional
Instructions
- Spray a 9×13 baking pan with non-stick spray and line it with parchment paper. Set aside.
- To a large pot over low heat melt the butter and stir in the salt.8 tablespoons unsalted butter, ¼ teaspoon salt
- Once the butter has melted, add in the marshmallows and stir constantly until melted and mostly smooth – small lumps are ok.10 ounce mini marshmallows
- Remove the pot from the heat and gently fold in the cereal until evenly coated.10 cups Lucky Charms cereal
- Gently spread the mixture into the prepared baking dish in an even layer. Don't pack it in or you'll end up with hard treats.
- Optional: Immediately top with additional Lucky Charms marshmallows and sprinkles.½ cup Lucky Charms marshmallows , rainbow sprinkles
- Allow to cool completely at room temperature for 30-60 minutes before slicing into bars.
Notes
- If using salted butter, you can skip the salt, but you do need some salt to balance the sweetness.
- Recipe can be halved to an 8×8 square baking dish.
- Leftovers should be stored at room temperature in an airtight container. They’re best enjoyed the same day but will keep up to 2 days.
Nutrition
Nutritional information is an estimate and provided to you as a courtesy. You should calculate the nutritional information with the actual ingredients used in your recipe using your preferred nutrition calculator.
Did you make this recipe?
Tag me on Instagram @melissa_pplates so I can see!Did You Make This?
If you made this recipe, I’d love to know how it went in the comments section below.
You can also tag me on Instagram – @melissa_ppplates or share a pic in the Persnickety Plates Community Facebook group. I love seeing what you’ve tried!