

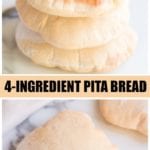
Get ready to make delicious homemade pita bread with this easy recipe. It doesn’t matter if you’re an experienced cook or just starting in the kitchen—making homemade pita bread is so much fun and uses just 4 simple ingredients!

Quick Pita Bread Recipe
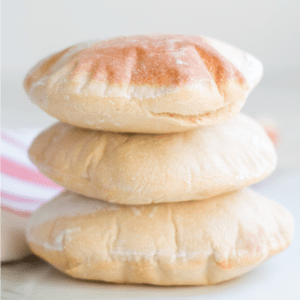
The smell of the bread baking, the way it puffs up in the oven, and how you can use it for lots of different foods make learning to make pita bread a cooking experience you’ll love. The best part is it’s only 4 ingredients!
Among homemade flatbreads, this easy pita bread recipe is exceptional for its simplicity and tasty outcome. With only a few ingredients and simple instructions, you can easily make these versatile pockets of deliciousness in your kitchen.
They taste very much like the pitas our favorite Middle Eastern restaurant serves and are great to dip in olive oil with za’atar or just eat plain! You can also serve them
You can also use them for sandwiches and wraps. They’re especially tasty when used for shish tawook sandwiches, which are Arabic grilled chicken pitas.
Why you’ll love this Quick Pita Bread Recipe
- Quick and Easy – You don’t have to use complicated methods or wait for a long time.
- Perfect Pockets – Perfect for stuffing with your favorite fillings like falafel, salad, or chicken gyros.
- Freezer-Friendly – Make a batch and store them for later use.
- Homemade Goodness – Experience the satisfaction of creating your own pita bread from scratch.

Equipment you’ll need
- Stand Mixer with Dough Hook Attachment – I use my hand mixer for many things, but you really need a dough hook to knead the bread. You can knead it by hand, I have, but a dough hook makes life easier.
- Cutting Board – I like to roll my dough out on a floured cutting board instead of my counter. Personal preference.
- Rolling Pin – To flatten the dough balls. This one comes with a pastry mat, which would be handy.
- Large Spatula – To flip the dough rounds onto a baking sheet.
- Non-stick Baking Sheet or Ceramic Pizza Stone
Ingredients
Below is a list of the ingredients you’ll need to gather to make this recipe. Scroll all the way down for the full recipe card.
You’re gonna love this – only FOUR ingredients in this pita bread & I’m sure you already have these things on hand.
- Active Yeast – I use active yeast (regular), which means you need to dissolve it in warm water.
- Warm Water – Not too hot or it’ll kill the yeast. Anywhere between 105 degrees F and 115 degrees F should suffice.
- Salt – To enhance the overall taste.
- Flour – I use all-purpose white flour. I haven’t experimented with other types yet.

How to make Homemade Pita Bread
This section shows you how to make this recipe, with process photos showing the steps to help you visualize it. For full instructions, including amounts and temperatures, see the recipe card below.
- Step 1: Dissolve yeast in warm water for about 5 minutes in the bowl of your stand mixer. Add salt and 1 ½ cups flour, and with the dough hook, beat to make a batter.
- Step 2: Add additional flour until a rough, shaggy mass is formed. Knead for 8 minutes until the dough is smooth and elastic. Add more flour if it is too sticky. Turn the dough onto a lightly floured surface and divide it into six pieces for large pitas or ten for smaller ones.
- Step 3: Form dough into balls, then flatten with a rolling pin into ¼-inch thick discs. Try and keep an even thickness, as this is what helps them ‘puff’. Let rest on the floured surface for 30-40 minutes, or until slightly puffed.
- Step 4: While the dough is resting, preheat the oven to 425F. With a large spatula, flip the rounds of dough upside down onto a baking sheet. Bake 10-15 minutes, until light golden.
Melissa’s Tip – Stick around for the first five minutes of baking when the pitas perform their magic and puff up from flat pancakes to proud, four-inch high pitas!

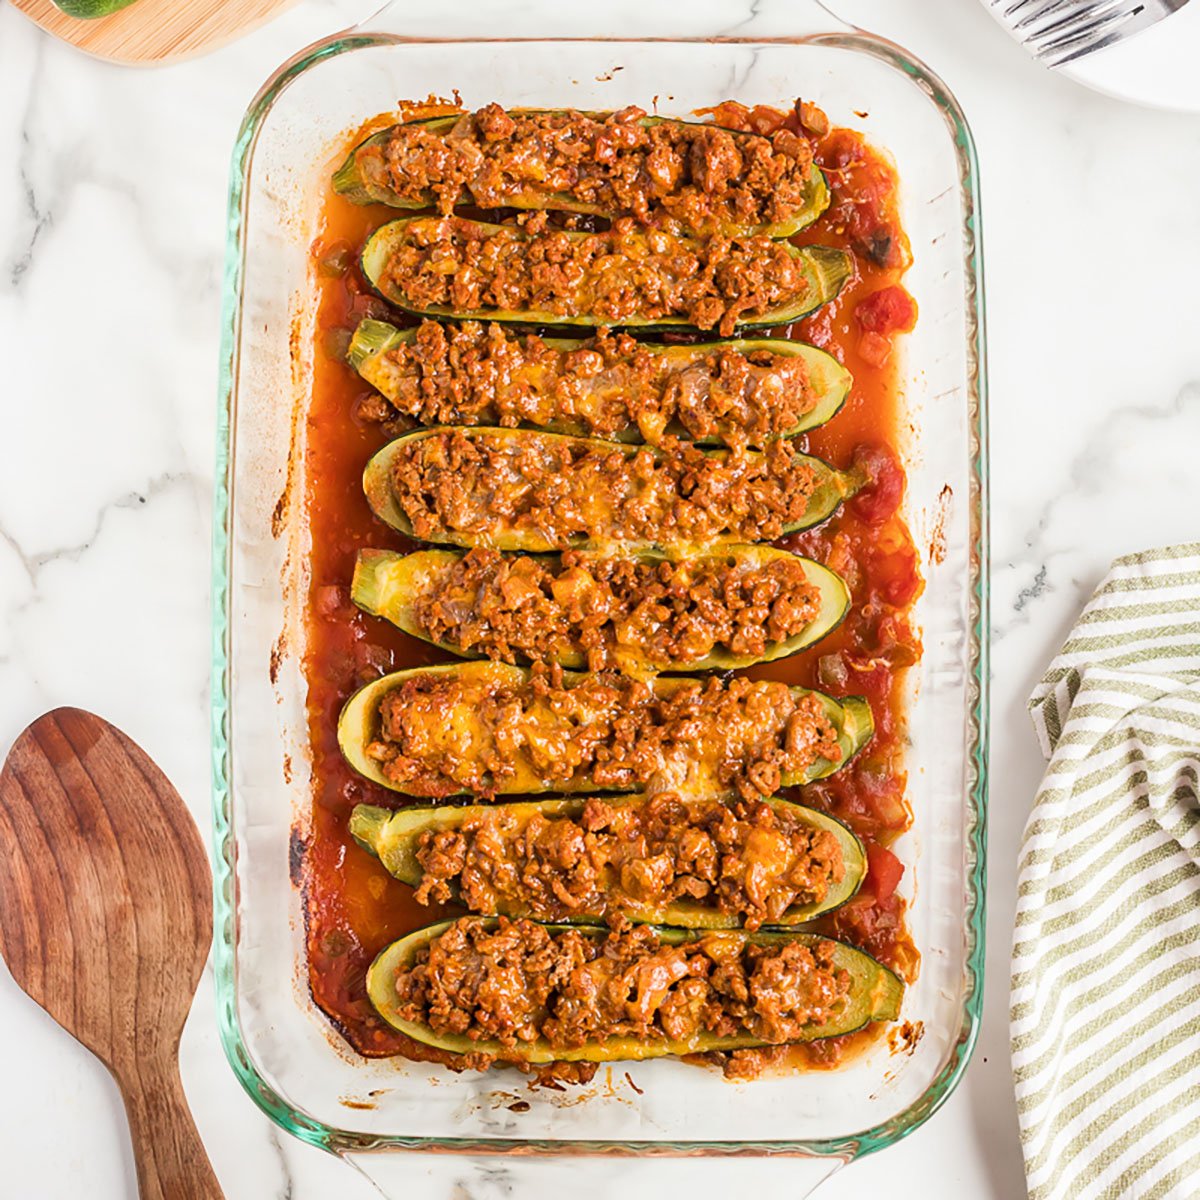
What to serve with this Quick Pita Bread Recipe
Tips & Suggestions
- Keep an even thickness while rolling to ensure proper puffing during baking.
- Preheat your oven to 425F while the dough is resting.
- Use a cast-iron skillet or baking stone for an authentic touch.
- Experiment with whole wheat flour for a healthier alternative.
How to reheat and store Homemade Pita Bread
How to store leftovers
Store pita bread wrapped in a clean kitchen towel or plastic wrap at room temperature to maintain freshness.
Can I freeze pita bread?
Sure you can! Place them in a freezer bag or freezer-safe container for up to 3 weeks. Use parchment paper to separate them. Then, you can thaw as many as needed.
How to reheat them
To reheat, place on a hot skillet, pan, or griddle. You can also microwave it for a few seconds.
FAQs
This homemade pita bread should be stored and wrapped well and should last for two days. Or, you can freeze them for about 3 weeks.
Well, pitas are bread so full of carbs, but they are low in calories and a decent source of iron.
Absolutely! Whole wheat flour adds a nutty flavor and extra fiber to your pita bread.
Yes, simply divide the dough into smaller portions before flattening.

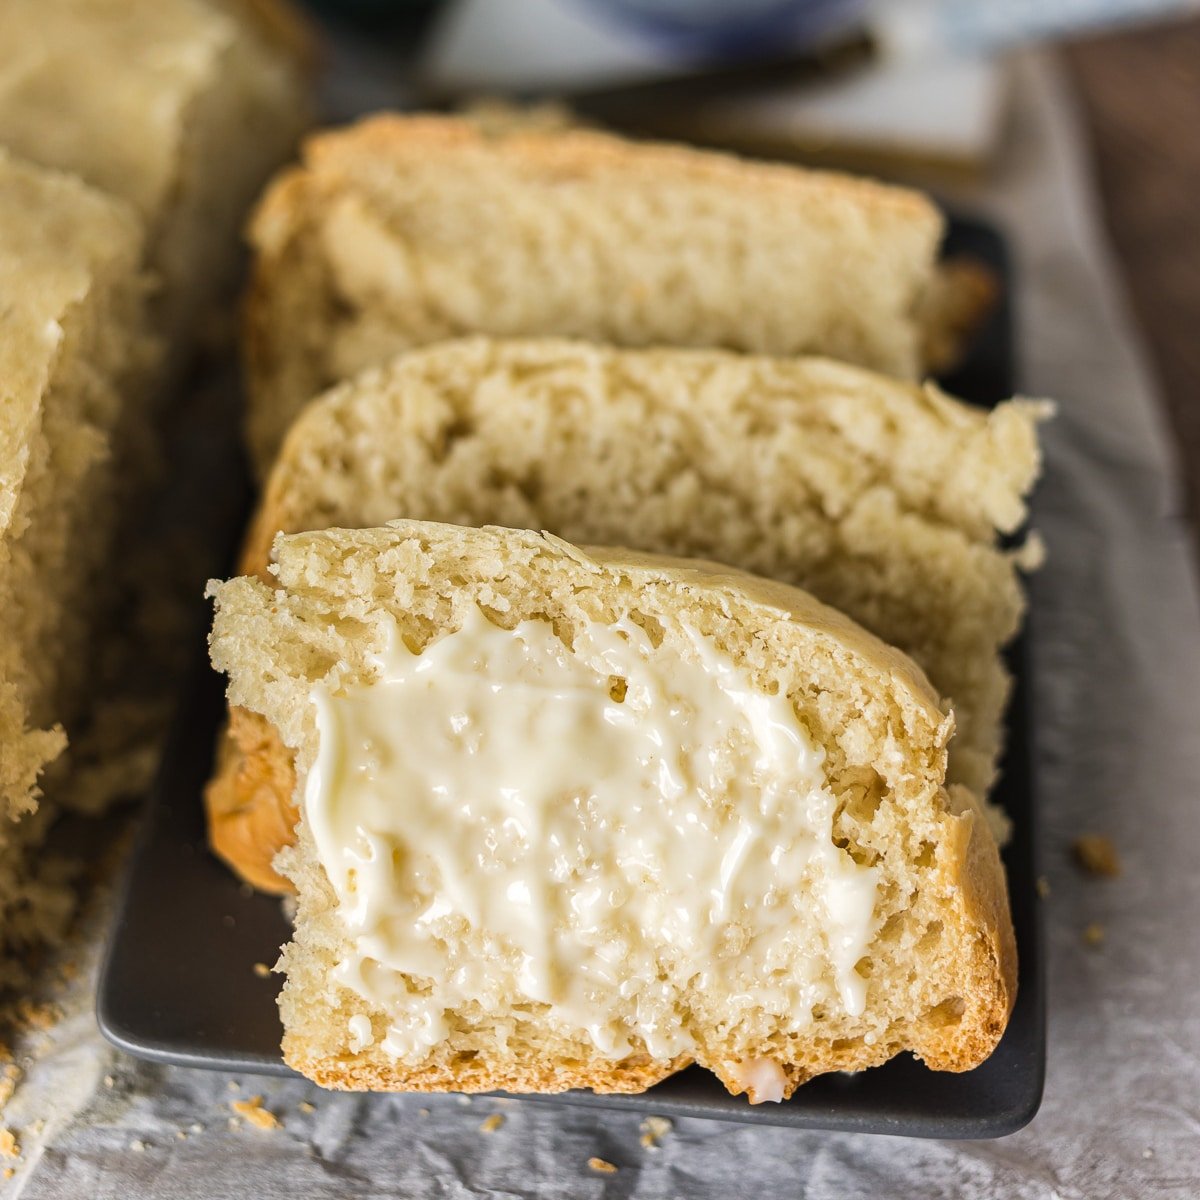
Need more easy bread recipes?

Quick Pita Bread Recipe – only 4 ingredients!
Ingredients
- 1 tablespoon active yeast
- 1 ¼ cup warm water
- 1 teaspoon salt
- 3 to 3 ½ cups all purpose flour
Instructions
- Dissolve yeast in warm water for about 5 minutes in the bowl of your stand mixer.1 tablespoon active yeast, 1 1/4 cup warm water
- Add salt and 1 ½ cups flour and with the dough hook, beat to make a batter.1 teaspoon salt, 3 to 3 1/2 cups all purpose flour
- Add additional flour until a rough, shaggy mass is formed. Knead 8 minutes until dough is smooth and elastic. Add more flour if it is too sticky.
- Turn dough onto a lightly floured surface and divide into six pieces for large pitas or ten for smaller.
- Form dough into balls, then flatten with a rolling pin into ¼ inch thick discs. Try and keep an even thickness as this is what helps them ‘puff’.
- Let rest on the floured surface 30-40 minutes until slightly puffed.
- While the dough is resting, preheat oven to 425F.
- With a large spatula, flip the rounds of dough upside down onto a baking sheet. Bake 10-15 minutes until light golden.
Notes
- Roll dough evenly to help it puff properly in the oven.
- Preheat oven to 425°F while dough rests.
- Bake on a cast-iron skillet or baking stone for traditional results.
- Try whole wheat flour for a more nutritious version.
- Store at room temp, wrapped in a clean towel or plastic wrap.
- To freeze: separate with parchment, store in a freezer bag or container, and freeze up to 3 weeks.
Nutrition
Nutritional information is an estimate and provided to you as a courtesy. You should calculate the nutritional information with the actual ingredients used in your recipe using your preferred nutrition calculator.
Did you make this recipe?
Tag me on Instagram @melissa_pplates so I can see!Originally published September 14, 2012


Yummmmm. I love making breads/doughs at home. Very little ingredients to make such a tasty treat!
These look really good! I have always wanted to try and make pitas, thanks for the recipe!
I tried this recipe it was really amazing 😉
Thanks
Happy to hear that!
Do you freeze the dough? Or do you cook the pita and then freeze?
You can freeze after they’re baked if you have leftovers.
I love this pita. I wrap it in a damp paper towel and heat for 15 seconds in the microwave. Delicious.
Yay =)
Made these tonight and they were so good. This was my first attempt at pita and I’m not sure why I was so scared of it lol. Love it!!
Yay, thank you, Veronica 🙂
Hi! I made them but left them in oven for only 10 minutes and they came out crispy, what did I do wrong? Is it supposed to go on low rack?
I make this pita bread recipie every single weeks and my friends and family LOVE IT!
Thanks, Katie 🙂
Hi I tried your recipe the pitas came out beautiful it rose so well even the next day when I heated it in the microwave it came out soft my family enjoyed…thank you for the quick and easy receipe
Happy to hear that, you’re welcome!