


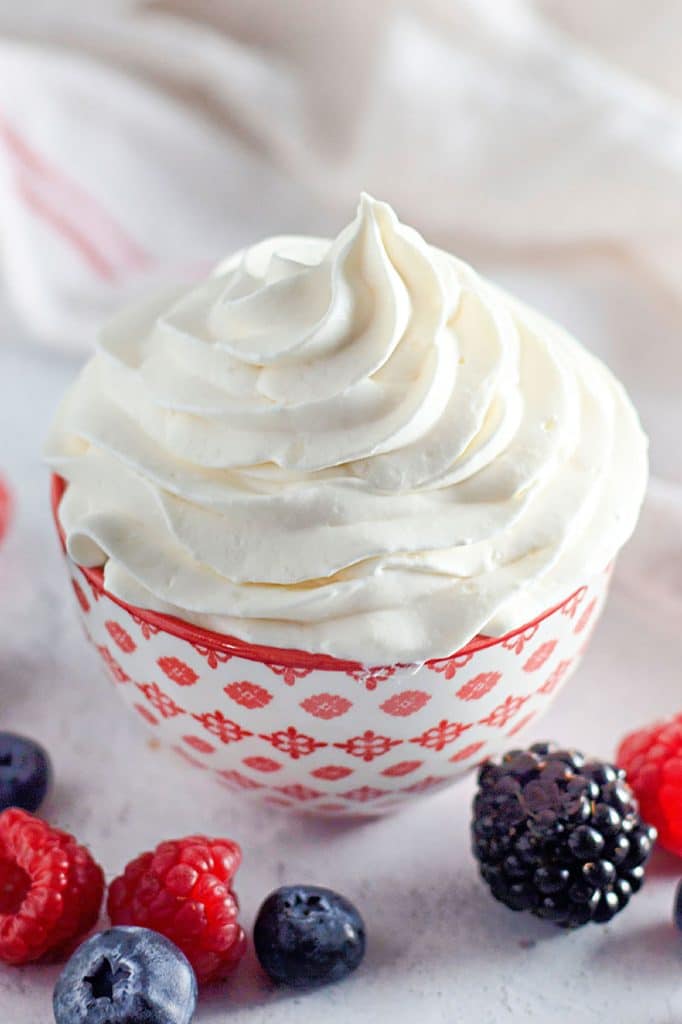
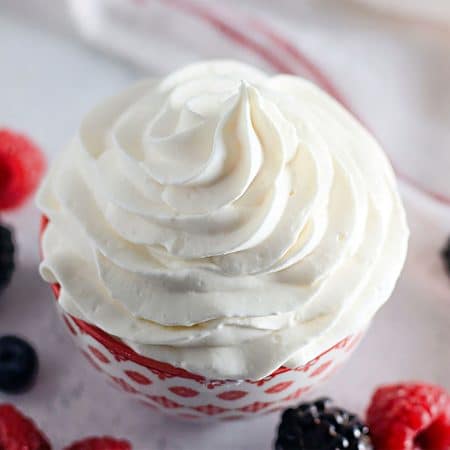
Easy homemade cool whip (stabilized whipped cream) is a simple way to add a touch of elegance to all your favorite desserts and hot drinks! This pure white, light, and airy cream holds its shape like a traditional tub of cool whip but has the simple ingredients of a classic whipped cream. Use it on everything from fresh fruit and pancakes to piping over cakes, pies, and milkshakes!

Traditional whipped cream is so good and has so many uses, but it definitely has its limits.
It needs to be used right away and it doesn’t hold its structure for too long. That’s why for a more stabilized whipped cream, people turn to cool whip.
I’ve made my feelings for Cool Whip known over the years. Have you ever read the ingredients on the tub? Go ahead, I’ll wait an hour.
Many recipes call for it but the long list of processed ingredients and sugars is exactly why I started making my own.
Having a stabilized whipped cream made from a handful of ingredients is a game changer.
This quick and easy homemade cool whip recipe is one you’ll want to keep for all your cakes, pies, cupcakes, and of course, anytime you need a dip for your fresh fruit platter!
Why you’ll love this easy Homemade Cool Whip
- Quick to make – It takes a total of 10 minutes to whip some up! So it’s a great convenient alternative to traditional frostings and fillings.
- A beautiful presentation – A light and airy whipped cloud is always an elegant way to finish your baked goods. No matter the time of year, no matter the occasion, this recipe will become an essential part of so many desserts.
- Versatile – A bowl of whipped cream and fresh berries, a dollop on top of some ice cream, or between a layered cake, there’s nothing homemade cool whip isn’t good for!
- Keeps fresh in the fridge – For a few days! It will hold its shape a lot longer than traditional whipped cream.
Helpful Tools
Ingredients
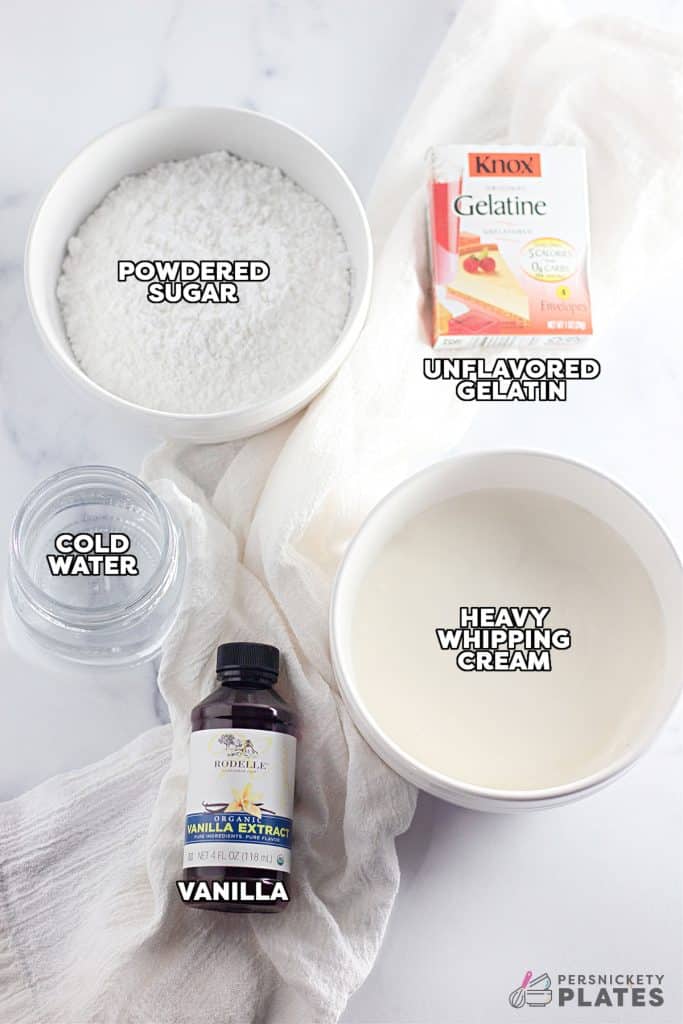
Below is a list of the ingredients you’ll need to gather to make this recipe, why you need them, and possible substitutions. Scroll all the way down for the full recipe card with measurements.
Jump- Gelatin Powder: This is what gives your stabilized whipped cream the consistency of classic cool whip. Make sure it’s unflavored so it doesn’t alter the taste of the homemade cool whip.
- Cold Water: You’ll use just a bit to help the gelatin powder dissolve completely. You don’t want any gritty bits left behind.
- Heavy Whipping Cream: Heavy whipping cream has the right amount of fat needed to make this creamy treat. You can also use heavy cream, but nothing with a lower fat content. Don’t try and replace it with regular whipping cream.
- Powdered Sugar: Used to sweeten the cool whip and also add structure. I use confectioners’ sugar (aka icing sugar) rather than granulated sugar as another way to avoid grittiness.
- Vanilla Extract: An optional flavor addition that enhances the taste.
How to make Homemade Cool Whip
This section shows you how to make this recipe, with process photos showing the steps to help you visualize it. For full instructions, including amounts and temperatures, see the recipe card below.
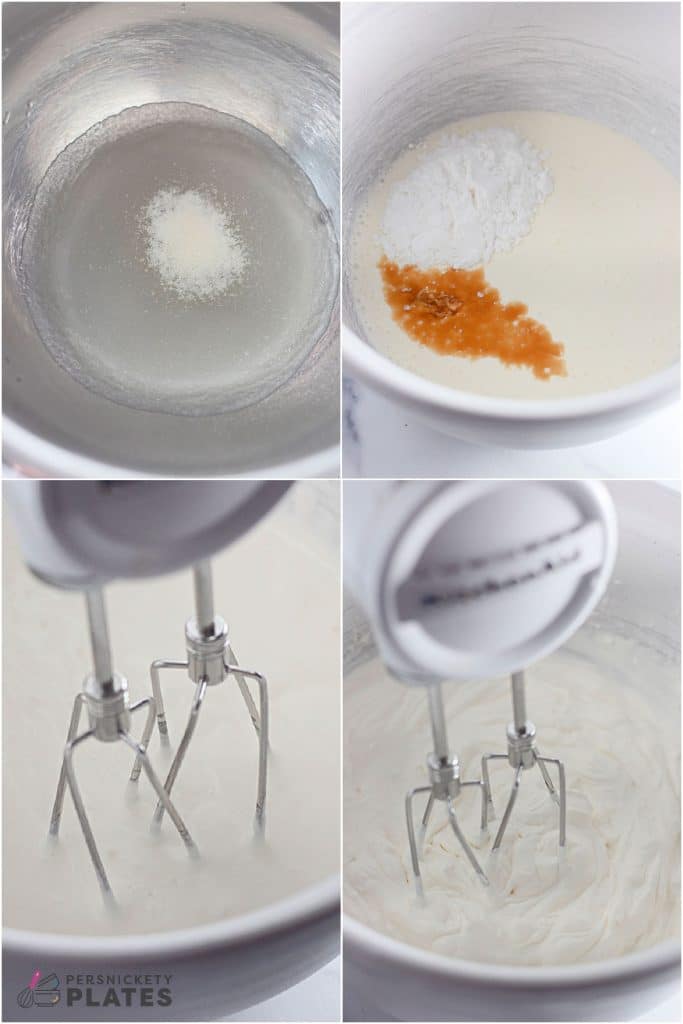
Jump- Step One: Whisk the gelatin and water together in a microwave-safe bowl and set it aside.
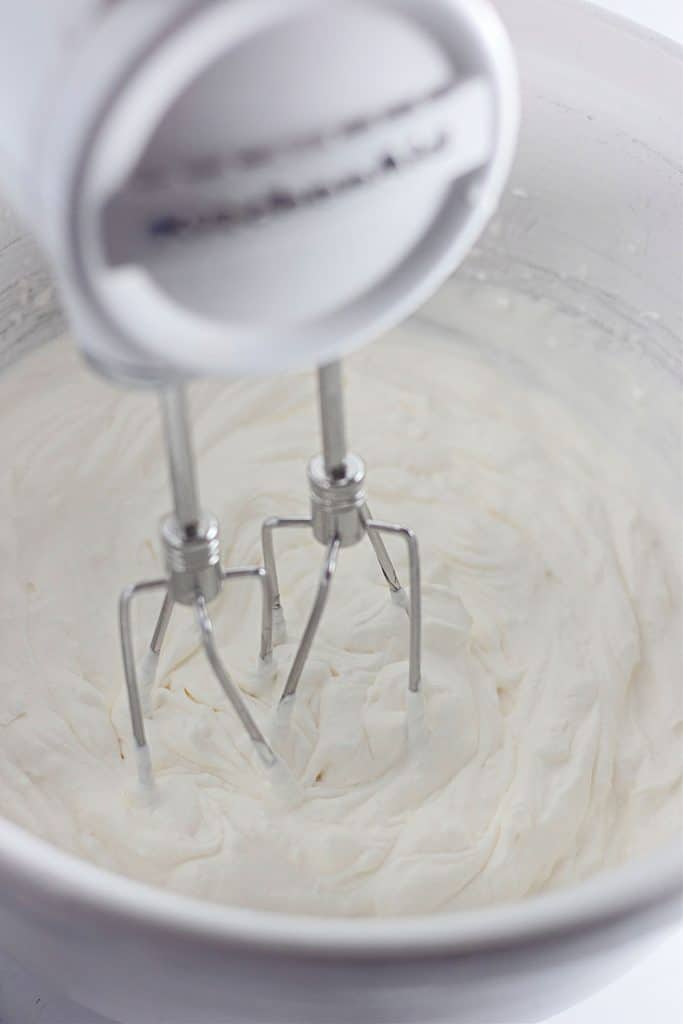
- Step Two: In a large mixing bowl, beat the cream, powdered sugar, and vanilla extract with an electric mixer on medium-high heat until thickened.
- Step Three: Heat the gelatin mixture in the microwave for 5 seconds so that it melts and then very slowly drizzle it into the whipped cream as you mix on medium speed. Once it is fully incorporated continue beating at medium-high speed until stiff peaks form.
- Step Four: Use it immediately or store it in the fridge until you’re ready to use it.
Ways to use Homemade Cool Whip
It’s interchangeable with whipped cream and cool whip in most recipes!
Many of my festive adult drinks have a whipped topping of some sort, so, for drinks like Valentine’s Day jello shots and Christmas jello shots, it comes in handy!
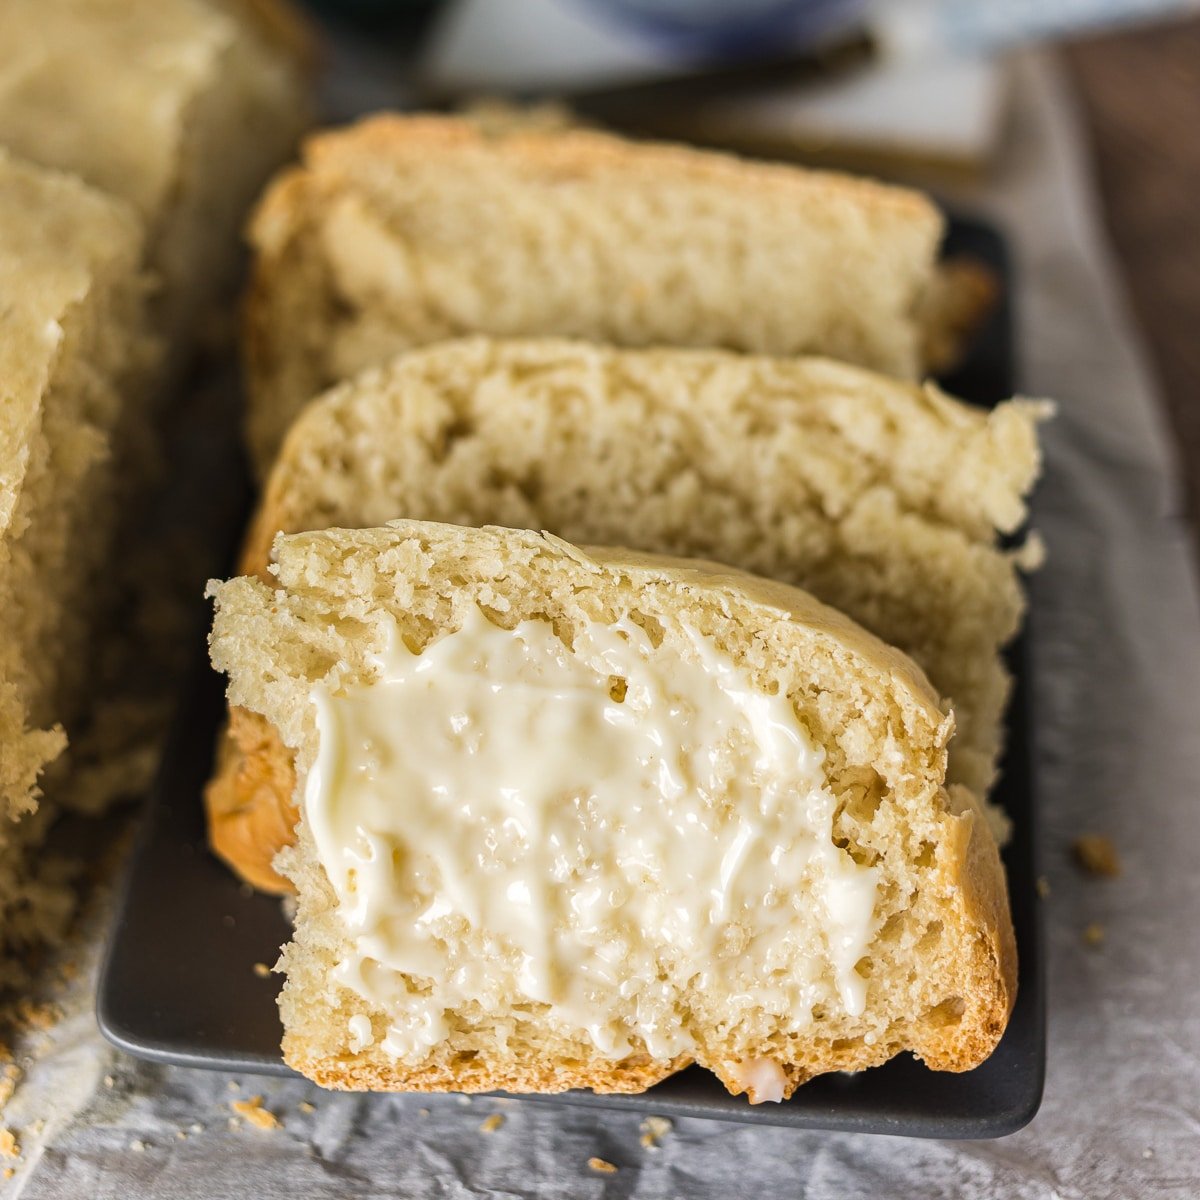
The kids love it in their hot chocolate, on top of pancakes and waffles, and I love it on top of a drunk Rudolph milkshake! Also, who says you can’t add a dollop to your cup of coffee?!
Below is a lit of just a few dessert recipes that use cool whip or whipped cream:
- No Bake Banana Split Dessert
- Blueberry Heaven on Earth Cake
- Mixed Berry Shortcakes
- Chocolate Cream Pie
- Better Than Sex Cake
- Blueberry Heaven on Earth Cake
- A cold bowl is your friend. A chilled bowl and beaters are a great way to keep the whipped cream cold. Putting them in the fridge or freezer ahead of time is highly recommended. Heat is not your friend in this case as it will melt the cool whip.
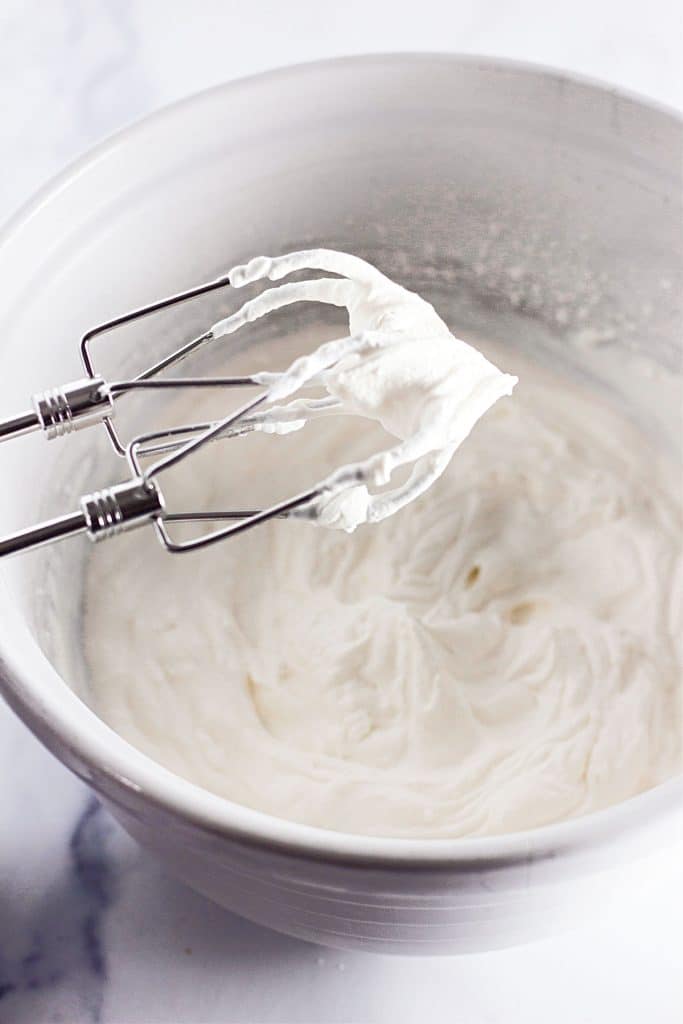
- You’ll know you’ve reached stiff peaks when you lift the beaters out of the mixer and the whipped cream doesn’t move. Soft peaks won’t hold as well but you could get away with medium peaks if you prefer.
- Allow the gelatin to cool before adding it to the mix, but not to where it solidifies again. Keep an eye on it as it cools. If it does solidify microwave it once more and try again. You don’t want to add hot gelatin to the mix.
- Try adding a different flavor extract! Orange, lemon, or almond would each be amazing. Or even a little lime zest for a key lime pie topping.
- Replace whipped cream or cool whip in most recipes with a 1:1 ratio.
- Do not overmix. For best results, beat just until stiff peaks form. Overmixing whipped cream can alter the consistency to a lumpy, buttery texture.
How to store Homemade Cool Whip
How to store leftovers
This can be kept out at room temperature for up to 2 hours. Anything past that you’ll want to keep it in an airtight container in the fridge.
How long will stabilized whipped cream last in the fridge?
For up to 3 days.
Can I freeze it?
You can freeze it in a freezer-safe container for up to 2 months. However, I have never needed to because it’s so easy to make in a pinch and I find plenty of ways to use it all up.
FAQs
Can I fix overmixed whipped cream?
Sometimes, yes! If you notice right away that it’s looking like churned butter stop what you’re doing. Add a splash of heavy cream to it, little by little, and fold it in gently with a spatula until smooth again.
How far in advance can I make this?
I will always recommend using it right away, however unlike traditional whipped cream, this homemade cool whip will remain stabilized for up to 24 hours!
What’s the difference between homemade cool whip and chantilly cream?
Not much! Chantilly cream, otherwise known as creme chantilly in French, is what becomes of classic whipped cream once it’s become sweetened and flavored. So, because we’re adding powdered sugar and vanilla, it’s basically the same! However, a chantilly cream doesn’t necessarily contain gelatin.
Stabilized Whipped Cream
Need more recipes that use cool whip? Try these:
Click here for my entire collection of dessert recipes.
Easy Homemade Cool Whip (Stabilized Whipped Cream)
Equipment
Ingredients
- 1 teaspoon gelatin powder unflavored
- 4 teaspoons cold water
- 1 cup heavy whipping cream
- ¼ cup powdered sugar
- 1 teaspoon vanilla extract
Instructions
- In a small microwave-safe bowl, whisk together the gelatin and water; set aside.1 teaspoon gelatin powder, 4 teaspoons cold water
- In a large mixing bowl, beat the heavy whipping cream, powdered sugar, and vanilla extract with an electric mixer on medium-high speed until just thickened, not to the point of stiff peaks.1 cup heavy whipping cream, ¼ cup powdered sugar, 1 teaspoon vanilla extract
- Heat the gelatin mixture in the microwave for 5 seconds until melted.
- With the mixer on medium speed, very slowly drizzle the melted gelatin into the whipped cream. Once the gelatin is incorporated, increase the speed to medium-high and beat until stiff peaks form.
- Use immediately for decorating, or chill until use.
Notes
- Store covered in the fridge for up to 3 days. Stir well before using.
- For decorating, it’s best to use the whipped cream when freshly made.
- Vanilla is optional but adds great flavor.
- Try extracts like almond, lemon, or orange, or add citrus zest.
- It is very important to gradually add the gelatin mixture while the mixer is running to
Nutrition
Nutritional information is an estimate and provided to you as a courtesy. You should calculate the nutritional information with the actual ingredients used in your recipe using your preferred nutrition calculator.
Did you make this recipe?
Tag me on Instagram @melissa_pplates so I can see!Did You Make This?
If you made this recipe, I’d love to know how it went in the comments section below.
You can also tag me on Instagram – @melissa_ppplates or share a pic in the Persnickety Plates Community Facebook group. I love seeing what you’ve tried!


The water needed for the gelatin really messed with the consistency of my whipped cream. I had stuff peaks before adding it, and afterward it was runny and wouldn’t hold its shape.
Did you whisk the water & gelatin together before adding it? You are supposed to whip just until thickened (not to stiff peaks) before adding the gelatin mixture. It sounds like you maybe overmixed it.
Can you sub this stabilized whipped cream for the carton of cool whip called for to be mixed with cream cheese in a no-bake pie?
Thanks 🙂
Yes, that should work fine, just watch the amount needed, you may need to double this 🙂
May I ask can you freeze this?
You can, in a freezer safe container, for up to 2 months. I prefer to make it fresh since it’s pretty simple though.
This is amazing! Way better than store bought. I used it on my husbands birthday cake, froze some for later on fruit and a fudge bar! So good I even ate it alone! Will be making this again tonight! Followed instructions and came out perfect!
So happy to hear that!
Can I use this to replace cool whip in chocolate eclair cake?
Yes, it should be fine 1:1.
Thank you for your recipe for the Cool whip it was quick and easy it turned out delicious I love it it came out smooth and creamy fluffy is delicious
I’m so glad you liked it!
Hi, Melissa, my name is Annabelle.
I am a sight challenged woman who absolutely loooooooooooooooooooooooooooves to cook! I wonder if this would work in a stand mixer with the whip attachment. I’ve tried making cream filling from other recips, but every time, it always seems to separate! The most recent recipe I tried on New Year’s Eve last year was a complete disaster! Even after I mixed it for half an hour, it became a runny, lumpy mess! Would this one be better for me?
Hi Annabelle! I think a stand mixer with the whisk attachment will work great here. My tip is to chill the bowl in the freezer for a bit before you start 🙂 Let me know how it goes!
You say to chill the bowl in the freezer.
1. My freezer is small.
2. Won’t that crack the bowl? It’s a stainless steel mixing bowl, which I’m not sure if that’s freezer safe. Would the fridge work instead?
It won’t crack the bowl but if it’ll fit better in the fridge, that works, too. Cold is best 🙂