


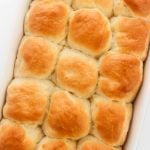


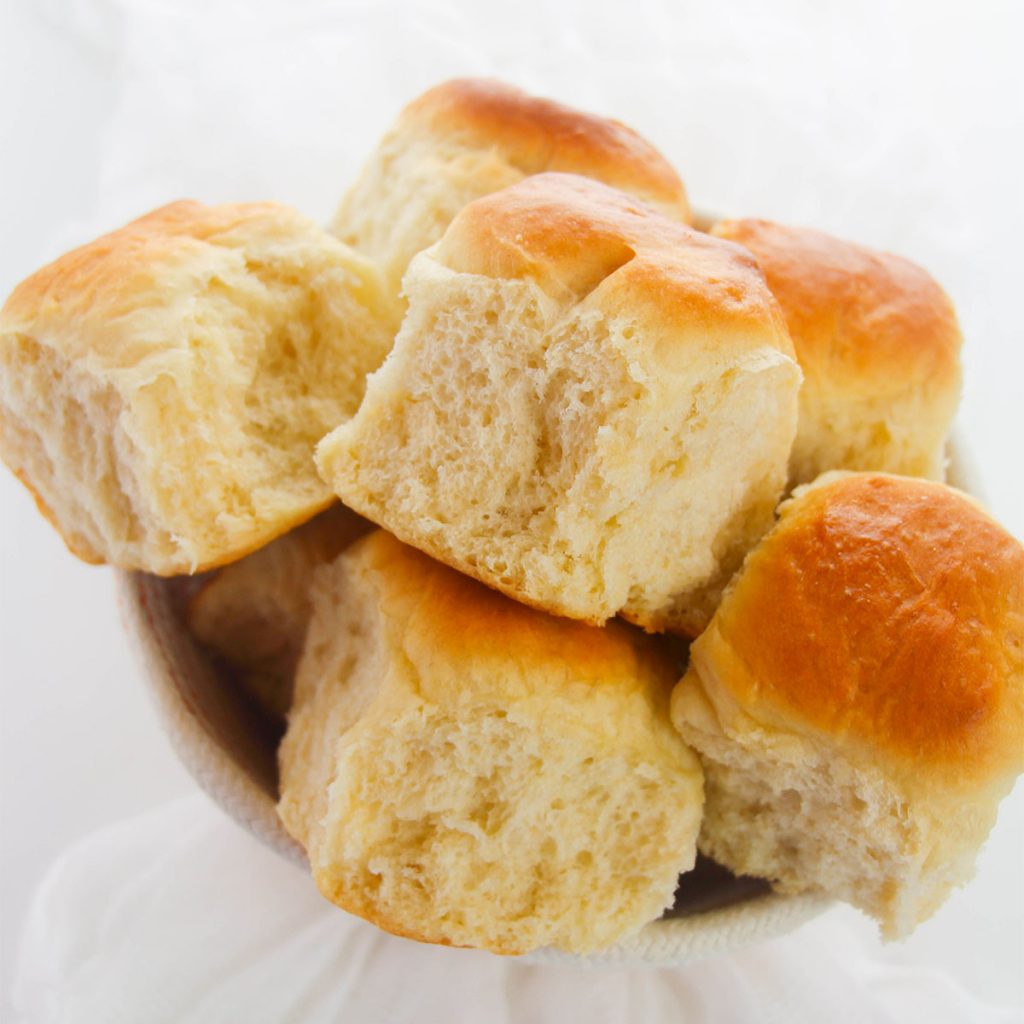
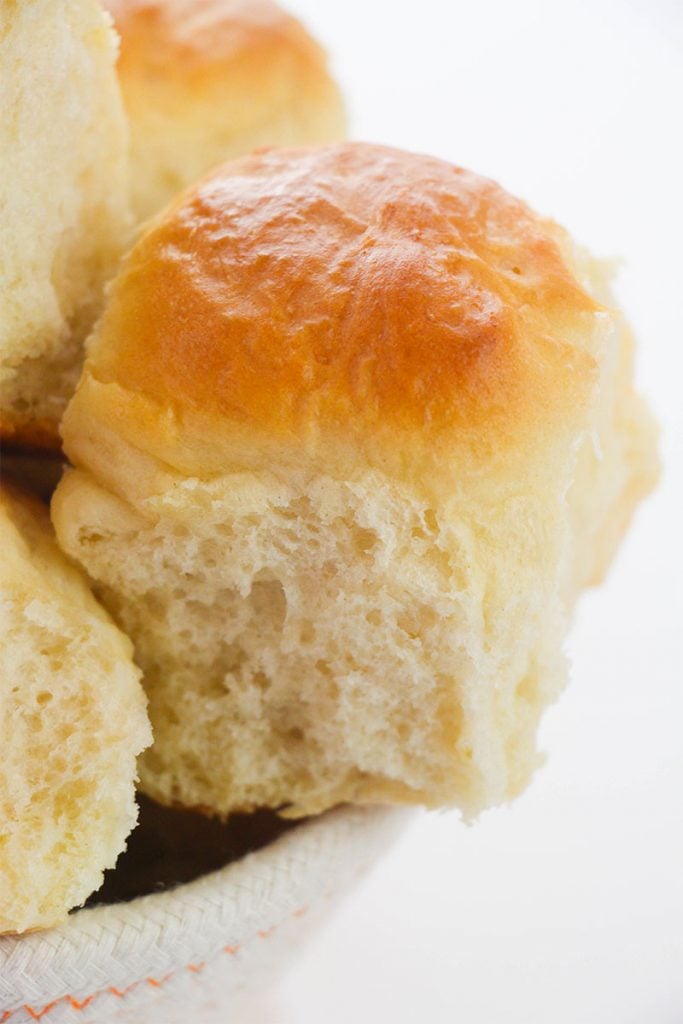
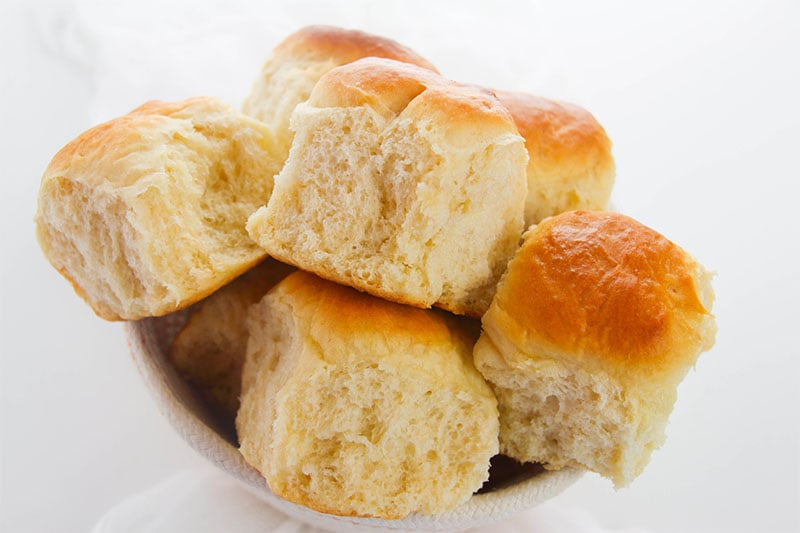
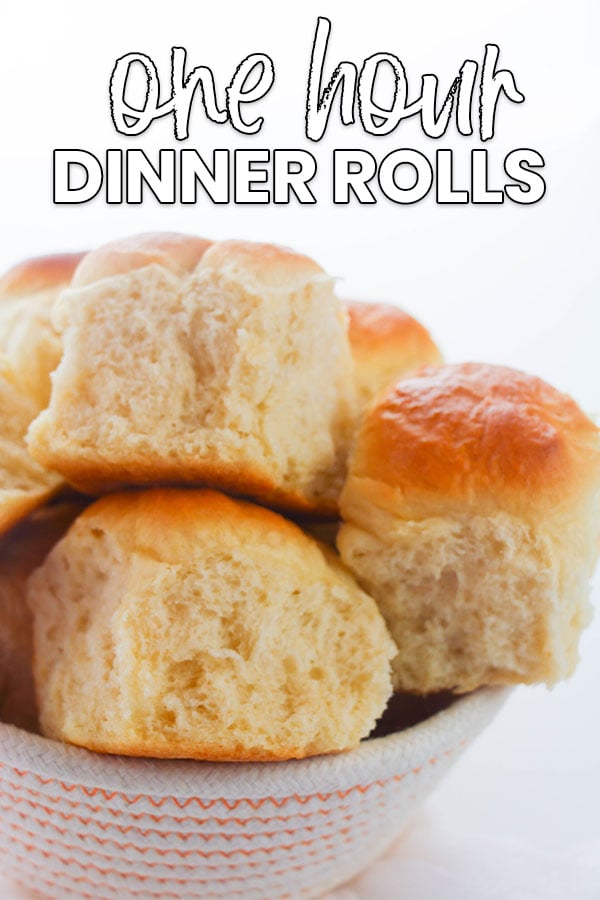
These One Hour Dinner Rolls are the only dinner roll recipe you need! Soft and fluffy, these buttery rolls are easy enough to make during the week but delicious enough to serve at a holiday meal.
One Hour Rolls
A good dinner roll recipe is one of my favorite side-dishes. The problem is that so many recipes end up with me being in the kitchen all afternoon and I just don’t have time for that.
Enter: one hour dinner rolls.
They’re quick, easy, and more importantly – buttery and delicious. You can cut corners on time without sacrificing quality.
They work perfectly with a weeknight meal but also fit in with a fancier holiday get together.
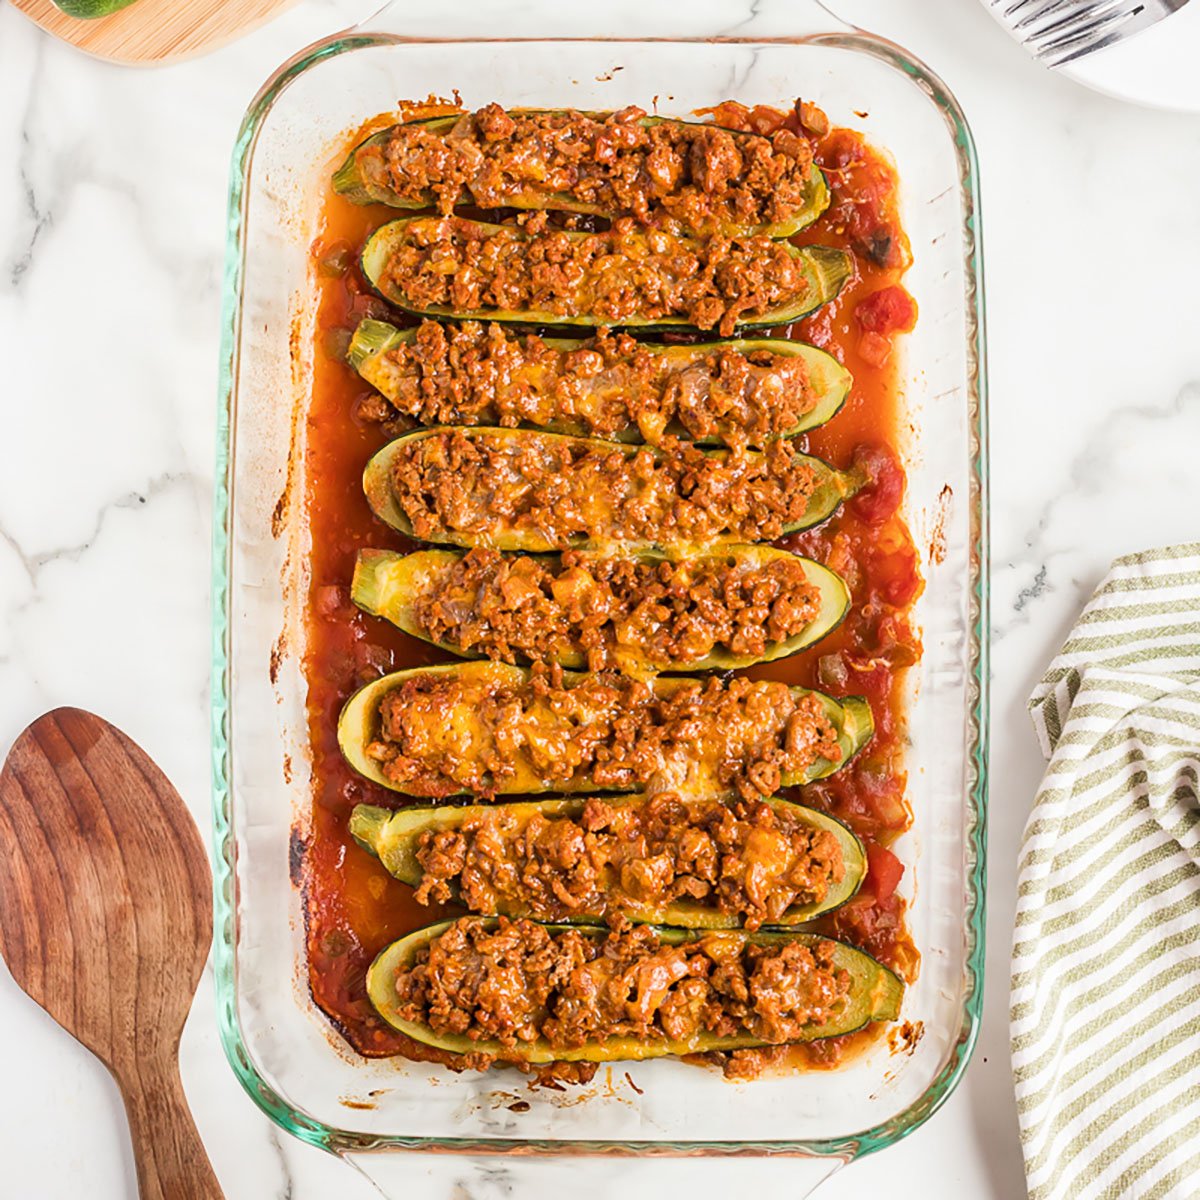
Serve them with some Texas Roadhouse butter, Slow Cooker Pot Roast, Mississippi Pot Roast, or Meatloaf Dinner for ultimate comfort food.
Why you’ll love this easy dinner rolls recipe
- Great flavor
- Perfect for holidays – Christmas, Easter, Thanksgiving….but also easy enough for a regular weeknight.
Helpful Tools
- Thermometer – This thermometer is great for recipes where you need to check the temperatures. It’s super easy to read and can be used for everything from making candy to deep frying.
- Stand mixer – I use my hand mixer for a lot of things, but the KitchenAid is super helpful for bread recipes with a dough hook.
- Pastry brush – Great for “painting” butter on top of baked goods – it makes it so easy & silicone makes for easier cleaning.
- Baking dish – A pretty & functional baking dish.
Ingredients
Below is a list of the ingredients you’ll need to gather to make this recipe, why you need them, and possible substitutions. Scroll all the way down for the full recipe card with measurements.
Jump- Water – Liquid is needed to activate your yeast.
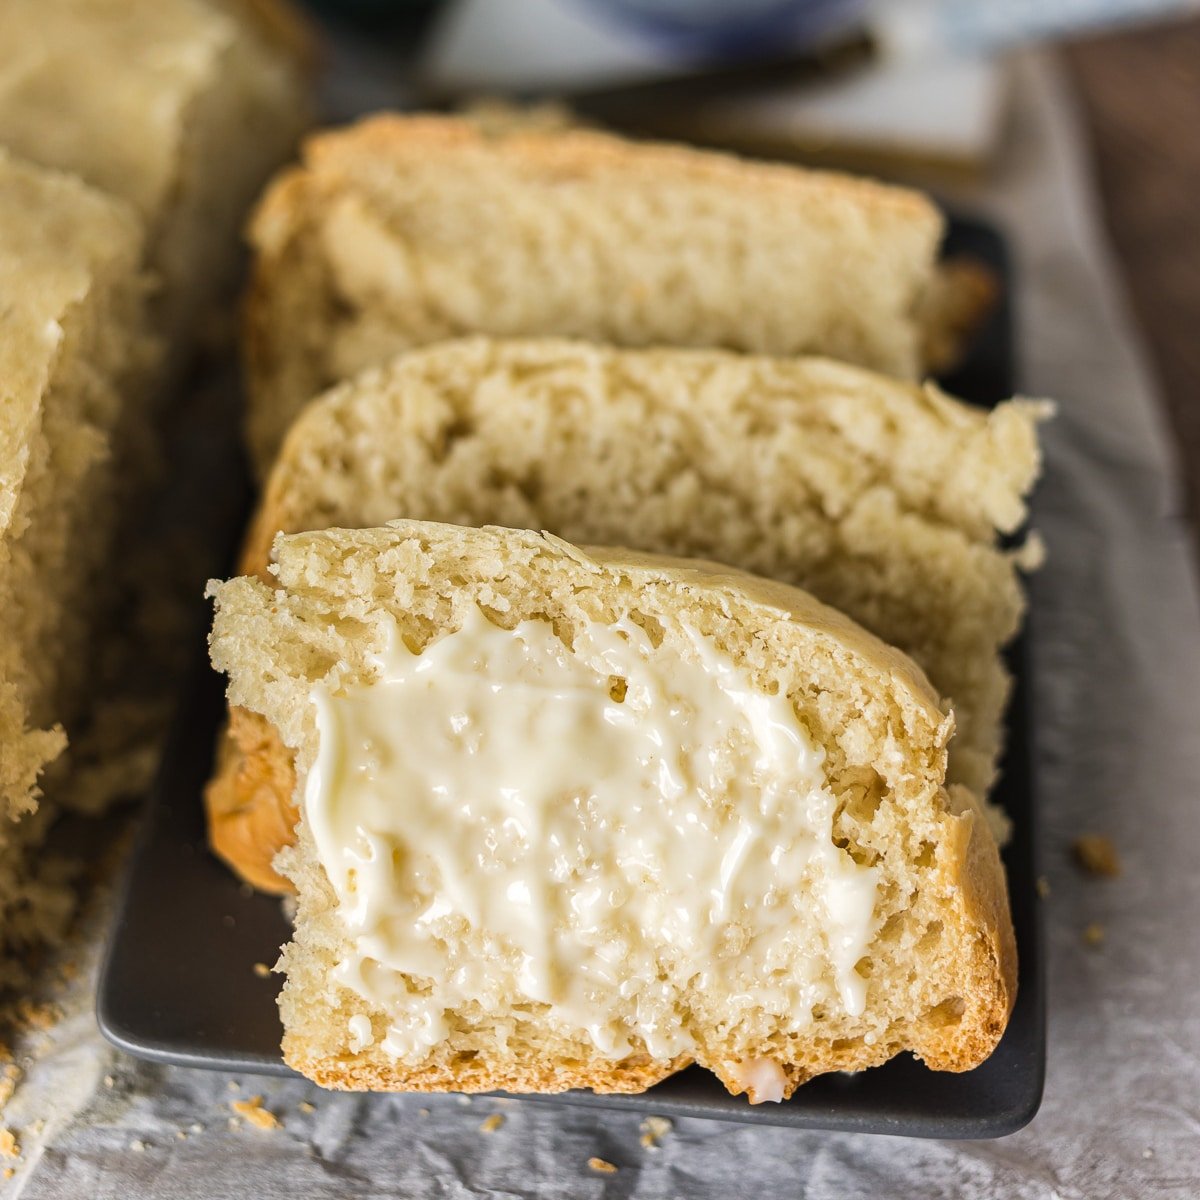
- Butter – I like to use salted butter. You’ll melt it so no need to bring it to room temp first.
- Milk – I use 2% and haven’t tested with others. Milk will give your bread an added taste and texture profile.
- Flour – All-purpose white flour. I haven’t yet tested with others.
- Salt – In dough, salt tightens and strengthens the gluten strands, which allows the dough to hold carbon dioxide, which makes for fluffy rolls. Science!
- Sugar – Sugar helps to feed the yeast and tenderize the dough.
- Yeast – instant/rapid yeast makes this recipe nice and easy. Make sure it’s not expired and that you’re using instant yeast.

How to make One Hour Dinner Rolls
This section shows you how to make this recipe, with process photos showing the steps to help you visualize it. For full instructions, including amounts and temperatures, see the recipe card below.
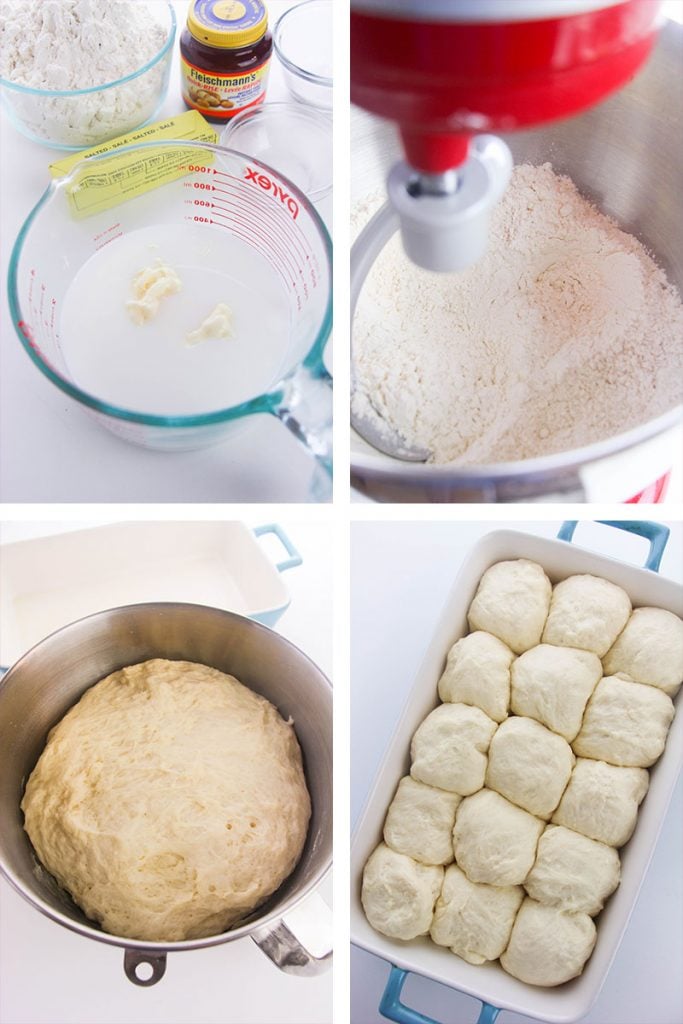
Jump- STEP ONE: To a large microwave safe bowl, add the water, butter, and milk. Microwave until the temperature reaches 95-115 degrees F. If it’s hotter, allow it to cool to that range before proceeding.
Alternatively, you can do this step on the stove in a saucepan over medium-high heat. - STEP TWO: Whisk together 3 1/2 cups of flour, salt, sugar, and instant yeast in a large mixing bowl or the bowl of your stand mixer.
- STEP THREE: Add the warm liquid mixture to the flour mixture and knead for 6-8 minutes, until a soft ball forms and pulls clean away from the sides of the bowl. Add the additional cup of flour, as needed.
- STEP FOUR: Place the dough in a greased bowl and cover with plastic wrap and a clean towel for 15 minutes to proof. Grease a 9 x 13 baking pan and set aside.
- STEP FIVE: After 15 minutes, punch down the dough and divide into 12-15 equal sized balls. Place them in the greased casserole dish and re-cover with plastic wrap and the towel for another 15 minutes. While waiting, preheat your oven to 400°F.
- STEP SIX: Remove the plastic wrap and towel from the baking dish and place the dish in the oven for 15 minutes to bake until puffed and golden brown on top.
- STEP SEVEN: If you’re opting to brush with butter, do so halfway through baking with 1 tablespoon of melted butter and then again once they’re finished baking. Enjoy!
How to store leftovers
The best way to store homemade dinner rolls to maximize shelf life is to wrap them in plastic wrap or put them in an airtight container before leaving them on the counter. They will last about 5 days at room temperature when stored properly.
You don’t want to store them in the fridge, however, as they have a chance of drying out that way.
If they do get stale, use them to make stuffing!
Can I freeze them?
Yes! Wrap them with plastic wrap and/or place them in a freezer bag. They will maintain quality for about 3 months, and are safe to eat beyond that time frame as well.
- Increase the sugar to 1/2 cup to use this dough for cinnamon rolls!
What if I don’t have a stand mixer?
A stand mixer makes this recipe easiest with either the paddle or dough hook attachment. You can do it by hand as well, but be prepared to use a bit of arm muscle.
Do I have to use instant yeast?
No, you don’t have to use instant yeast, but if we want one hour dinner rolls, it will work fastest.
If you only have regular yeast, allow an additional 10-15 minutes for rise time.
If you’re in a pinch, you can also use baking soda at a 1:1 ratio, it just won’t rise the dough as much. (I haven’t personally tested that method but I’m told it works).
Need more homemade bread recipes? Try these:
Quick & Easy Wheat Rolls with Garlic Herb Butter
Holiday Garlic Herb Rolls
Onion Dill Bread
3 Ingredient Biscuits

One Hour Dinner Rolls
Video
Ingredients
- 1 cup water
- 2 tablespoons butter
- ½ cup milk I use 2%
- 4 ½ cups all-purpose flour as needed
- 1 teaspoon salt
- ¼ cup granulated sugar
- 1 tablespoon instant yeast
- Additional butter for brushing optional
Instructions
- To a large microwave safe bowl, add the water, butter, and milk. Heat until the mixture is in the range of 95-110 degrees F. If it is hotter, allow it to cool to that range before proceeding. Alternatively, you can do this step in a saucepan over medium-high heat on the stove.1 cup water, 2 tablespoons butter, ½ cup milk
- To a large mixing bowl, or the bowl of your stand mixer, whisk together 3 1/2 cups of the flour, salt, sugar and instant yeast.4 ½ cups all-purpose flour, 1 teaspoon salt, ¼ cup granulated sugar, 1 tablespoon instant yeast
- Add the warm liquid mixture to the flour mixture and knead for 6-8 minutes until a soft ball forms and pulls clean away from the sides of the bowl. Add the additional 1 cup flour, as needed.
- Place the dough in a greased bowl and cover with plastic wrap and a clean towel for 15 minutes.
- Spray a 9” x 13” casserole dish with non-stick spray and set aside.
- After 15 minutes, punch down the dough and divide into 12-15 equal sized balls of dough.
- Place the balls of dough in the greased casserole dish and re-cover with plastic wrap and towel for another 15 minutes.
- Preheat your oven to 400F.
- Remove plastic wrap and towel from the casserole dish and place the dish in the oven for 15 minutes, until puffed and golden brown on top.
- If brushing with butter, brush halfway through baking with 1 tablespoon of melted butter and then again after baking.Additional butter for brushing
Notes
- For cinnamon rolls, increase sugar in the dough to ½ cup.
- Store at room temperature in an airtight container or wrapped in plastic—keeps for about 5 days.
- Avoid refrigerating; it can dry them out.
- Stale rolls? Repurpose them into stuffing.
- To freeze: wrap well and place in a freezer bag—best quality for up to 3 months.
Nutrition
Nutritional information is an estimate and provided to you as a courtesy. You should calculate the nutritional information with the actual ingredients used in your recipe using your preferred nutrition calculator.


I’ve been looking for a quick and easy dinner roll recipe and decided to try yours tonight. I LOVE it! It’s super easy to make and quite forgiving, which was great because I ran out of time before having to pick up my kids from dance rehearsals, so left the dough to rise for a bit longer – I also was using active yeast so figured it would be fine – and of course rehearsals ran late, so it was even longer before I could stick them in the oven…but the rolls totally worked and were so delicious! I’m definitely going to be making these again and again. Thank you!
I love that – I have a feeling you being late worked in your favor with the yeast! Thanks for letting me know 🙂
Made these for Thanksgiving dinner.
Turned out Beautiful!
Love that! Thanks for reporting back 🙂
Made these for dinner today and they were great! This recipe is a keeper and I will even try adding the additional sugar and making cinnamon rolls.
Yay, thanks Pat!
Can these be made in a bread machine on the dough setting and then baked in the oven?
I’ve never used a bread machine so I’m not sure.
So amazing and so easy! thank you for such a great recipe!!
Thanks!
Made these last night…..delicious 😋
Such ann easy recipe to follow and delicious!
My first time making dinner rolls and these came out amazing!!!
I have not been able to make good dinner rolls ever! This recipe is so much yum! Thank you!
Yay 🙂
I have a FACS class and would like to use this recipe. Can I them put in the fridge and bake and finish the next day.
You can, but it may take some tweaking so they don’t overproof. I think I’d prep them, arrange them in the pan, cover them tightly with lightly oiled plastic wrap & put them in the fridge. When you’re ready to bake them, take them out of the fridge to proof for about 45-60 minutes (until puffy & doubled in size) and then bake. I’m still not sure the timing will work well for you, but let me know what you try.
Hi Melissa,
I love your recipes. You hit the heart of eating well without the expense or needing to go to the specialty grocery store to get items. Down home good cooking recipes. Thank you. I do have a question though, perhaps I miss it when I view your recipes in my inbox, but can these recipes, when they involve flour, be modified to use GF flour? My daughter is gluten sensitive. If so, is there some catch all modification I can use? For example, the dinner rolls, and that’s just one recipe I enjoy from your emails…she loves dinner rolls, but what I usually find is dry, way to flakey biscuits, from other sites. She is grateful when I make them, but I’d just like to make dinner rolls everyone can eat and enjoy. I usually use Namaste or King Arthur GF flour. That’s just one recipe. All your recipes are wonderful, and I’d like to make them with my daughter’s allergy in mind. Thanks again. I appreciate you!
Hi Kim – thank you for the sweet note! I appreciate that. I haven’t personally tested my recipes with gf flour, but I’ve had many people tell me the King Arthur 1:1 works well in most recipes. I just did a little research though & found this tidbit: “for anything involving yeast, use the GF Bread Flour (which is also a Measure For Measure, but for yeasty recipes). Neither the regular Measure for Measure nor the AP will be sufficient unto the purpose where yeast is involved.”
If you try it, please report back!