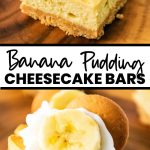
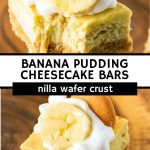
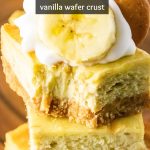
These Banana Pudding Cheesecake Bars combine everything you love about cheesecake and banana pudding into one easy, creamy, delicious dessert bar. We’ll use both mashed bananas and pudding mix to get maximum banana flavor on top of a sweet vanilla wafer crust!

Banana Pudding Cheesecake Squares
Have you made classic banana pudding before? The recipe that comes on the back of the vanilla wafer box with layers of creamy banana pudding, fresh banana slices, nilla wafers and whipped cream?
Imagine all that sweet, banana flavor, packed into cheesecake bars…because that’s what we’re doing here.
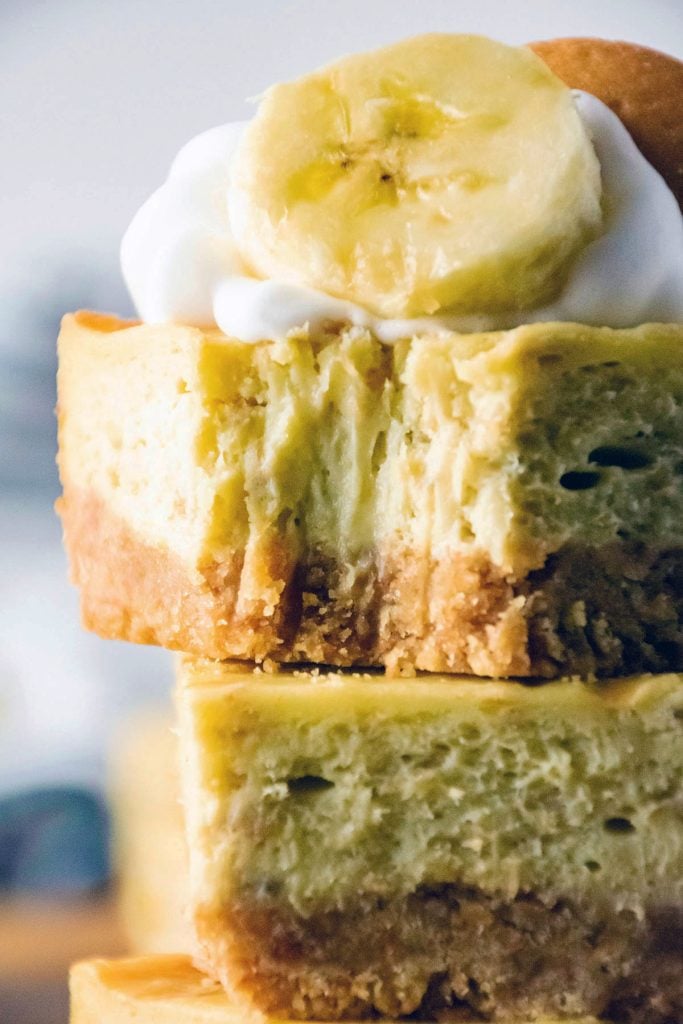
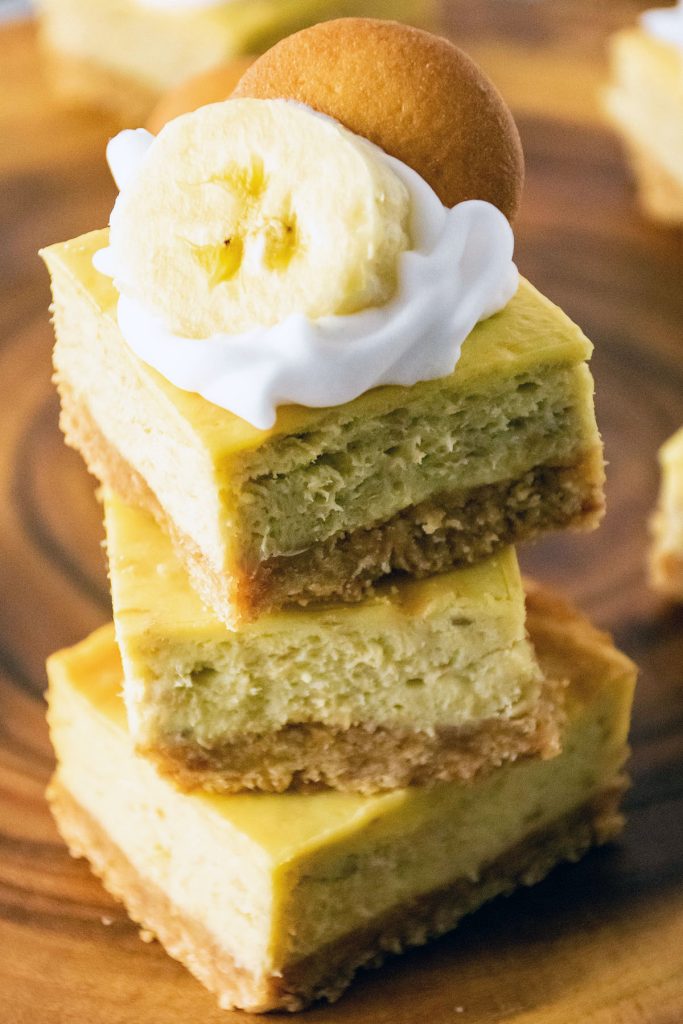
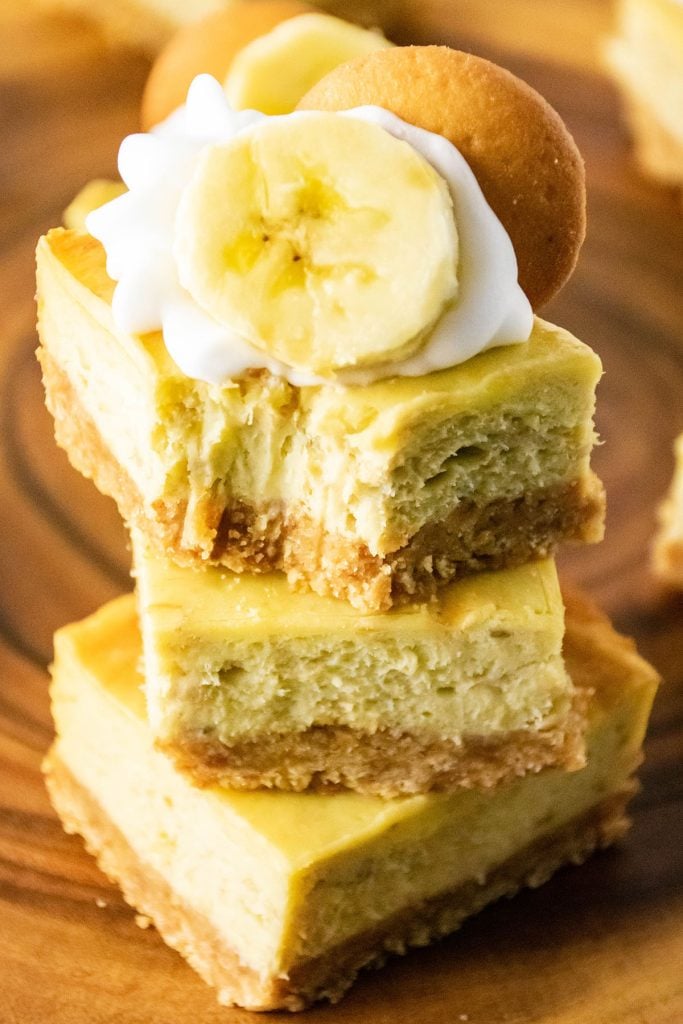
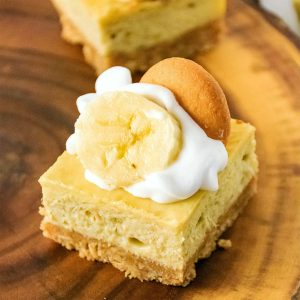
A crunchy layer of Nilla wafer crust topped with a sweet, creamy banana filled cheesecake layer and then topped with a bit of homemade whipped cream (or cool whip), banana slices, and another vanilla wafer.
SO GOOD. Let’s do this.
Why you’ll love this Banana Pudding Cheesecake recipe
- Easy to make – Because it’s made in bar form, there’s no need for a springform pan, just a 9×9 baking dish.
- Full of banana flavor – With both real bananas and banana pudding mix, you get maximum banana flavor.
- Easy to serve – Bars, which are handheld, are great to serve at parties.
- Classic dessert – Banana pudding and cheesecake are fan favorite desserts so to put them together is a great way to make everyone happy!
Tools you’ll need
- 9×9 baking dish – Pick one with a lid because you’ll want it covered during the chilling process (& for storing).
- Mixing bowls – I like this set with the grippy bottom.
- Hand Mixer – You can use a hand mixer or a stand mixer. I opt for the hand mixer more often than not.
- Mini food processor – I use this to crush Oreos for truffles and it’s perfect for making vanilla wafer crumbs in these bars.
Ingredients for Banana Pudding Cheesecake Bars
Below is a list of the ingredients you’ll need to gather to make this recipe. Scroll all the way down for the full recipe card.
- Nilla Wafers – Either the actual Nilla Wafer brand or store brand vanilla cookies. You’ll crush them in a food processor or just in a zip top bag with a rolling pin…get some frustration out. A uniform, fine crumb is important for the best crust texture.
- Butter – Used to bind the cookie crumbs to form the crust.
- Cream Cheese – This is cheesecake after all, you’ll need cream cheese. I use full fat. Make sure you start with it at room temperature.
- Sugar – Granulated white sugar is what I’ve tested with.
- Eggs– Two large eggs. Also start with these at room temperature for the smoothest results.
- Vanilla Extract – I know it is pricey but try to use real vanilla extract (not imitation) when possible. I buy it in bulk from Sam’s or Costco or you can make your own.
- Marshmallow Fluff – A secret ingredient! Marshmallow fluff is marshmallow in semi liquid form. It adds extra creaminess and sweetness and pairs beautifully with banana.
- Banana Pudding Mix – One box of instant banana pudding mix to add great flavor and creaminess.
- Bananas – The star of the show – bananas. You’ll likely need 2 ripe, fresh bananas to equate to 1 cup mashed. You may need more or less depending on the size of the bananas. You’ll also want some sliced bananas for the top of the cheesecake to garnish.
How to make Banana Pudding Cheesecake Bars
- STEP ONE: Make the crust. First, mix the vanilla wafer crumbs with melted butter and press into a 9×9 baking dish and bake for 10 minutes at 350°.
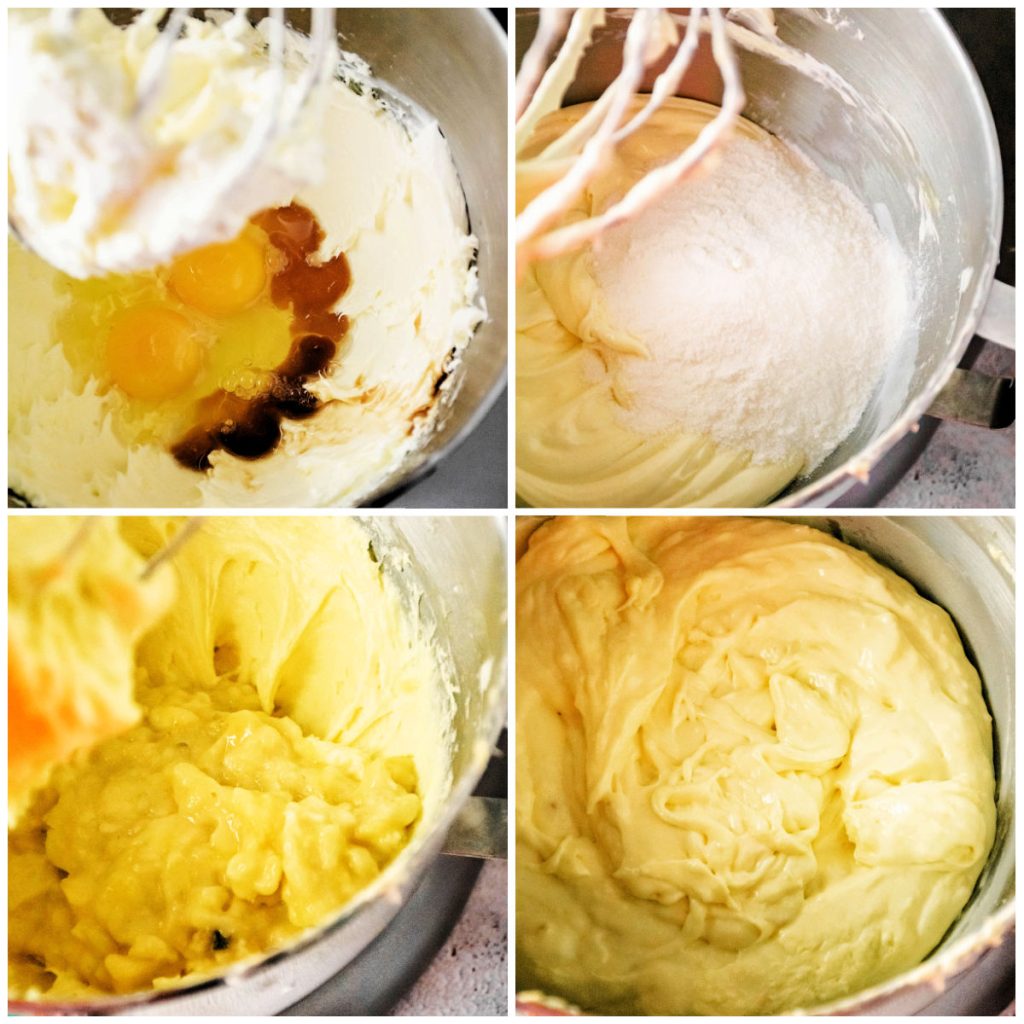
- STEP TWO: Make the cheesecake filling. Mix together the cream cheese and sugar in a large bowl until smooth and creamy. Then, add in the eggs and vanilla and continue beating. Add in the marshmallow fluff and mix until combined. Finally, add the mashed banana and pudding mix and finish mixing until well incorporated. Pour the cheesecake mixture on top of the cooled crust.
- STEP THREE: Bake. Bake for 20 minutes at 350° and then without opening the oven door, drop the temperature to 200° and bake another 30 minutes. After 50 minutes, turn the oven off but leave the cheesecake in for another 10 minutes. Remove from the oven and let sit on the counter until it reaches room temperature.
- STEP FOUR: Chill. After the cheesecake has reached room temp, cover and put in the refrigerator for at least 3 hours to chill.
- STEP FIVE: Garnish. When ready to serve, slice into 16 squares, top with whipped cream, a banana slice, and a mini (or regular sized) vanilla wafer.
Tips & Suggestions 🍌
- Start with room temperature cream cheese and eggs for the smoothest cheesecake batter.
- If you want to switch it up from the vanilla wafer crust, graham cracker crust would work well, too.
- Start with ripe bananas – both for mixing into the batter and for garnishing the top.
- Mini Nilla wafers look cute on top as garnish but full size work, too.
- Don’t cheat on my instructions! It is VERY important to follow the baking and cooling instructions to prevent cracks.
- For easy removal, line the bottom of the pan with parchment paper.
How to store leftovers
Store the bars in an airtight container in the refrigerator for up to 5 days.
Can I make them ahead of time?
Yes, the cheesecake bars can be made ahead of time, up to a few days, but hold off on adding the whipped cream and toppings so the bananas don’t brown and the whipped cream doesn’t melt/deflate.
Can I freeze cheesecake bars?
Yes, cheesecake freezes beautifully. Freeze ungarnished bars for up to 3 months. Move them to the fridge the night before you want to serve them to thaw.

FAQs
Do cheesecake bars need to be refrigerated?
Yes, you should store any leftovers in the refrigerator.
What happens if you overbake cheesecake?
Overbaked cheesecake will crack and dry out. It’s not pretty. I know the baking process takes a few steps but follow the directions for the best results. Because cheesecake is a custard, it won’t be completely firm when done like a regular cake would be.
What is a substitute for marshmallow fluff?
One cup of marshmallow fluff can be made by heating 16 large marshmallows or 160 mini marshmallows over a double boiler with 2 teaspoons of corn syrup until smooth.
Need more banana recipes? Try these:
Peanut Butter Banana Chocolate Chip Muffins
Chocolate Banana Muffins
Orange Banana Bundt Cake
Easy Banana Bread
Banana Split Dessert
Homemade Banana Pudding
If you want to try another cheesecake bar, check out my Reese’s stuffed cheesecake bars.
Click here for my entire collection of dessert recipes.
Banana Pudding Cheesecake Bars
Ingredients
For the crust
- 2 cups vanilla wafer crumbs
- ½ cup unsalted butter melted
For the cheesecake filling
- 16 ounces cream cheese at room temperature
- ¼ cup granulated white sugar
- 2 large eggs
- 1 teaspoon vanilla extract
- 1 cup marshmallow fluff
- 3.4 ounces banana cream pudding mix
- 1 cup mashed banana roughly 2 bananas
Instructions
To make the crust
- Preheat oven to 350° F and line the bottom of a 9×9 baking dish with parchment paper. Set side.
- To a medium bowl, add the vanilla wafer crumbs and melted butter. Stir until combined and then press evenly into the prepared pan. [Use the back of a spoon or a glass to press the crust evenly.]2 cups vanilla wafer crumbs, ½ cup unsalted butter
- Bake the crust for 10 minutes.
- Once finished, take the crust out and set aside leaving the oven set at 350 degrees.
To make the cheesecake filling
- To a large mixing bowl, or the bowl of a stand mixer, add the room temperature cream cheese and sugar, beating on medium until smooth and creamy.16 ounces cream cheese, ¼ cup granulated white sugar
- Add in the eggs and vanilla extract and continue mixing.2 large eggs, 1 teaspoon vanilla extract
- Once well combined, add in the marshmallow fluff and mix.1 cup marshmallow fluff
- Add the pudding mix and mashed banana into the cheesecake mixture and mix until well incorporated.1 cup mashed banana, 3.4 ounces banana cream pudding mix
- Pour over the crust and spread evenly.
- Bake for 20 minutes.
- Once the 20 minutes are up, without opening the oven door, reduce the heat to 200 degrees and bake for an additional 30 minutes.
- Once finished baking, turn the oven off leaving the cheesecake inside for 10 minutes.
- Remove and allow the cheesecake to come to room temperature on the counter.
- Once at room temperature, cover and place in the refrigerator for at least 3 hours.
- Once chilled, take out and cut into 16 squares.
- Top with whipped cream, a banana slice, and a mini (or regular size) vanilla cookie and serve.
Notes
- It is VERY important to follow the baking and cooling instructions to ensure no cracks are formed.
- Use room temp cream cheese and eggs for a smooth cheesecake batter.
- Swap vanilla wafers with graham crackers for a crust twist.
- Go with ripe bananas for the best flavor in the batter and topping.
- Store in an airtight container in the refrigerator for up to 5 days.
Nutrition
Nutritional information is an estimate and provided to you as a courtesy. You should calculate the nutritional information with the actual ingredients used in your recipe using your preferred nutrition calculator.
Did you make this recipe?
Tag me on Instagram @melissa_pplates so I can see!Did You Make This?
If you made this recipe, I’d love to know how it went in the comments section below.
You can also tag me on Instagram – @melissa_ppplates or share a pic in the Persnickety Plates Community Facebook group. I love seeing what you’ve tried!