

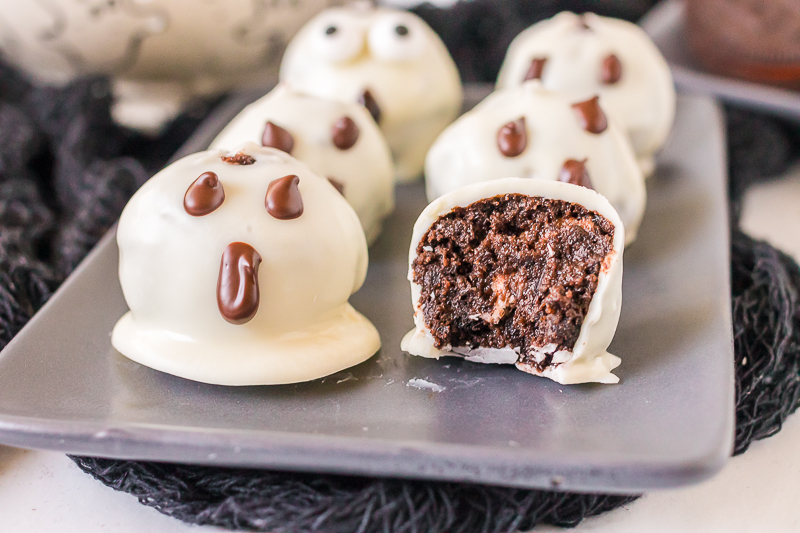
Easy and fun no-bake Ghost Oreo Balls are perfect for a Halloween party. With just four ingredients, they’ll be ready in no time!
I have made these Oreo Balls before, but I’m never quite sure what to call them – bon bons, balls, truffles? See Christmas Oreo Bon Bons, Chocolate Chip Oreo Bon Bons, Easter Egg Oreo Truffles, or Peanut Butter Cup Oreo Bon Bons.

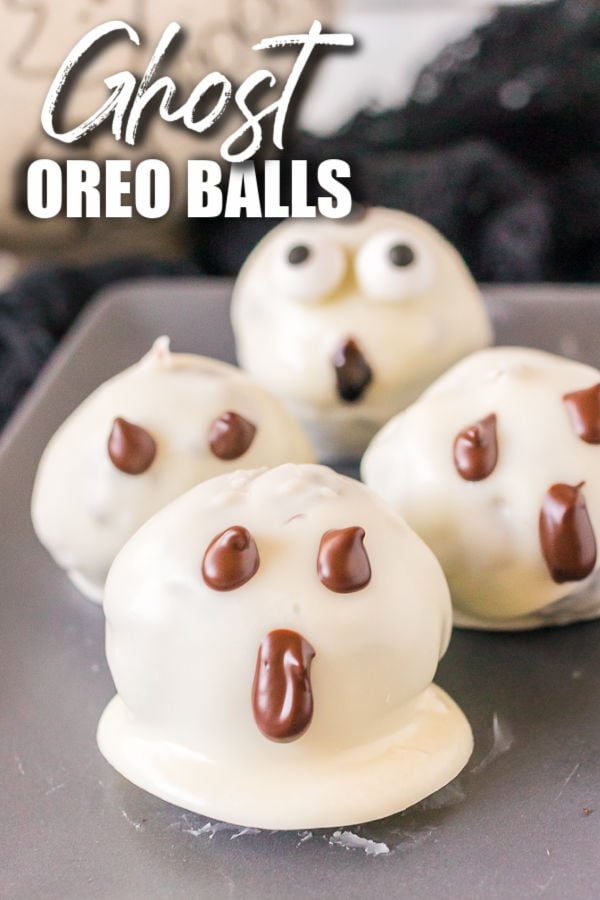
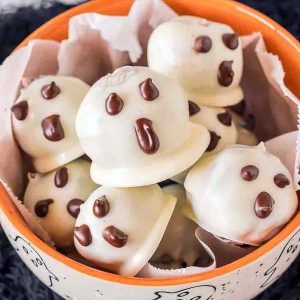
Ghost Oreo Truffles
Whatever you call them, they’re easy and delicious.
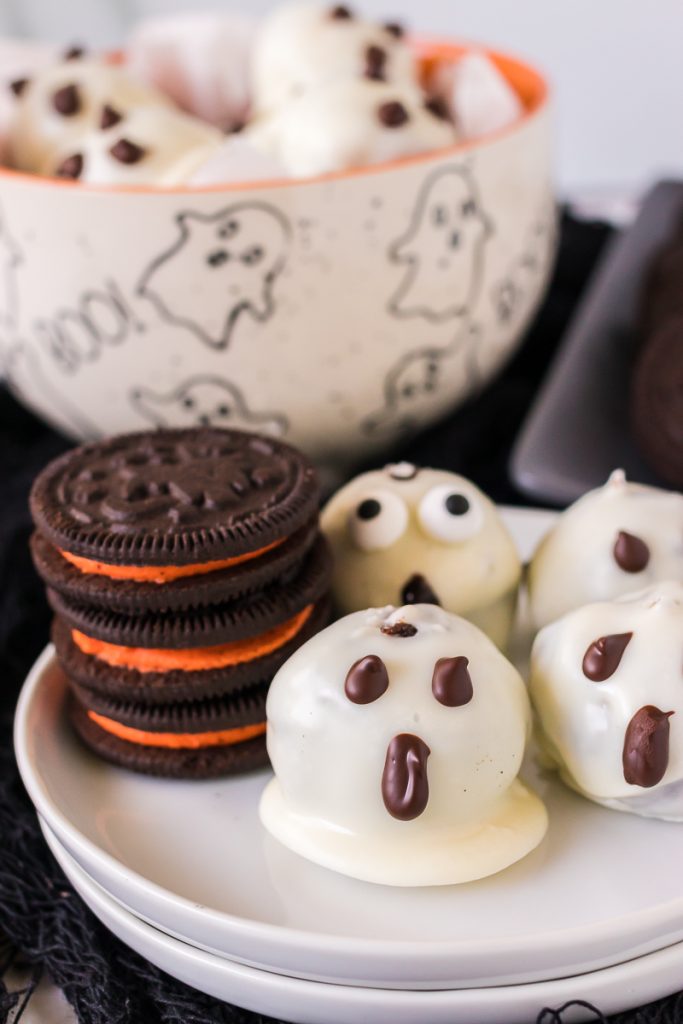
This time, I dressed them up as ghosts.
My girls loved them and they’d be really cute to put a few into a little cellophane bag as a Halloween treat.
I first made these in 2017 and forgot to post them so when I found them on an old SD card, I reshot them and here we are.
Serve them with some Halloween hot chocolate with ghost marshmallows and you have a ghosty party!
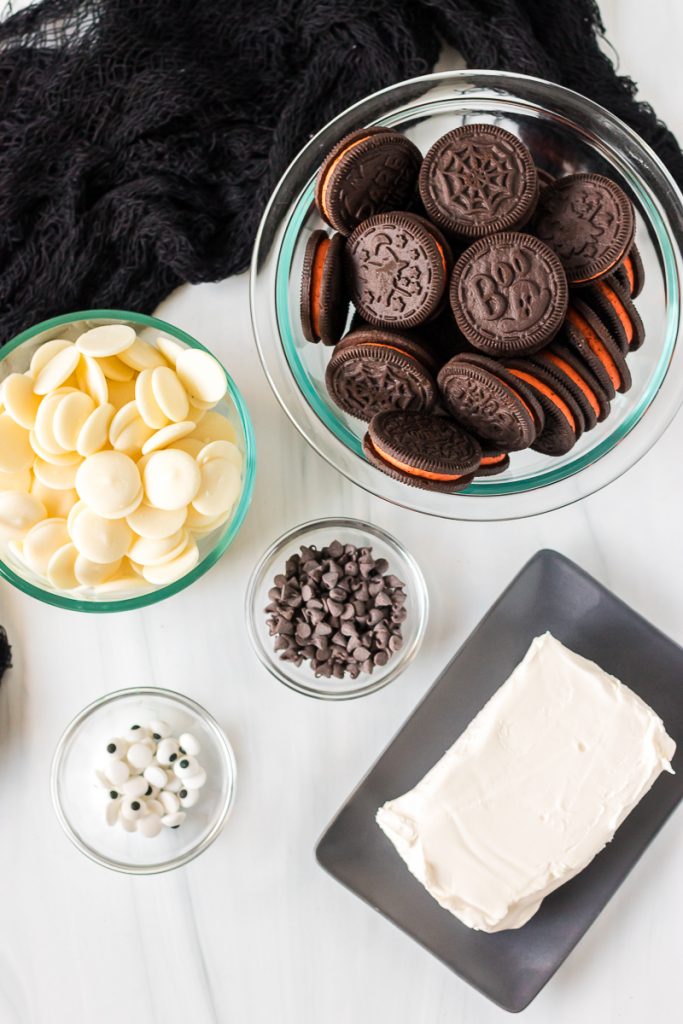
Ingredients
Below is a list of the ingredients you’ll need to gather to make this recipe, why you need them, and possible substitutions. Scroll all the way down for the full recipe card with measurements.
JumpThese balls are so easy to make. They’re no-bake and you just need three main ingredients – Oreos, cream cheese, and a chocolate coating.
To turn them into ghosts, you’ll also need either black decorating gel, or you can just melt some chocolate chips to draw on the faces. I gave a few candy eye balls as well. It is fun to give them their own personalities.
Helpful Tools
- Food Processor – I’ve had this mini food processor for years (it’s all I have room for) so I have to do most things in 2 batches, but it works great!
- Mixing Bowls – I love these grippy bottom mixing bowls so they don’t slip around.
- Small Cookie Scoop – This cookie scoop holds about 1 TB of the mix. Depending on which size scoop you use, will determine how many cookie balls you make.
- Baking Sheets – You’ll want lipped baking sheets so the balls don’t roll all over.
How to make Ghost Oreo Balls
This section shows you how to make this recipe, with process photos showing the steps to help you visualize it. For full instructions, including amounts and temperatures, see the recipe card below.
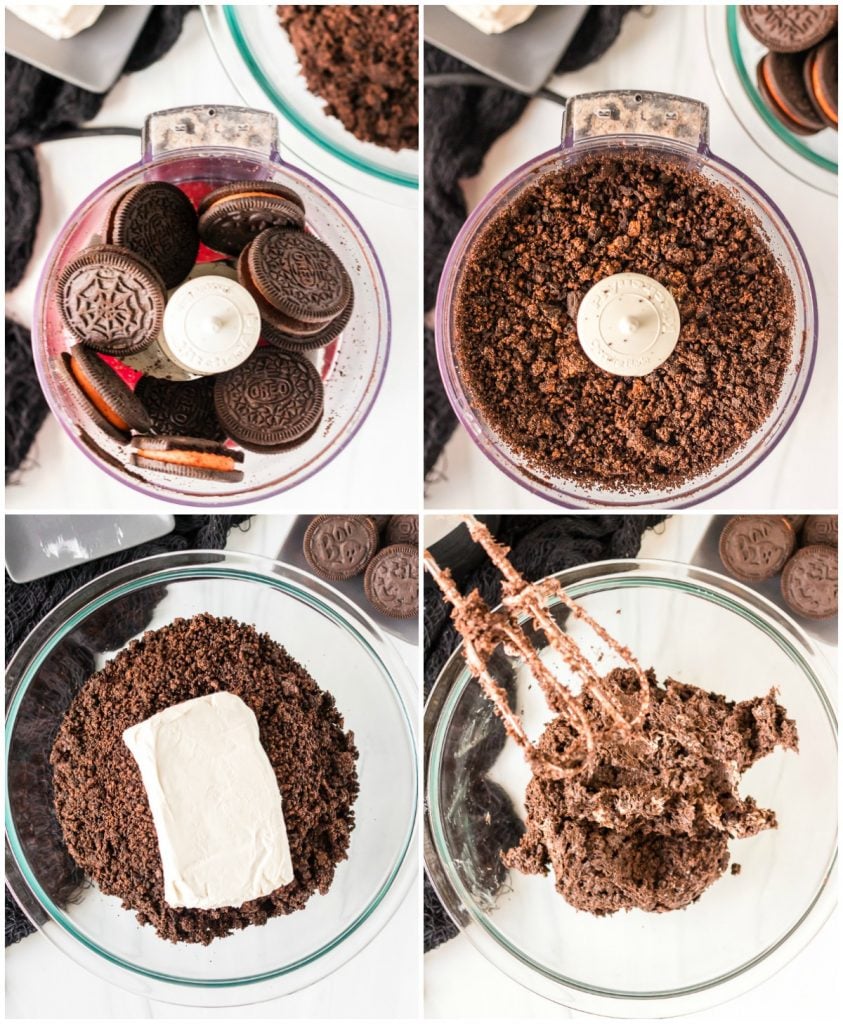
Jump- STEP ONE: Crush up your Oreos in a food processor. [If you don’t have a food processor, you can add the Oreos to a large freezer bag & crush the cookies with a rolling pin]. Pour the crumbs into a large mixing bowl and add the softened cream cheese. Use a hand mixer to fully combine the two.
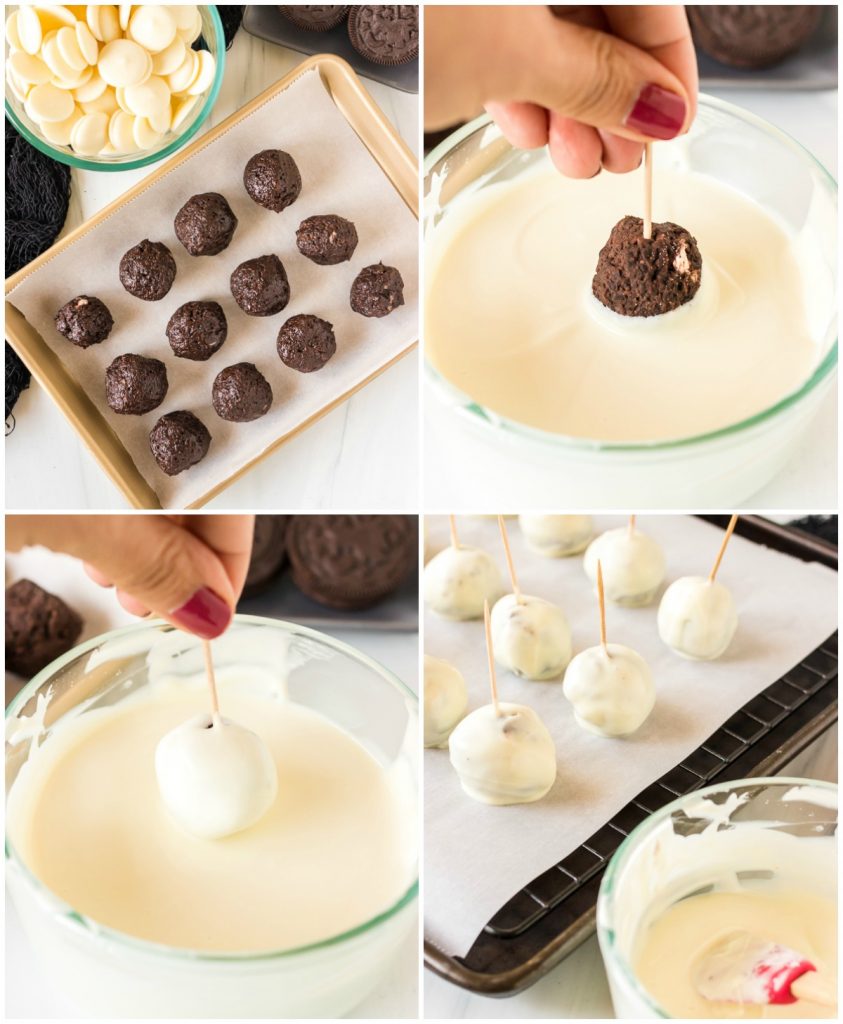
- STEP TWO: Use a cookie scoop to scoop out the Oreo Balls and line them onto a parchment paper lined cookie sheet. Once you have them all scooped out (it should make about 40 balls), pop them into the freezer for at least 30 minutes to chill.
- STEP THREE: Melt your chocolate wafers in a heat safe bowl. Poke each Oreo ball them with a toothpick, then dip them into the melted chocolate. Let the excess drip off then set them onto parchment paper to harden.
- STEP FOUR: Once hardened, use either melted chocolate or decorating gel to draw on the faces. Add on candy eye balls if you want.
What kind of chocolate should I use for the coating?
I used white vanilla melting wafers that Ghirardelli makes. I’ve seen them at most markets and even a giant bag at Sam’s Club that would easily get you though the holiday season.
You could also opt for white chocolate candy melts or Vanilla CandiQuik.
They melt down really smoothly so you shouldn’t have any issues. If it starts to thicken up, microwave it for a few more seconds, or add a bit of coconut oil or vegetable oil to thin it out a bit.
While you’re at it, you can easily make some Halloween Haystacks.
How to store them
Since these Oreo Balls have cream cheese in them, you should store them in an airtight container in the fridge. They’ll keep for a week (if they last that long!).
Can I freeze them?
Yes, you can freeze these balls and honestly, they’re delicious to eat frozen! Place them in a sealed freezer bag and they’ll last for a month or so.
Need more Halloween treats? Try these:
Halloween Swirl Cream Cheese Brownies
Halloween Chocolate Tunnel Bundt Cake
Brownie Bottom Halloween Cupcakes
Easy Halloween Poke Cake
Peanut Butter Butterfinger Skull Cookies
Jalapeno Popper Mummies
30 Halloween Desserts
Red Velvet “Raw Meat” Rice Krispies
Halloween Pretzel Rods
More no-bake treats
Chocolate Lush
Peanut Butter Balls
Chocolate Peanut Butter Eclair Dessert
Sand Pudding
Dirt Pudding
Snowman Oreo Balls – same idea, just winter theme!
Ghost Oreo Balls
Ingredients
- 36 Oreos I used the "Halloween" edition with orange filling
- 8 oz. cream cheese softened
- 10 oz. white vanilla melting wafers I use Ghirardelli
- chocolate chips melted, to draw faces
- black decorating gel for the eyes/faces
- candy eye balls optional
Instructions
- Line a cookie sheet with wax paper/parchment paper/a silicone mat and set aside.
- Add your Oreos to a food processor and pulse until you have fine crumbs – it should be sand-like in appearance. (or you can use a zip top bag & a rolling pin)36 Oreos
- Pour the crumbs into a large mixing bowl, or the bowl of a stand mixer, and add the softened cream cheese. Mix well until fully combined.8 oz. cream cheese
- Use a cookie scoop to scoop out balls of the mixture (use your hands to roll them, if necessary) and line them up on your prepared cookie sheet. Mine made 40 balls.
- Place the entire cookie sheet in the freezer for at least 30 minutes to firm them up.
- Put the white chocolate melting wafers in a microwave safe bowl and heat for about 30 seconds then stir. Continue heating at 15 second intervals and stirring until fully melted.10 oz. white vanilla melting wafers
- Remove the balls from the freezer, stick them with a toothpick to use as a handle and swirl into the melted white chocolate. I used a spatula to help coat all the sides. Work quickly as it’s easier with frozen balls and warm chocolate. As the balls start to warm up, they’ll slide off the toothpick. Pop them back into the freezer if they get too warm as you’re working on them.
- Once finished dipping, let the chocolate coating harden.
- In a small microwave safe bowl, add a small handful of chocolate chips and microwave for 30 seconds, stir, then do another 15 seconds, if necessary. Let the chocolate slightly cool then spoon it into a small plastic baggie and snip off the very tip of the bag so you can draw on the faces.chocolate chips, black decorating gel
- Add eye balls, if desired.candy eye balls
Notes
Nutrition
Nutritional information is an estimate and provided to you as a courtesy. You should calculate the nutritional information with the actual ingredients used in your recipe using your preferred nutrition calculator.